Welcome back to another installment of our Princess Connect! Re: Dive story event guides! This time, we're getting a story event featuring the Twilight Caravan guild which coincides with the release of Ruka, the leader of said guild. You will be able to obtain memory shards for Mitsuki and Anna during the event from hard stages and the event treasure box. Today, we'll break down the event and other pertinent information. All the information is from the JP server when they first ran the event, and if past events are anything to go by, we should be following the same reward chart. So let's dig right into it!
Ruka Banner
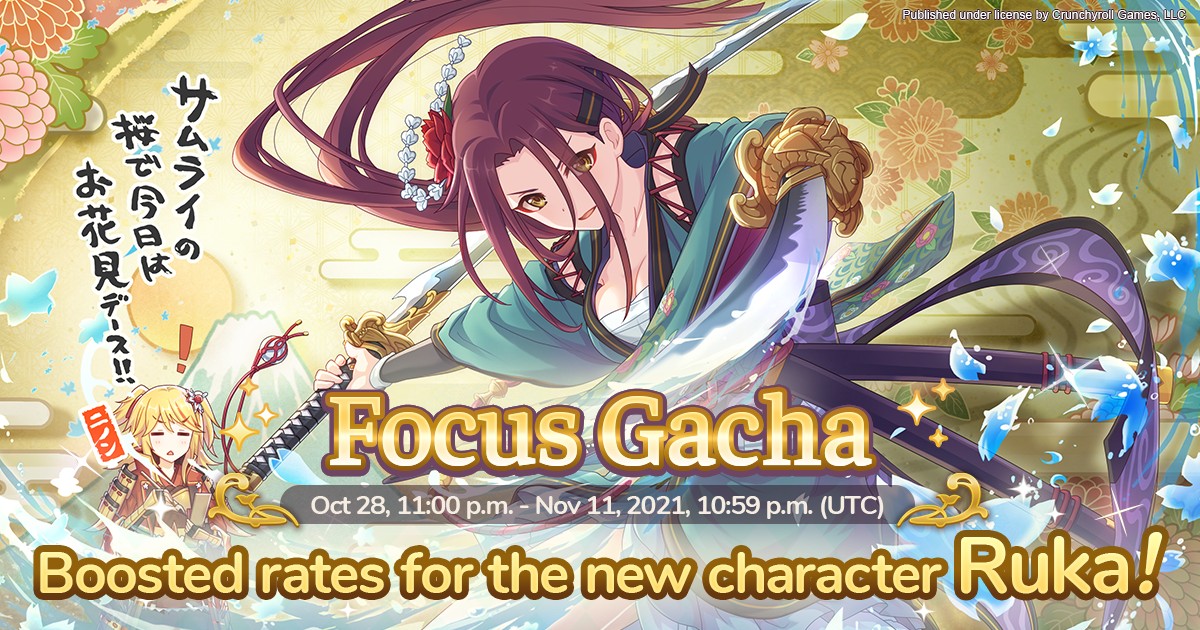
With the first PriFes/Princess Gala over, we're back to normal focus gacha banners. The first of which is Ruka, who also happens to be the leader of Twilight Caravan. She plays the role of a front-line tank that has a UB that can shred physical defense. She's a fairly decent character and will see some use. However, she isn't a must-pull as she's in the regular gacha pool. Later on, you'll get a stage to farm her memory shards as well.
Twilight Breakers Story Event

This is the eighth story event in the EN/WW server. Events generally give a generous amount of items, mana, jewels, and character memory shards. The memory shards featured in this event are Mitsuki and Anna. On top of the rewards, it also adds event story chapters which can be viewed as you complete the event stages.
Stages
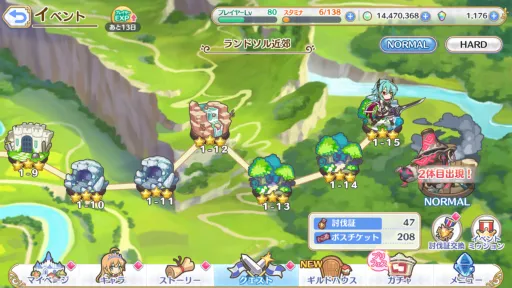
Events are broken down into two phases of stages similar to the main quest. However, you must clear all the normal stages and the normal boss before unlocking the hard stages. Normal stages start at 1-1 and go all the way up to 1-15. Clearing each stage for the first time also provides 30 jewels, an assortment of items, and boss tickets. After the first clear, they will still provide some items and more importantly boss tickets. These boss tickets are used to fight the boss of the event. We'll go over this more in-depth later.
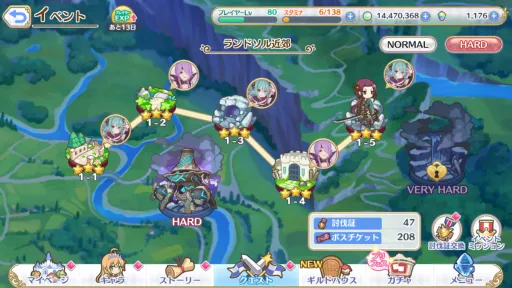
After clearing stages 1-1 through to 1-15 and the boss on normal, you'll unlock the hard missions. These missions are similar to the main quest hard missions and have a chance to drop memory shards. Each first clear will also provide 3 of the memory shards of the character indicated, boss tickets, items, and will also give the 30 jewel bonus. Each subsequent clear will then give a chance of dropping the memory shards. You can only clear each hard stage 3 times a day.
For the most part, you will want to clear each of these hard stages every day of the event to maximize your memory shard and boss tickets gain. This event features memory shards for Mitsuki and Anna. There is a large amount of luck involved with the hard missions but the memory shards and the boss tickets are generally worth it.
Boss Battle
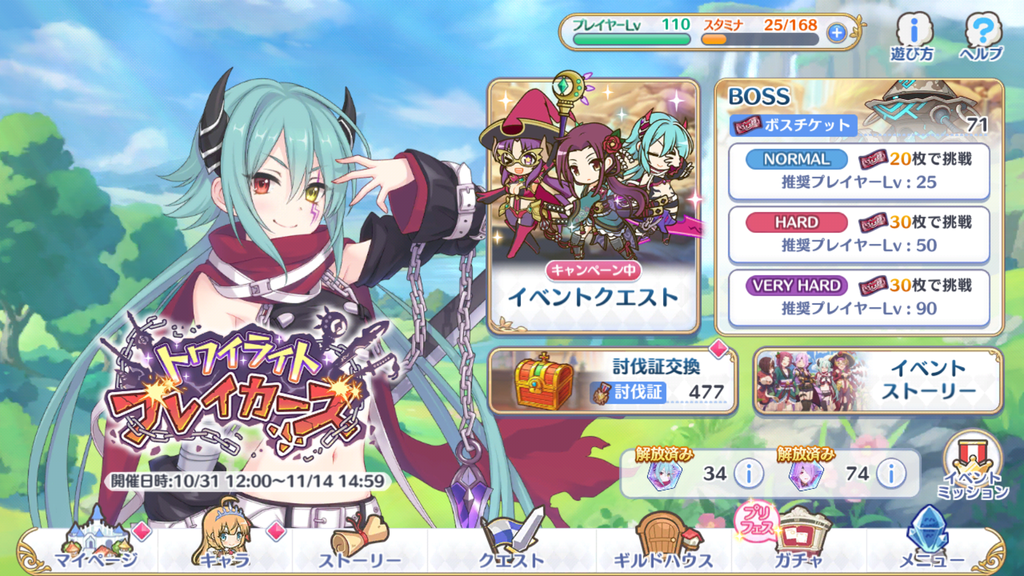
Luckily, the Very Hard boss is somehow even easier than the last event as our characters are much stronger than before. Completing it in one hit is entirely possible. You get quite a bit more rewards from it and you can only complete it once a day. Don't worry, we've got you covered and will have some sample teams below.
To fight the boss you'll need to obtain enough boss tickets. Each of the stages you clear from the event will provide boss tickets. The boss will come in normal, hard, and very hard. The normal boss should be easily cleared with any team while hard may pose a bit more of a challenge. Very Hard, as previously stated will be a tough one. Clearing bosses will also provide tokens to be used on the event treasure box. This is the real reason you'll be farming the event. We'll touch on this later on in the article.
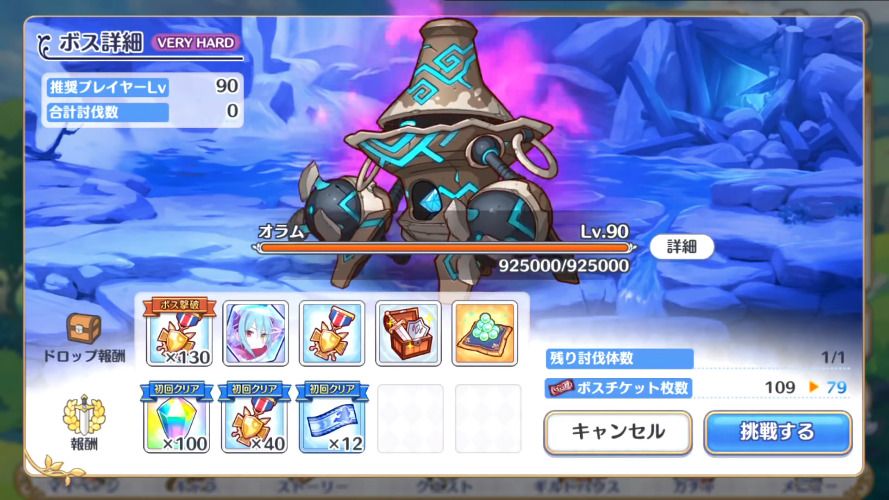
The hard and very hard boss will have a larger pool of HP and also additional skills. Of course, with the more difficult boss, the rewards will also be greater. This version of the boss also does more damage and has a more difficult attack pattern once below 40% HP. (Think of it as them hitting their limit break.) We will recommend some potential parties below for those struggling to clear the hard and very hard versions of the boss.
| Difficulty | HP | Union Burst | Skill 1 | Skill 2 |
|---|---|---|---|---|
|
Lvl. 25 |
35,000 | Large physical damage to all enemies based on their maximum health. Large reduction of own physical attack. | Medium physical damage to enemies in the front middle range and lowers their physical attack. | N/A |
|
Lvl. 50 |
190,000 | Large physical damage to all enemies based on their maximum health. Large reduction of own physical attack. | Medium physical damage to enemies in the front middle range and lowers their physical attack. | Medium physical damage to enemies within a wide area in front and paralyzes them for 3 seconds or 6 seconds if enemies are below 70% HP. |
|
Lvl. 90 |
925,000 | Large physical damage to all enemies based on their maximum health. Large reduction of own physical attack. | Medium physical damage to enemies in the front middle range and lowers their physical attack. | Medium physical damage to enemies within a wide area in front and paralyzes them for 3 seconds or 6 seconds if enemies are below 70% HP. |
As you can see above, Very Hard can still pose a bit of a challenge. With close to 1 million HP, this thing can soak up quite a bit of damage. Just note the boss does deal AOE damage and also has a physical attack debuff. You'll want to manage your team's HP pool well so your units don't get paralyzed for too long. Also, don't forget about the 40% enrage mechanic for the Hard and Very Hard boss. Defeating the Very Hard boss will also drop a large amount of rewards and an Anna memory shard. Remember, you can only defeat the Very Hard boss once daily.
Suggested Teams
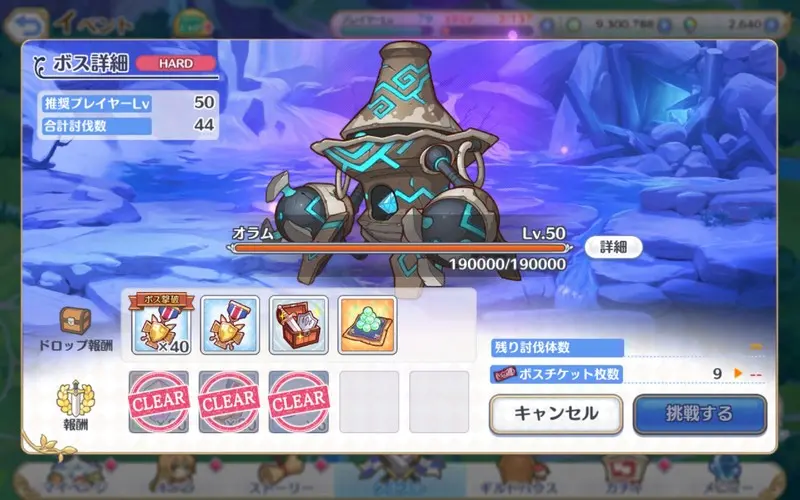
At this point, hard bosses should be pretty straightforward. The boss is only level 50 and doesn't hit too hard. The enemies haven't been upgraded too much compared to our level cap and rank increases. This worked in JP assuming your characters are rank 9 and above and around level 90 or so. You may need to level up your characters or try different combinations to get a decent clear. The boss move set for Hard and Very Hard are the same but the health and damage are much lower. Be aware of all the AOE damage from the UB and the skill that paralyzes your units up front based on having less than 70% HP. That is in addition to the physical damage debuff. We'll suggest a party below for the hard boss.
This is a pretty straightforward team with units you can easily obtain from farming. The key here is two tanks up front to soak up the damage. Suzuna and Karyl are our two main damage dealers and Maho is in for both support and healing. Suzuna and Karyl are out of range of the boss's skills and will be able to still deal enough damage to clear the boss. You can easily replace any of the tanks, backline DPS, and Maho with similar units.
Very Hard Boss

The Very Hard boss is where things get a little trickier. The skills may be the same as on the Hard boss but the damage and the HP it has is much higher. You'll also be more at the mercy of the boss skills and the physical damage downs between the first skill and the UB. That doesn't even include the likely 6 second instead of 3 second paralysis from the second skill due to your units being below 70% HP. Fear not, we have a few team suggestions for you.
(Summer) |
|---|
For our first team composition, we have a pretty standard team including Jun and Makoto. Those are the two units that will take the brunt of the damage from the boss and having a healer in Kokoro (Summer) should help keep them alive. This team mostly plays on having two archers in the back which are safe from both of the boss's skills and the double defense down between Makoto and Jun. It is fine if Makoto dies on the run as long as there is still enough damage to clear it. You can even run the team with Christina instead of Makoto and a healer further in the back such as Yui.
(Summer) |
|---|
We understand not everyone will have the Jun and Makoto combo, so we'll also provide a few other teams without them. This second team is an archers + physical defense down team. We use Kokoro (Summer) up front to absorb the hits and use Mitsuki for the defense down field. With 3 archers in the back, we make short work of the boss since they can only be hit by the UB.
Rewards
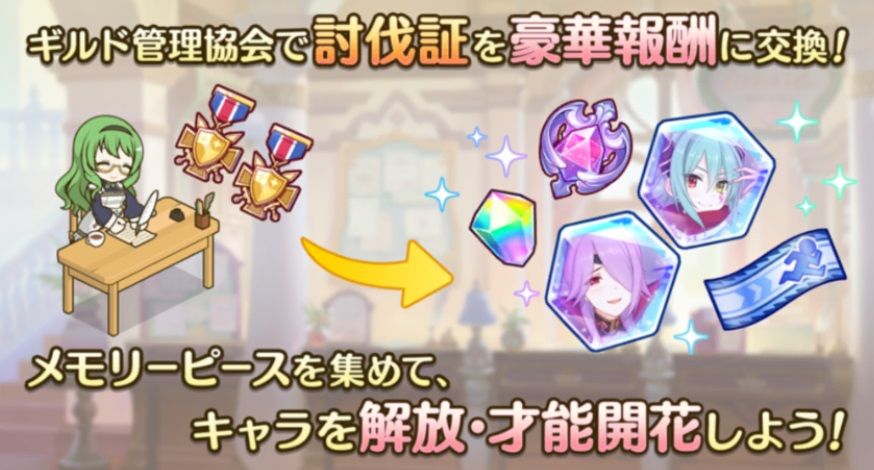
We're finally onto the main point of each of these events: the rewards that come along with it. In addition to the first clear bonuses, there are also a set number of event treasure boxes. Think of it as a mini gacha machine but each one has a set number of items. To roll this treasure gacha box, you get pulls from defeating the event boss and completing daily missions. You do not need to clear out every single item in each box to move on to the next one. However, you will need to obtain the main items in the box. In this case, the main items are the memory shards for the characters. (You would want to collect these anyway.) The contents of each of the boxes are listed below.
| Box One | |
|---|---|
| Item | Quantity |
|
|
1 |
|
|
5 |
|
|
20 |
|
|
15 |
|
|
20 |
|
|
10 |
|
|
300 |
|
|
5 |
|
|
10 |
|
|
15 |
|
|
5 |
|
|
10 |
|
|
15 |
| Total | 431 |
| Box Two | |
|---|---|
| Item | Quantity |
|
|
1 |
|
|
10 |
|
|
25 |
|
|
20 |
|
|
30 |
|
|
15 |
|
|
380 |
|
|
7 |
|
|
12 |
|
|
17 |
|
|
7 |
|
|
12 |
|
|
17 |
| Total | 553 |
| Box Three | |
|---|---|
| Item | Quantity |
|
|
1 |
|
|
15 |
|
|
30 |
|
|
20 |
|
|
40 |
|
|
20 |
|
|
480 |
|
|
9 |
|
|
14 |
|
|
19 |
|
|
9 |
|
|
14 |
|
|
19 |
| Total | 690 |
| Box Four | |
|---|---|
| Item | Quantity |
|
|
1 |
|
|
20 |
|
|
35 |
|
|
25 |
|
|
50 |
|
|
30 |
|
|
550 |
|
|
11 |
|
|
16 |
|
|
21 |
|
|
11 |
|
|
16 |
|
|
21 |
| Total | 807 |
| Box Five+ | |
|---|---|
| Item | Quantity |
|
|
5 |
|
|
35 |
|
|
25 |
|
|
50 |
|
|
30 |
|
|
600 |
|
|
11 |
|
|
16 |
|
|
21 |
|
|
11 |
|
|
16 |
|
|
21 |
| Total | 841 |
Total Memory Shards
A breakdown of all the possible memory shards gained from missions, story, and the boxes are listed here:
| Location | Mitsuki | Anna |
|---|---|---|
| Story Reward | 4 | 4 |
| Normal Quests | 2 | 2 |
| Hard Quests | 6 | 9 |
| Treasure Box | 50 | 65 |
| Event Missions | N/A | 20 |
| Total | 62 | 100 |
Note: This does not include memory shards from hard mission drops. These only include the ones you are guaranteed to get assuming you complete the tasks.
You should be able to obtain quite a few shards for Anna and Mitsuki from this event. Good luck to you if you're planning to roll Ruka as well! See you next time.
Last Update: October 28, 2021
