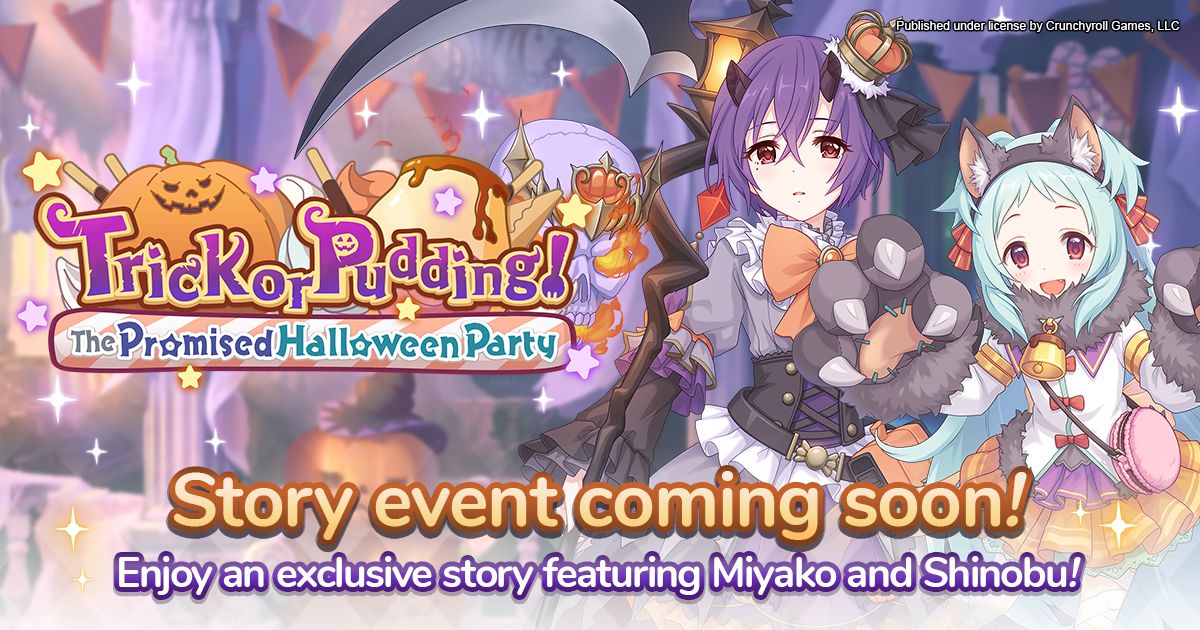
Welcome back to another installment of our Princess Connect! Re: Dive story event guides! This Halloween themed event will drop with Shinobu (Halloween). For memory shards, you'll be able to obtain Yori and Miyako (Halloween) memory shards. That means you get a free 1* character in Miyako (Halloween). Today, we'll break down the event and other pertinent information. All the information is from the JP server when they first ran the event, and if past events are anything to go by, we should be following the same reward chart. So let's dive right into it!
Shinobu (Halloween) Banner
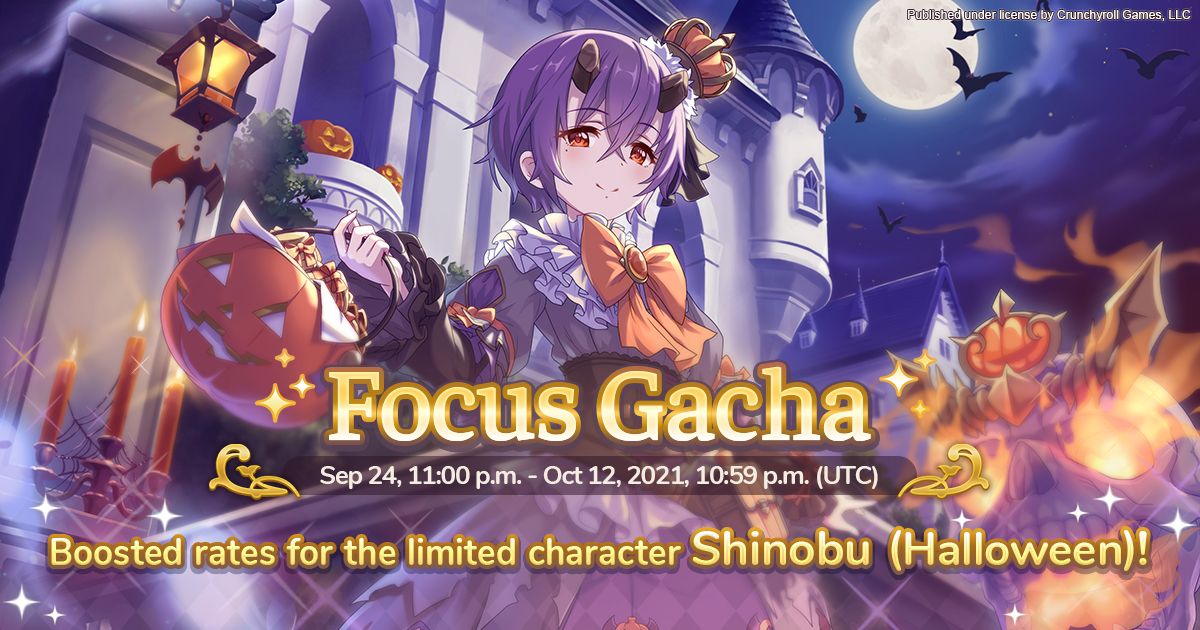
We get our first of two Halloween themed limited characters in Shinobu (Halloween) dropping together with this event. She's a pretty good PVP character and will see some use there. Is she a must pull? No, she isn't. She is still very good and has utility. She just isn't as high up in the must pull list as say Christina or NY Yui when they come out later in the future. She is definitely the better of the two Halloween characters in the first year though.
Trick or Pudding! The Promised Halloween Party Story Event

This is the seventh story event in the EN/WW server. Events generally give a generous amount of items, mana, jewels, and character memory shards. The memory shards featured in this event are Yori and Miyako (Halloween). You will also obtain a free 1* unit in Miyako (Halloween) on defeating the boss 5 times on any difficulty. On top of the rewards, it also adds event story chapters which can be viewed as you complete the event stages.
Stages
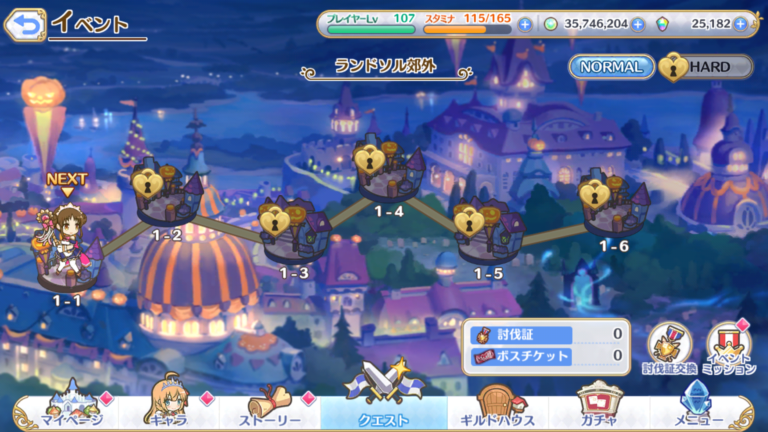
Events are broken down into two phases of stages similar to the main quest. However, you must clear all the normal stages and the normal boss before unlocking the hard stages. Normal stages start at 1-1 and go all the way up to 1-15. Clearing each stage for the first time also provides 30 jewels, an assortment of items, and boss tickets. After the first clear, they will still provide some items and more importantly boss tickets. These boss tickets are used to fight the boss of the event. We'll go over this more in-depth later.
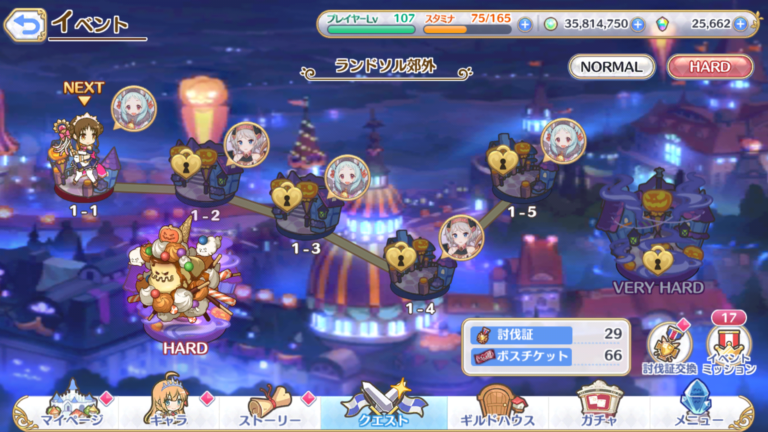
After clearing stages 1-1 through to 1-15 and the boss on normal, you'll unlock the hard missions. These missions are similar to the main quest hard missions and have a chance to drop memory shards. Each first clear will also provide 3 of the memory shards of the character indicated, boss tickets, items, and will also give the 30 jewel bonus. Each subsequent clear will then give a chance of dropping the memory shards. You can only clear each hard stage 3 times a day.
For the most part, you will want to clear each of these hard stages every day of the event to maximize your memory shard gain. This event features memory shards for Yori and Miyako (Halloween). You definitely want to get as many Miyako (Halloween) shards as you possibly can as she is a limited unit and you cannot obtain her shards without spending divine amulets or waiting for the rerun in a year. There is a large amount of luck involved with the hard missions but the memory shards and the boss tickets are generally worth it.
Boss Battle
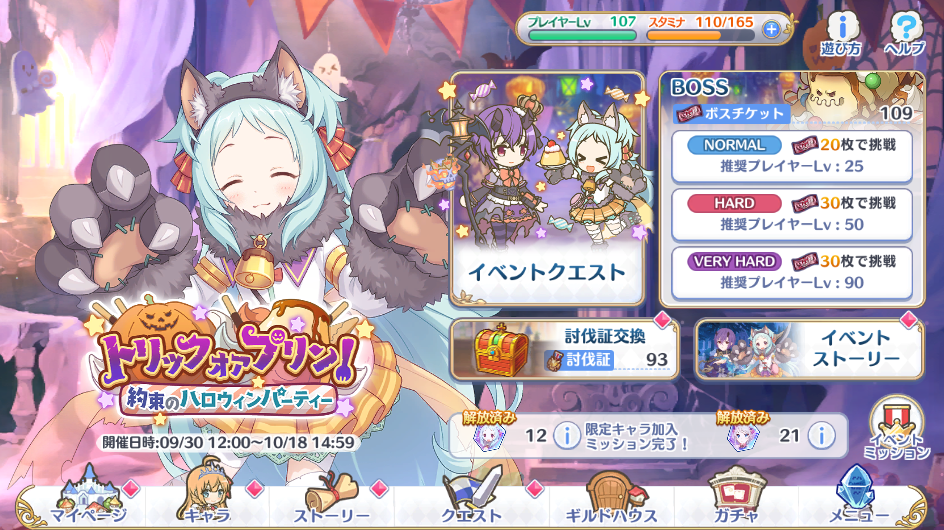
Luckily, the Very Hard boss is even easier this time around as our characters are much stronger than before. Completing it in one hit is entirely possible. You get quite a bit more rewards from it and you can only complete it once a day. Don't worry, we've got you covered and will have some sample teams below.
To fight the boss you'll need to obtain enough boss tickets. Each of the stages you clear from the event will provide boss tickets. The boss will come in normal, hard, and very hard. The normal boss should be easily cleared with any team while hard may pose a bit more of a challenge. Very Hard, as previous stated will be a tough one. Clearing bosses will also provide tokens to be used on the event treasure box. This is the real reason you'll be farming the event. We'll touch on this later on in the article.
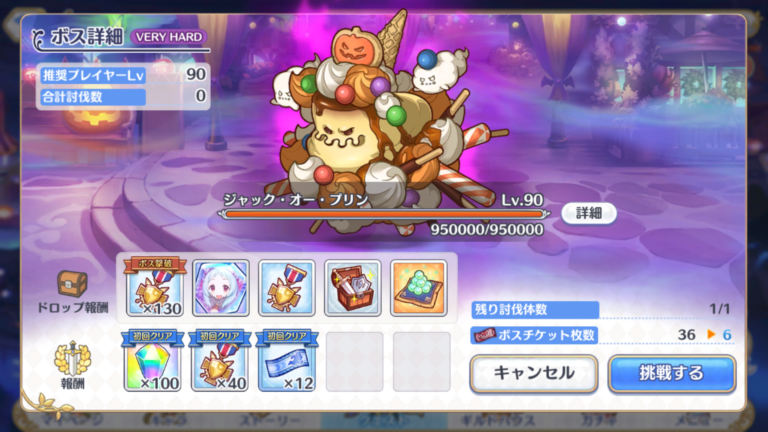
The hard and very hard boss will have a larger pool of HP and also additional skills. Of course, with the more difficult boss, the rewards will also be greater. This version of the boss also does more damage and has a more difficult attack pattern once below 40% HP. (Think of it as them hitting their limit break.) We will recommend some potential parties below for those struggling to clear the hard and very hard versions of the boss.
| Difficulty | HP | Union Burst | Skill 1 | Skill 2 |
|---|---|---|---|---|
|
Lvl. 25 |
35,000 | Large physical damage to all enemies. If the enemy is below 40% HP, they become charmed. (Attacks own team members.) | Small magical damage to all enemies and removes all buffs from the enemies. | N/A |
|
Lvl. 50 |
190,000 | Large physical damage to all enemies. If the enemy is below 40% HP, they become charmed. (Attacks own team members.) | Small magical damage to all enemies and removes all buffs from the enemies. | Medium physical damage to closest enemy & medium physical damage + stun to the front 3 characters. |
|
Lvl. 90 |
950,000 | Large physical damage to all enemies. If the enemy is below 40% HP, they become charmed. (Attacks own team members.) | Small magical damage to all enemies and removes all buffs from the enemies. | Medium physical damage to closest enemy & medium physical damage + stun to the front 3 characters. |
So as you can see above, Very Hard can still pose a bit of a challenge. With close to 1 million HP, this thing can soak up quite a bit of damage. Just note the boss does deal AOE damage and has a charm on their UB as well. You'll want to manage your team's HP pool well so your units don't end up dying to the AOE damage combined with the charm on the UB. Also don't forget about the 40% enrage mechanic for the Hard and Very Hard boss. Defeating the Very Hard boss will also drop a large amount of rewards and a Miyako (Halloween) memory shard. Remember, you can only defeat the Very Hard boss once daily.
Suggested Teams
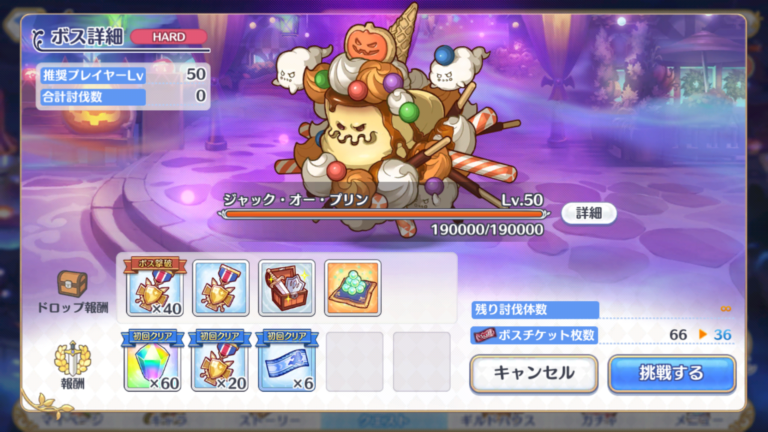
Hard Boss
At this point, hard bosses should be pretty straightforward. The boss is only level 50 and doesn't hit too hard. The enemies haven't been upgraded too much compared to our level cap and rank increases. This worked in JP assuming your characters are rank 9 and above and around level 90 or so. You may need to level up your characters or try different combinations to get a decent clear. The boss move set for Hard and Very Hard are the same but the health and damage is much lower. Be aware of all the AOE damage from the skill 1 and the UB that applies charm to units below 40% HP. We'll suggest a party below for the hard boss.
Our first party consists of a tank and Kaori up front with a Kokkoro for support and Shiori + Yukari in the back. Yukari can help with spot healing and the magic shield can be very useful against the boss. Most of the characters here are interchangeable and your results may vary. This is probably the easiest team to build just because the characters are easily obtainable. You can easily replace Miyako with another tank such as Jun. The DPS slots can also vary between using a different archer such as Arisa or Suzuna. If you don't need the healer, feel free to replace Yui with another damage dealer.
Very Hard Boss

Moving on to the Very Hard boss, you'll need to be aware of your team's HP bars. Having your units at too low on HP can be dangerous as the UB applies charm on your units if they are below 40% HP. Just be aware the boss also removes buffs from your units through a magic damage skill 1. It makes stacking buffs much harder and that is why the lower boss HP is a bit misleading.
The above team can potentially one cycle clear the very hard boss. As long as your units are tanky enough, it shouldn't pose a problem. For most of the units, you will need them at 4-5*'s and at least rank 9-6 or 9-5. This team should full clear on auto and have time to spare. The important thing is to watch out for the boss UB that can charm. The stun to the first 3 units can be a little annoying too.
This second team is basically the same as the first but instead you add Akino as additional DPS. Her heal also keeps her healthy and helps avoid the charm problem.
(Summer) |
|---|
This last team trades in Kaori for Tamaki (Summer) for her physical damage and TP drain. Nozomi is also inserted into the lineup for both the taunt and healing. This team is likely a safer team but will require more than one run in most cases. With enough stars, levels, and ranks, your units should survive enough to one hit the boss. Otherwise, you can always do this over two or three hits. Your first clear of the Very Hard boss will get you 10 Miyako (Halloween) memory shards so it's absolutely worth doing, but if it takes you more than three hits to kill, considering just killing the Hard boss for subsequent attempts.
Rewards
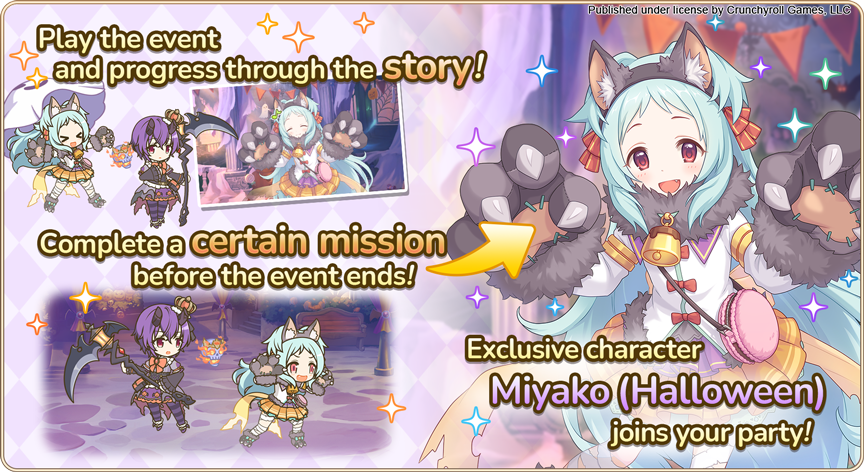
This event will also feature a free character for completing an objective/mission during the event. After you defeat the boss 5 times on any difficulty, you will get a free 1* Miyako (Halloween). She'll see some minor arena use but you'll still want to collect her memory shards since you would have to use divine amulets or wait for a rerun in the future.
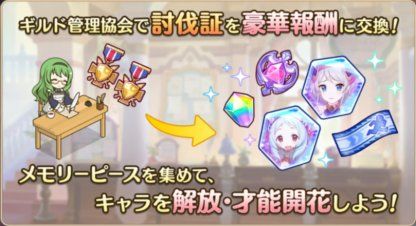
We're finally onto the main point of each of these events. The rewards that come along with it. In addition to the first clear bonuses, there are also a set number of event treasure boxes. Think of it as a mini gacha machine but each one has a set number of items. To roll this treasure gacha box, you get pulls from defeating the event boss and completing daily missions. You do not need to clear out every single item in each box to move on to the next one. However, you will need to obtain the main items in the box. In this case, the main items are the memory shards for the characters. (You would want to collect these anyway.) The contents of each of the boxes are listed below. You may want to consider farming the event for the endless box since you can obtain more memory shards for Miyako (Halloween).
| Box One | |
|---|---|
| Item | Quantity |
|
|
1 |
|
|
5 |
|
|
20 |
|
|
15 |
|
|
20 |
|
|
10 |
|
|
300 |
|
|
5 |
|
|
10 |
|
|
15 |
|
|
5 |
|
|
10 |
|
|
15 |
| Total | 431 |
| Box Two | |
|---|---|
| Item | Quantity |
|
|
1 |
|
|
10 |
|
|
25 |
|
|
20 |
|
|
30 |
|
|
15 |
|
|
380 |
|
|
7 |
|
|
12 |
|
|
17 |
|
|
7 |
|
|
12 |
|
|
17 |
| Total | 553 |
| Box Three | |
|---|---|
| Item | Quantity |
|
|
1 |
|
|
15 |
|
|
30 |
|
|
20 |
|
|
40 |
|
|
20 |
|
|
480 |
|
|
9 |
|
|
14 |
|
|
19 |
|
|
9 |
|
|
14 |
|
|
19 |
| Total | 690 |
| Box Four | |
|---|---|
| Item | Quantity |
|
|
1 |
|
|
20 |
|
|
35 |
|
|
25 |
|
|
50 |
|
|
30 |
|
|
550 |
|
|
11 |
|
|
16 |
|
|
21 |
|
|
11 |
|
|
16 |
|
|
21 |
| Total | 807 |
| Box Five+ | |
|---|---|
| Item | Quantity |
|
|
1 |
|
|
10 |
|
|
30 |
|
|
20 |
|
|
100 |
|
|
5 |
|
|
10 |
|
|
15 |
|
|
5 |
|
|
10 |
|
|
15 |
| Total | 226 |
Total Memory Shards
A breakdown of all the possible memory shards gained from missions, story, and the boxes are listed here:
| Location | Yori | Miyako (Halloween) |
|---|---|---|
| Story Reward | 4 | 4 |
| Normal Quests | 2 | 2 |
| Hard Quests | 6 | 9 |
| Treasure Box | 50 | 65 |
| Event Missions | N/A | 20 |
| Total | 62 | 100 |
Note: This does not include memory shards from hard mission drops. These only include the ones you are guaranteed to get assuming you complete the tasks.
As you can see, you'll be getting a lot of memory shards for Miyako (Halloween). You'll need it if you plan to level her up and use her in the future.
Last Update: September 22, 2021
