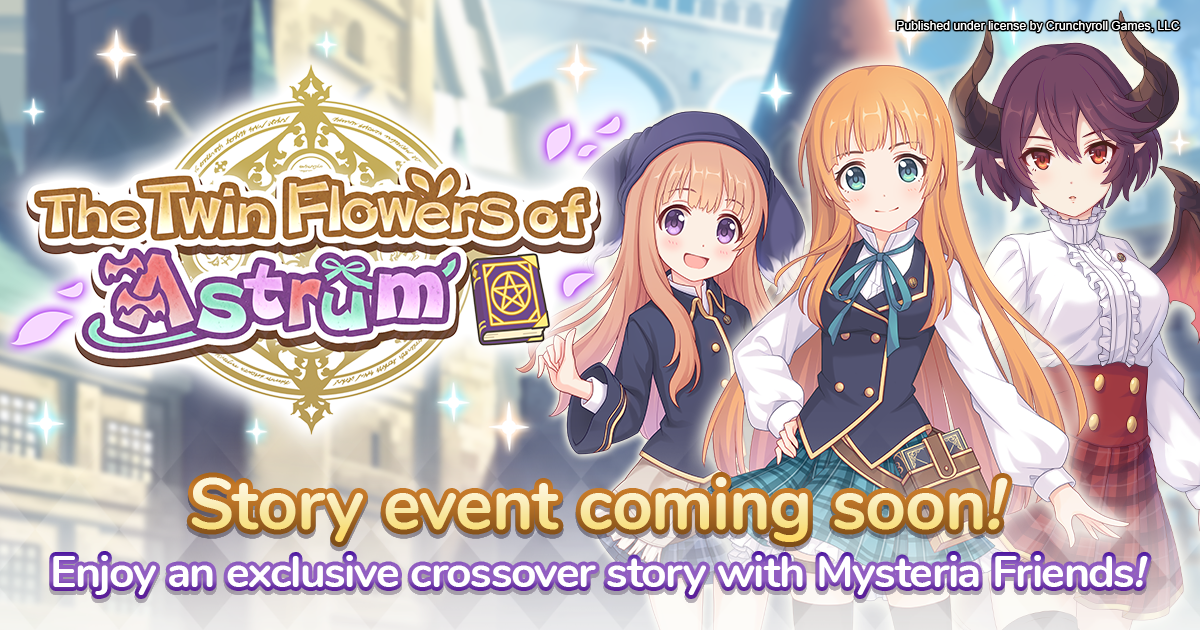
Welcome back to another edition of our Princess Connect! Re: Dive story event guides! This is the first crossover event in the EN/WW version of Princess Connect! Re: Dive featuring Lou, Anne, and Grea from Mysteria Friends. All the information is from the JP server when they first ran the event, and if past events are anything to go by, we should be following the same reward chart. Let's dive into our first crossover event!
Anne Focus Banner
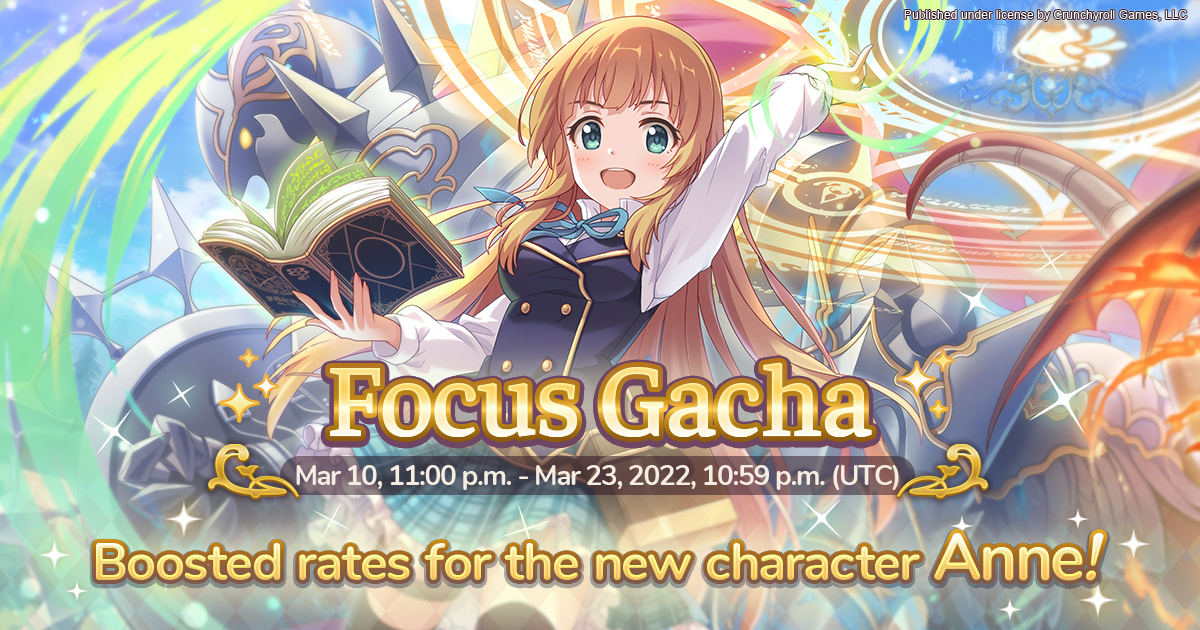
Anne is a magic character that has a strong kit and provides quite a bit of magic damage. She'll see use in clan battle, regular stages, and arena. If you're in a top-tier clan, you're probably rolling for her. Otherwise, this is your best opportunity to obtain her. One of the issues with this banners is that she's a permanent character and she'll eventually be farmable as she has a Hard stage later on. She's still great and you can consider rolling for her if you need more magic damage.
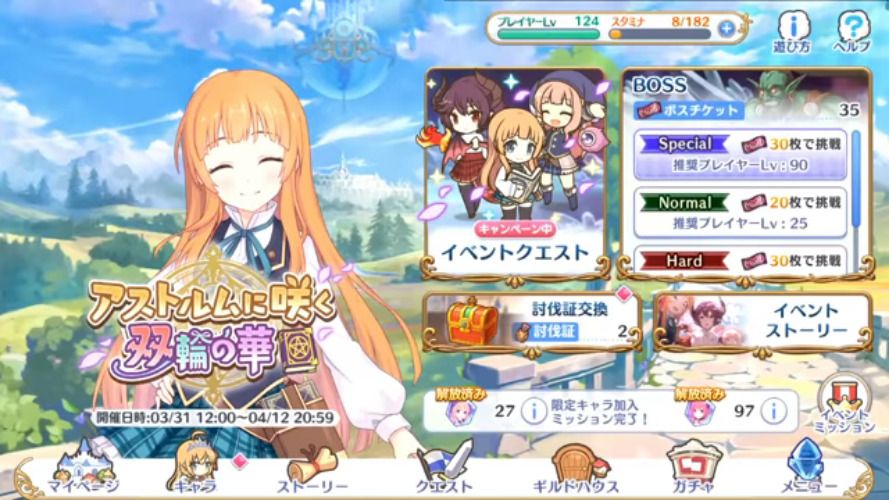
The Twin Flower of Astrum Story Event
This is the thirteenth story event in the EN/WW server. Events generally give a generous amount of items, mana, jewels, and character memory shards. The memory shards featured in this event are for Io and Lou. On top of the rewards, it also adds event story chapters which can be viewed as you complete the event stages.
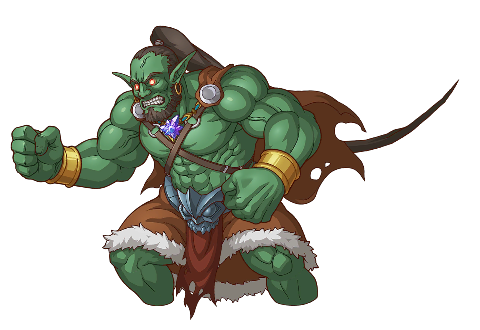
Boss Battle
As with the previous Very Hard boss, this one is much easier just due to our wider variety of characters and increased levels and rank. Completing it in one hit is entirely possible. You get quite a bit more rewards from it and you can only complete it once a day. Don't worry, we've got you covered and will post some sample teams below.
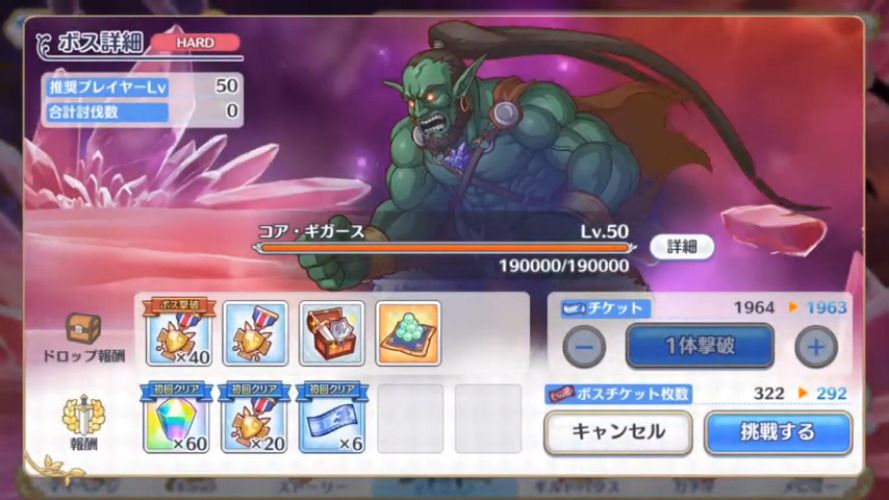
To fight the boss you'll need to obtain enough boss tickets. Each of the stages you clear from the event will provide boss tickets. The boss will come in normal, hard, and very hard. The normal boss should be easily cleared with any team while hard may pose a bit more of a challenge. Very Hard, as previously stated will be a tougher one. Clearing bosses will also provide tokens to be used on the event treasure box. This is the real reason you'll be farming the event. We'll touch on this later on in the article.
The Hard boss can be done using skip tickets after clearing the boss 3 times. This will help speed up the process once you've done your daily Very Hard stage.
There is also another stage known as Special once you have unlocked the third gacha box in the event. This stage is where the majority of the difficulty for the event is. Clearing out missions related to this special stage will give a plethora of rewards. It'll just take a lot of boss tickets. We'll go more into it later on in the article.
The hard, very hard, and special boss will have a larger pool of HP and also additional skills. Of course, with the more difficult boss, the rewards will also be greater. This version of the boss also does more damage and has a more difficult attack pattern once below 50% HP. (Think of it as them hitting their limit break.) We will recommend some potential parties below for those struggling to clear the hard and very hard versions of the boss.
| Difficulty | HP | Union Burst | Skill 1 | Skill 2 | Skill 3 |
|---|---|---|---|---|---|
 Normal NormalLvl. 25 |
35,000 | Deals large physical damage to all enemies. | Deals medium physical damage to the front 3 enemies. | Deals physical damage to all enemies and knocks them back. | |
|
Hard Lvl. 50 |
190,000 | Deals large physical damage to all enemies. | Deals medium physical damage to the front 3 enemies. | Goes into defensive stance inflicts physical damage to all enemies according to the damage received. Paralyzes the front 2 characters. | Deals physical damage to all enemies and knocks them back. |
|
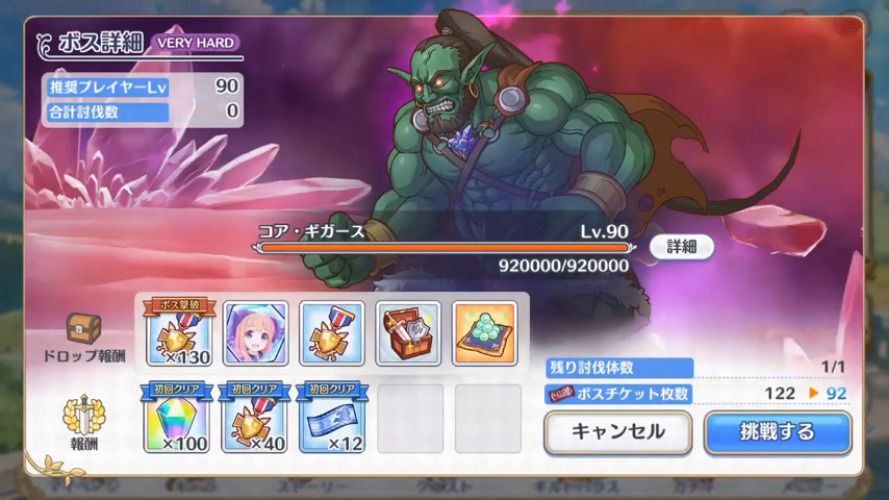
Very Hard Lvl. 90 |
920,000 | Deals large physical damage to all enemies. | Deals medium physical damage to the front 3 enemies. | Goes into defensive stance inflicts physical damage to all enemies according to the damage received. Paralyzes the front 2 characters. Increases own physical attack. | Deals physical damage to all enemies and knocks them back. |
|
Special Lvl. 90 |
3,000,000 | Deals large physical damage to all enemies. | Deals medium physical damage to the front 3 enemies. | Goes into defensive stance inflicts physical damage to all enemies according to the damage received. Paralyzes the front 2 characters. Increases own physical attack. | Deals physical damage to all enemies and knocks them back. |
As you can see above, you notice the boss does a lot of physical damage. The second skill is also quite annoying due to defense mechanic similar to previous turtle enemies. You probably do not want to UB into the boss during that skill but with tanky enough units, they should be able to survive at least into the Very Hard boss. The last skill is also annoying as it displaces your units and also makes you lose damage since they have to walk back out front. Also, don't forget about the 50% enrage mechanic for the Hard and Very Hard boss. Defeating the Very Hard boss will also drop a large number of rewards and a Lou memory shard. Remember, you can only defeat the Very Hard boss once daily.
Suggested Teams
By now, the Hard boss should be fairly simple. It is only level 50 and doesn't hit too hard compared to the Very Hard boss. This worked in JP assuming your characters are rank 9 and above and around level 90 or so. You may need to level up your characters or try different combinations to get a decent clear. The boss move set for Hard is the same as the normal boss with a higher health bar and more damage.
 Yui Yui |
 Shiori Shiori |
 Kokkoro Kokkoro |
 Kaori Kaori |
 Miyako Miyako |
|---|
The above team is a fairly standard team composition for players that are mostly F2P or newer to the game. You can basically slot in any unit you like and clear this Hard stage with enough levels and ranks. Not to mention the addition of Unique Equipment for characters like Shiori and Kaori.
Very Hard Boss
The Very Hard boss is where things get spicy. You'll want to bring in a team that can deal with the second skill and survive the large amount of physical attacks from the boss.
 Yui (New Year) Yui (New Year) |
 Christina Christina |
 Makoto Makoto |
 Muimi Muimi |
 Jun Jun |
|---|
This team here is probably the easiest team to clear the boss with. It uses Jun up front to tank and also provides physical damage shred. Yui (New Year) provides the shielding, healing, and the attack reduction for your units to survive. Muimi, Makoto, and Christina provides all the damage you'll need to make quick work of the boss. You can actually replace Jun with Kaori here to deal with the boss faster.
| Yui |
 Eriko (w/ UE) Eriko (w/ UE) |
Makoto |
Kaori |
Jun |
|---|
This second team takes a similar approach to the first team and replaces it with more farmable units. You can also consider using Shiori (w/ UE) to replace Jun and run tankless if you don't have enough damage. If your Kaori is tanky enough, she should survive the damage as the boss basically does attacks that hit multiple units anyway.
Special Mode
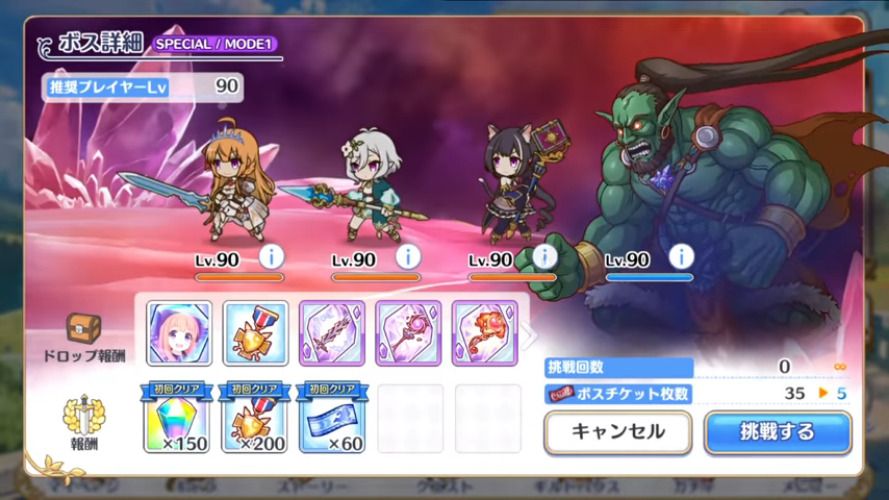
Once you have gotten the key rewards from the third gacha box, you will unlock the Special difficulty. This difficulty is geared toward end-game players and is very difficult. It will likely take 3+ teams to properly clear. It is broken into 3 sections/modes.
Mode 1
 Shadow Pecorine (Lvl. 90) Shadow Pecorine (Lvl. 90)350,000 HP |
 Shadow Kokkoro (Lvl. 90) Shadow Kokkoro (Lvl. 90)200,000 HP |
 Shadow Karyl (Lvl. 90) Shadow Karyl (Lvl. 90)180,000 HP |
Boss (Lvl. 90) 3,000,000 HP |
|---|
The first mode of this boss is effectively fighting the three shadow units of the Gourmet Guild. This is actually fairly straightforward as this combination of units is quite easy to deal with. Shadow Pecorine has quite a bit of HP but once you make it through, the rest should be cleared quite quickly.
Once you clear the Shadow units off, you'll be off to Mode 2.
Mode 2
| Difficulty | HP | Union Burst | Skill 1 | Skill 2 |
|---|---|---|---|---|
|
Special Lvl. 90 |
3,000,000 to 1,500,001 | Deals large physical damage to all enemies. | Deals medium physical damage to the front 3 enemies. | Goes into defensive stance inflicts physical damage to all enemies according to the damage received. Paralyzes the front 2 characters. Increases own physical attack. |
This is basically the same as the Very Hard boss with the third skill missing. You won't have to worry as much since there is no knockback which means you can do more consistent damage to the boss.
Mode 3
| Difficulty | HP | Union Burst | Skill 1 | Skill 2 | Skill 3 |
|---|---|---|---|---|---|
|
Special Lvl. 90 |
1,500,000 | Deals large physical damage to all enemies. | Deals medium physical damage to the front 3 enemies. | Goes into defensive stance inflicts physical damage to all enemies according to the damage received. Paralyzes the front 2 characters. Increases own physical attack. | Deals physical damage to all enemies and knocks them back. |
This is exactly the same as the Very Hard boss. Just be aware of the knockback and the high amount of physical damage being dealt here.
Suggested Teams
Mode 1:
| Yui (New Year) |
 Shinobu Shinobu |
Makoto |
Muimi |
Jun |
|---|
This team is more of a unique team as it uses Shinobu. The objective of this team is to kill the three Shadow units for the Gourmet Guild and make it to Mode 2. You'll need quite a bit of firepower to make it through Shadow Pecorine and that is why there is three def downs on this team. You will need Jun and Yui (New Year) for their healing and tanking as the boss will still throw in some attacks.
| Yui |
 Yukari (w/ UE) Yukari (w/ UE) |
Eriko (w/ UE) |
Makoto |
Jun |
|---|
Similar to the team above but works with a bit more healing from Yukari as well. You'll likely want to manual this team to take full advantage of Yukari. This team is better positioned if you don't have a lot of limited gacha units.
Mode 2:
 Shizuru (Valentine) Shizuru (Valentine) |
Eriko (w/ UE) |
Makoto |
Kaori |
Jun |
|---|
This team is very similar to teams you'll see for Tower of Luna or other high end content clearing teams. You really want to be wary of when the boss goes into their defensive state. You do not want to UB into the boss too many times during that phase or you'll be seeing your party wipe.
| Shinobu |
Christina |
Makoto |
 Nozomi Nozomi |
Jun |
|---|
An alternative team that provides a bit more defense due to having Jun and Nozomi up front. This team likely won't do as much damage as the one above but should still clear Mode 2 one run.
Mode 3:
| Yui (New Year) |
Shizuru (Valentine) |
Christina |
Makoto |
Kaori |
|---|
The third mode is where it is probably best to go full tank-less. You just need to finish off the rest of the boss. Having Yui (New Year) will really boost your survivability between the heal and the shield. Shizuru (Valentine) will also help heal and provide support for the remainder of your team.
| Yui (New Year) |
Christina |
Makoto |
Muimi |
Jun |
|---|
Alternatively, you can bring back the Very Hard team and make sure to control the UBs as much as possible. This is tougher with Muimi since she may be in her UB form. Otherwise, the boss is fairly straightforward.
Rewards
We're finally onto the main point of each of these events: the rewards that come along with it. In addition to the first clear bonuses, there are also a set number of event treasure boxes. Think of it as a mini gacha machine but each one has a set number of items. To roll this treasure gacha box, you get pulls from defeating the event boss and completing daily missions. You do not need to clear out every single item in each box to move on to the next one. However, you will need to obtain the main items in the box. In this case, the main items are the memory shards for the characters. (You would want to collect these anyway.) The contents of each of the boxes are listed below. The endless box also contains shards for Lou so if you want to farm her, there is no better way to do so.
| Box One | |
|---|---|
| Item | Quantity |
 Io Memory Shards x 20 Io Memory Shards x 20 |
1 |
 Jewels x 5 Jewels x 5 |
5 |
 Divine Amulets Divine Amulets |
20 |
 Skip Tickets Skip Tickets |
15 |
 Mana x 7,000 Mana x 7,000 |
20 |
 Rupies x 100 Rupies x 100 |
10 |
 Random Equipment Random Equipment |
300 |
 Superior Refinement Crystals Superior Refinement Crystals |
5 |
 Enhanced Refinement Crystals Enhanced Refinement Crystals |
10 |
 Refinement Crystals Refinement Crystals |
15 |
 Super EXP Potion Super EXP Potion |
5 |
 EXP Potion EXP Potion |
10 |
 Mini EXP Potion Mini EXP Potion |
15 |
| Total | 431 |
| Box Two | |
|---|---|
| Item | Quantity |
 Lou Memory Shards x 25 Lou Memory Shards x 25 |
1 |
|
Jewels x 10 |
10 |
|
Divine Amulets |
25 |
|
Skip Tickets |
20 |
|
Mana x 8,000 |
30 |
|
Rupies x 200 |
15 |
|
Random Equipment |
380 |
|
Superior Refinement Crystals |
7 |
|
Enhanced Refinement Crystals |
12 |
|
Refinement Crystals |
17 |
|
Super EXP Potion |
7 |
|
EXP Potion |
12 |
|
Mini EXP Potion |
17 |
| Total | 553 |
| Box Three | |
|---|---|
| Item | Quantity |
|
Io Memory Shards x 30 |
1 |
|
Jewels x 15 |
15 |
|
Divine Amulets |
30 |
|
Skip Tickets |
20 |
|
Mana x 9,000 |
40 |
|
Rupies x 300 |
20 |
|
Random Equipment |
480 |
|
Superior Refinement Crystals |
9 |
|
Enhanced Refinement Crystals |
14 |
|
Refinement Crystals |
19 |
|
Super EXP Potion |
9 |
|
EXP Potion |
14 |
|
Mini EXP Potion |
19 |
| Total | 690 |
| Box Four | |
|---|---|
| Item | Quantity |
|
Lou Memory Shards x 40 |
1 |
|
Jewels x 25 |
20 |
|
Divine Amulets |
35 |
|
Skip Tickets |
25 |
|
Mana x 10,000 |
50 |
|
Rupies x 250 |
30 |
|
Random Equipment |
550 |
|
Superior Refinement Crystals |
11 |
|
Enhanced Refinement Crystals |
16 |
|
Refinement Crystals |
21 |
|
Super EXP Potion |
11 |
|
EXP Potion |
16 |
|
Mini EXP Potion |
21 |
| Total | 807 |
| Box Five+ | |
|---|---|
| Item | Quantity |
|
Lou Memory Shards x 3 |
1 |
|
Skip Tickets |
10 |
|
Mana x 10,000 |
30 |
|
Rupies x 250 |
20 |
|
Random Equipment |
100 |
|
Superior Refinement Crystals |
5 |
|
Enhanced Refinement Crystals |
10 |
|
Refinement Crystals |
15 |
|
Super EXP Potion |
5 |
|
EXP Potion |
10 |
|
Mini EXP Potion |
15 |
| Total | 226 |
Total Memory Shards
A breakdown of all the possible memory shards gained from missions, story, and the boxes are listed here:
| Location | Io | Lou |
|---|---|---|
| Story Reward | 4 | 4 |
| Normal Quests | 2 | 2 |
| Hard Quests | 6 | 9 |
| Treasure Box | 50 | 65 |
| Event Missions | N/A | 26 |
| Total | 62 | 106 |
Note: This does not include memory shards from hard mission drops. These only include the ones you are guaranteed to get assuming you complete the tasks.
We hope this guide will help you through the latest Story Event! Best of luck to you if you're planning to roll for Anne!
Last Update: March 10, 2022