Welcome back to another edition of our Princess Connect! Re: Dive story event guides! We're here with the Lucent Academy members Suzuna, Misaki, and Io, ready to head out on an adventure. All the information is from the JP server when they first ran the event, and if past events are anything to go by, we should be following the same reward chart. Let's head into it!
Suzuna (Summer) Limited Focus Gacha
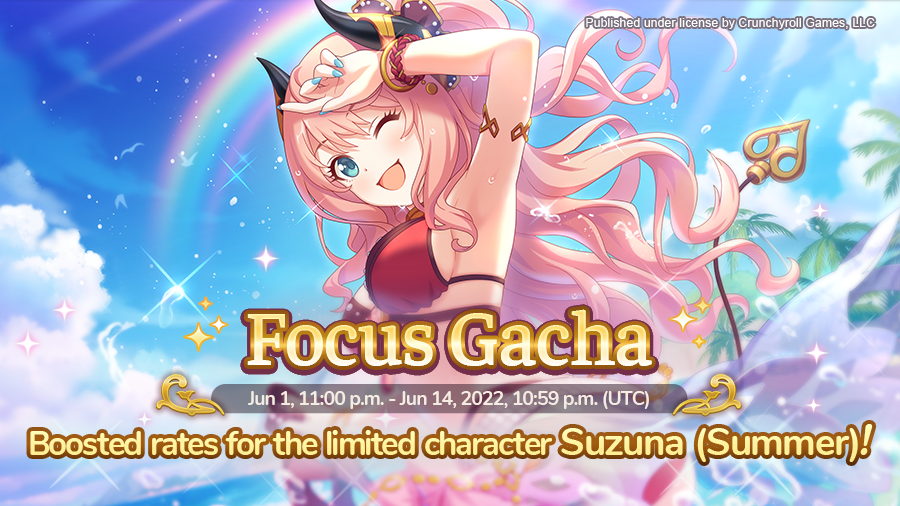
This summer will probably be known as the summer of pain if you're starving for jewels. It's basically three very powerful limited summer banners that really are worth rolling. Unfortunately, Suzuna (Summer) is the first of these banners. She's a very strong archer and does a lot of things you want to see from a limited damage dealer. The downside of course is she requires a lot of investment and needs to get to 5 stars to be most effective in replacing archers you can already use. However, she is a very strong character and will see use in Clan Battle and other normal events. If you're really into Suzuna, you'll definitely be pulling for her. If you're short on jewels and don't want to swipe, maybe you should wait for next year and just roll for Saren (Summer) and Makoto (Summer).
Sorry Jukey. *Sad Suzuna (Summer) noises*
Karyl (Summer) & Peocorine (Summer) Prize Gacha
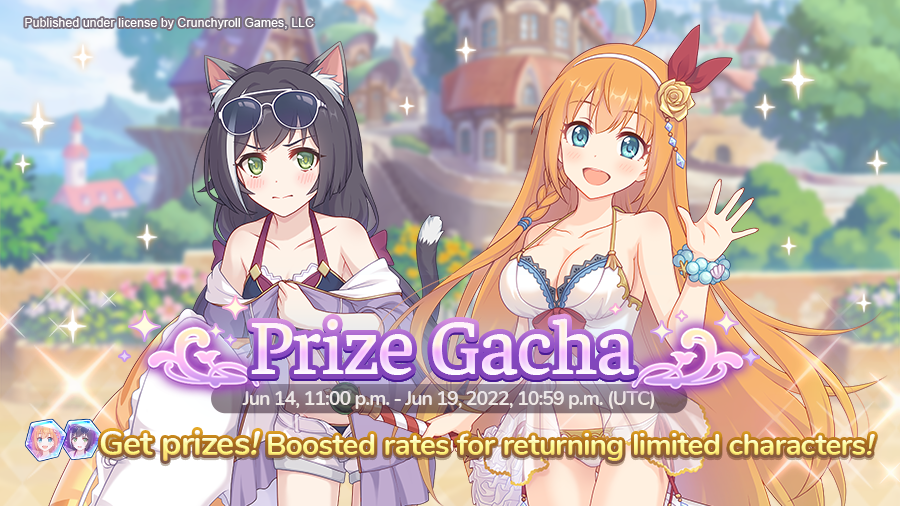
This re-run banner is probably one of the best re-run banners as it features the Prize Gacha mechanic. It basically gives you a chance to get additional Memory Shards and Princess Heart fragments when you roll. UE should be released with this re-run and it makes it tempting for you to pick up some additional Memory Shards if you don't already have the units. Karyl (Summer) is especially strong for any magic team if you don't already have her already. Just make sure you have enough to roll for Saren (Summer).
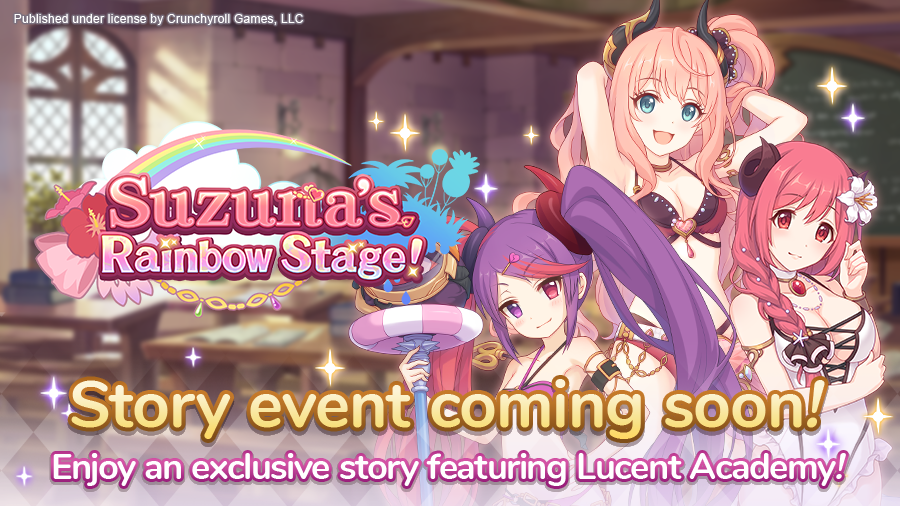
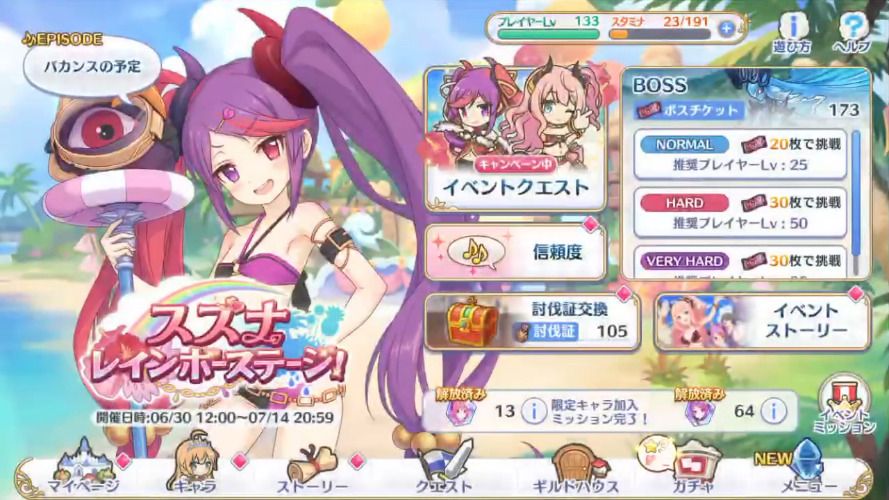
Suzuna's Rainbow Stage! Story Event

This is the sixteenth story event in the EN/WW server. Events generally give a generous amount of items, mana, jewels, and character memory shards. The memory shards featured in this event are for Misaki and Io (Summer). You will also get a free character in 1* Io (Summer). On top of the rewards, it also adds event story chapters which can be viewed as you complete the event stages.
Boss Battle
As with the previous Very Hard boss, this one is much easier just due to our wider variety of characters and increased levels and rank. Completing it in one hit is entirely possible. You get quite a bit more rewards from it and you can only complete it once a day. Don't worry, we've got you covered and will post some sample teams below.
To fight the boss you'll need to obtain enough boss tickets. Each of the stages you clear from the event will provide boss tickets. The boss will come in normal, hard, and very hard. The normal boss should be easily cleared with any team while hard may pose a bit more of a challenge. Very Hard, as previously stated will be a tougher one. Clearing bosses will also provide tokens to be used on the event treasure box. This is the real reason you'll be farming the event. We'll touch on this later on in the article.
The Hard boss can be done using skip tickets after clearing the boss 3 times. This will help speed up the process once you've done your daily Very Hard stage.
There is also another stage known as Special which you will unlock once you have beaten the Very Hard boss. This stage is where the majority of the difficulty for the event is. Clearing out missions related to this special stage will give a plethora of rewards. It'll just take a lot of boss tickets. We'll go more into it later on in the article.
The hard, very hard, and special boss will have a larger pool of HP and also additional skills. Of course, with a more difficult boss, the rewards will also be greater. We will recommend some potential parties below for those struggling to clear the hard and very hard versions of the boss.
| Difficulty | HP | Union Burst | Skill 1 | Skill 2 |
|---|---|---|---|---|
 Normal NormalLvl. 25 |
60,000 | Deals large magic damage to all enemies and pushes them back. Does additional magic damage to enemies in the front range. | Deals medium magic damage to the furthest enemy and pulls them in slightly. | |
|
Hard Lvl. 50 |
425,000 | Deals large magic damage to all enemies and pushes them back. Does additional magic damage to enemies in the front range. | Deals medium magic damage to all enemies in the front range and pushes them back. Deals additional magic damage to the closest enemy. | Deals medium magic damage to the furthest enemy and pulls them in slightly. |
|
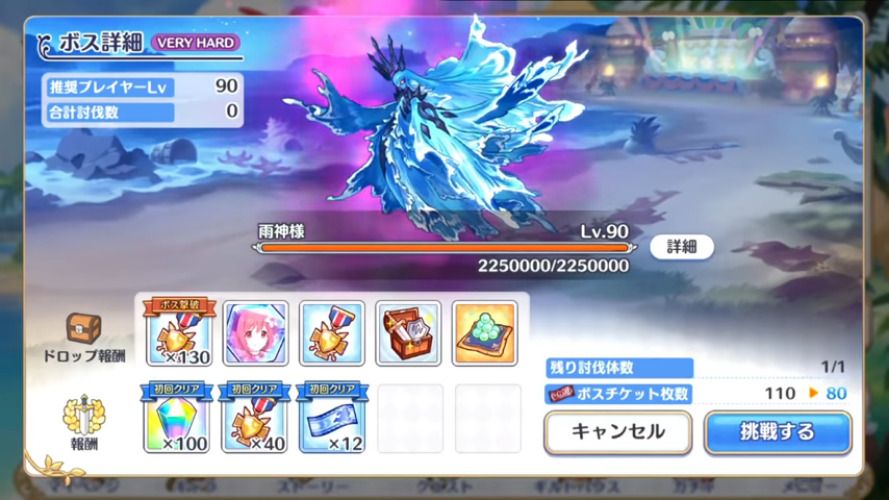
Very Hard Lvl. 90 |
2,250,000 | Deals large magic damage to all enemies and pushes them back. Does additional magic damage to enemies in the front range. | Deals medium magic damage to all enemies in the front range and pushes them back. Deals additional magic damage to the closest enemy. | Deals medium magic damage to the furthest enemy and pulls them in slightly. |
|
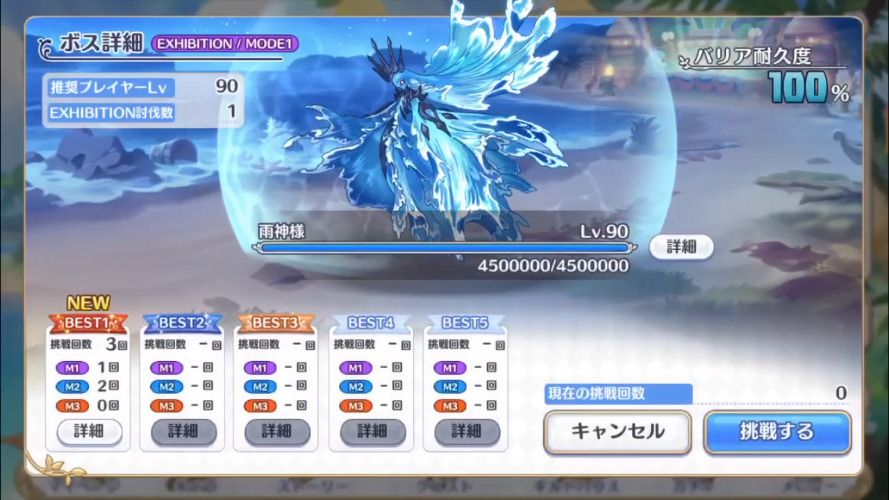
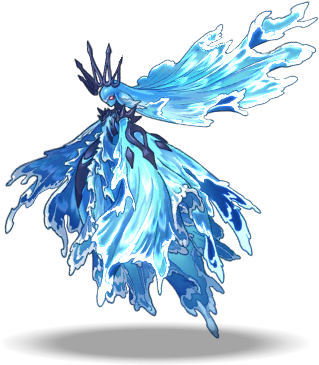
Special Lvl. 90 |
4,500,000 | Deals large magic damage to all enemies and pushes them back. Does additional magic damage to enemies in the front range. | Deals medium magic damage to all enemies in the front range and pushes them back. Deals additional magic damage to the closest enemy. | Deals medium magic damage to the furthest enemy and pulls them in slightly. |
As you can probably see, this boss is going to get quite annoying due to all the displacement. The good thing is we have teams that can do well against this boss without having to do too much work.
Suggested Teams
Hard Boss
Honestly, you can throw just about any of your units at this and beat the Hard version of this boss. Let's just use about the easiest to farm units for this. This worked in JP assuming your characters are rank 9 and above and around level 90 or so. You may need to level up your characters or try different combinations to get a decent clear. The boss move set for Hard is the same as the normal boss with a higher health bar and more damage.
 Yui Yui |
 Shiori Shiori |
 Kokkoro Kokkoro |
 Kaori Kaori |
 Miyako Miyako |
|---|
This is about as F2P as you can get. Miyako can easily tank any of the damage with Kaori and Shiori dealing all the necessary damage to clear out the boss.
Very Hard Boss
The Very Hard version of the boss is where the difficulty starts to ramp up. You'll find that it deals quite a bit of magic damage and the displacement can get very old, very quickly. The good news is you should have the right units to deal with it pretty easily. Just be aware your back unit gets pulled in, so ensure your healer isn't too squishy if you're using one.
| Shiori (w/ UE) |
 Rin (w/ UE) Rin (w/ UE) |
 Djeeta (w/ UE) Djeeta (w/ UE) |
 Makoto (w/ UE) Makoto (w/ UE) |
 Jun (w/ UE) Jun (w/ UE) |
|---|
Our first team here is a pretty standard team with Jun tanking up front. Rin provides additional buffs, healing, and defense for the team. Makoto, Djeeta, and Shiori will make short work of the boss.
 Yui (New Year) Yui (New Year) |
 Suzuna(Summer) Suzuna(Summer) |
 Christina Christina |
Makoto (w/ UE) |
 Muimi Muimi |
|---|
Do you happen to have a whale box? Do you want to drop using Jun? Do you want to just deal lots of damage? If so, this team is for you. The usage of 4 DPS units and Yui (New Year) to keep your team alive will make short work of this boss. Just ensure your units are up to rank for this composition as they'll need a little more survivability.
 Kyoka (w/ UE) Kyoka (w/ UE) |
 Anne Anne |
 Anna (w/ UE) Anna (w/ UE) |
 Illya (w/ UE) Illya (w/ UE) |
 Kuka (w/ UE) Kuka (w/ UE) |
|---|
Looking to put your magic units to work? You can also use the above team here to take care of the boss. If you're lacking survivability and have enough magic damage, you can replace Illya with Akari. The above team will likely work better as you're just trying to brute force the boss.
Special Mode
Once you clear the Very Hard boss, you will unlock the Special difficulty. This difficulty is geared toward end-game players and is very difficult. It will likely take 3+ teams to properly clear. It is broken into 3 sections/modes.
Mode 1
| Difficulty | HP | Union Burst | Skill 1 | Gimmick |
|---|---|---|---|---|
|
Special Lvl. 90 |
4,500,000 | Deals large magic damage to all enemies and pushes them back. Does additional magic damage to enemies in the front range. | Deals medium magic damage to all enemies in the front range and pushes them back. Deals additional magic damage to the closest enemy. | The boss has a shield that absorbs all damage taken. It doesn't have an HP bar but instead has 200 charges. Each attack takes away one charge. |
Mode 1 is about as easy as it gets. The boss has a shield that absorbs 200 attacks. You just need to hit it enough times to break it. It's probably one of the most forgiving Mode 1's in a while.
Mode 2
| Difficulty | HP | Union Burst | Skill 1 | Skill 2 | Gimmick |
|---|---|---|---|---|---|
|
Special Lvl. 90 |
4,500,000 to 2,250,001 | Deals large magic damage to all enemies and pushes them back. Does additional magic damage to enemies in the front range. | Deals medium magic damage to all enemies in the front range and pushes them back. Deals additional magic damage to the closest enemy. | Deals medium magic damage to the furthest enemy and pulls them in slightly. | Summons a cursed crystal behind itself at the start of the fight. Deals continuous damage to all enemies. If your enemy heals, they instead take 10% of the healed amount in damage. |
So the gimmick in Mode 2 makes up for the easy Mode 1. It basically summons a crystal behind itself that disables your healing and deals continuous damage to all your units. You can actually kill this crystal with the right teams. Healers are really bad here for the most part since you're just killing your team when you use heal abilities.
Mode 3
| Difficulty | HP | Union Burst | Skill 1 | Skill 2 |
|---|---|---|---|---|
|
Special Lvl. 90 |
2,250,000 | Deals large magic damage to all enemies and pushes them back. Does additional magic damage to enemies in the front range. | Deals medium magic damage to all enemies in the front range and pushes them back. Deals additional magic damage to the closest enemy. | Deals medium magic damage to the furthest enemy and pulls them in slightly. |
Mode 3 is basically the Very Hard boss all over again. Nothing really new here, you'll want to clear it as soon as possible since the boss does quite a bit of magic damage and enrages as well.
Suggested Teams
Mode 1:
| Rin (w/ UE) |
Djeeta (w/ UE) |
 Tomo (w/ UE) Tomo (w/ UE) |
 Tamaki (w/ UE) Tamaki (w/ UE) |
 Hiyori (w/ UE) Hiyori (w/ UE) |
|---|
We'll provide one team here as an example. Basically, you want a team that can hit the boss 200 times and deal some damage to Mode 2 of the boss. Hiyori, Tamaki, Tomo, and Djeeta are some of the best units to do that as they all have multi hit UBs. You can replace Rin with Nozomi if you need more of a frontline presense.
Mode 2:
| Rin (w/ UE) |
 Shinobu Shinobu |
Djeeta (w/ UE) |
Tomo (w/ UE) |
Tamaki (w/ UE) |
|---|
Our first suggested team for Mode 2 takes a similar approach to the previous team. We want to deal damage to the boss and also be able to kill the crystal in the back. We do not use a healer as we would just be hurting ourselves due to the gimmick. Remember, you can't heal when the crystal is alive. Tamaki's UB will target the crystal, so she'll be very useful in this Mode 2.
| Rin (w/ UE) |
Shinobu (w/ UE) |
 Mimi (w/ UE) Mimi (w/ UE) |
Djeeta (w/ UE) |
Muimi |
|---|
Another alternative team to consider is bringing Mimi and Muimi instead of using Tamaki and Tomo. Muimi will apply a lot more pressure and will deal a lot more damage to the boss. The crystal will die very quickly to the first Mimi UB combined with Muimi AOE attacks after using her UB.
Mode 3:
| Shiori (w/ UE) |
Rin (w/ UE) |
Djeeta (w/ UE) |
Makoto (w/ UE) |
Jun (w/ UE) |
|---|
We can basically recycle the teams we used against the Very Hard boss here to make short work of the boss.
| Yui (New Year) |
Suzuna (Summer) |
Djeeta (w/ UE) |
Makoto (w/ UE) |
Jun (w/ UE) |
|---|
We're back with Suzuna (Summer) simping. Look, she's a good character, what can we say?
| Kyoka (w/ UE) |
Anne |
Anna (w/ UE) |
Illya (w/ UE) |
Kuka (w/ UE) |
|---|
Again, this magic team will work just as well here. Just make sure youre units are at least rank 12 or 13 here. You don't want your mages being too squishy for this boss. (If you're hardcore CB and you don't want to rank up units, you probably don't want to use this team here.)
Rewards
We're finally onto the main point of each of these events: the rewards that come along with it. In addition to the first clear bonuses, there are also a set number of event treasure boxes. Think of it as a mini gacha machine but each one has a set number of items. To roll this treasure gacha box, you get pulls from defeating the event boss and completing daily missions. You do not need to clear out every single item in each box to move on to the next one. However, you will need to obtain the main items in the box. In this case, the main items are the memory shards for the characters. (You would want to collect these anyway.) The contents of each of the boxes are listed below. The endless box also contains shards for Io (Summer) so if you're down to farm her, there is no better way to do so.
| Box One | |
|---|---|
| Item | Quantity |
 Misaki Memory Shards x 20 Misaki Memory Shards x 20 |
1 |
 Jewels x 5 Jewels x 5 |
5 |
 Divine Amulets Divine Amulets |
20 |
 Skip Tickets Skip Tickets |
15 |
 Mana x 7,000 Mana x 7,000 |
20 |
 Rupies x 100 Rupies x 100 |
10 |
 Random Equipment Random Equipment |
300 |
 Superior Refinement Crystals Superior Refinement Crystals |
5 |
 Enhanced Refinement Crystals Enhanced Refinement Crystals |
10 |
 Refinement Crystals Refinement Crystals |
15 |
 Super EXP Potion Super EXP Potion |
5 |
 EXP Potion EXP Potion |
10 |
 Mini EXP Potion Mini EXP Potion |
15 |
| Total | 431 |
| Box Two | |
|---|---|
| Item | Quantity |
 Io (Summer) Memory Shards x 25 Io (Summer) Memory Shards x 25 |
1 |
|
Jewels x 10 |
10 |
|
Divine Amulets |
25 |
|
Skip Tickets |
20 |
|
Mana x 8,000 |
30 |
|
Rupies x 200 |
15 |
|
Random Equipment |
380 |
|
Superior Refinement Crystals |
7 |
|
Enhanced Refinement Crystals |
12 |
|
Refinement Crystals |
17 |
|
Super EXP Potion |
7 |
|
EXP Potion |
12 |
|
Mini EXP Potion |
17 |
| Total | 553 |
| Box Three | |
|---|---|
| Item | Quantity |
|
Misaki Memory Shards x 30 |
1 |
|
Jewels x 15 |
15 |
|
Divine Amulets |
30 |
|
Skip Tickets |
20 |
|
Mana x 9,000 |
40 |
|
Rupies x 300 |
20 |
|
Random Equipment |
480 |
|
Superior Refinement Crystals |
9 |
|
Enhanced Refinement Crystals |
14 |
|
Refinement Crystals |
19 |
|
Super EXP Potion |
9 |
|
EXP Potion |
14 |
|
Mini EXP Potion |
19 |
| Total | 690 |
| Box Four | |
|---|---|
| Item | Quantity |
|
Io (Summer) Memory Shards x 40 |
1 |
|
Jewels x 25 |
20 |
|
Divine Amulets |
35 |
|
Skip Tickets |
25 |
|
Mana x 10,000 |
50 |
|
Rupies x 250 |
30 |
|
Random Equipment |
550 |
|
Superior Refinement Crystals |
11 |
|
Enhanced Refinement Crystals |
16 |
|
Refinement Crystals |
21 |
|
Super EXP Potion |
11 |
|
EXP Potion |
16 |
|
Mini EXP Potion |
21 |
| Total | 807 |
| Box Five+ | |
|---|---|
| Item | Quantity |
|
Io (Summer) Memory Shards x 3 |
1 |
|
Skip Tickets |
10 |
|
Mana x 10,000 |
30 |
|
Rupies x 250 |
20 |
|
Random Equipment |
100 |
|
Superior Refinement Crystals |
5 |
|
Enhanced Refinement Crystals |
10 |
|
Refinement Crystals |
15 |
|
Super EXP Potion |
5 |
|
EXP Potion |
10 |
|
Mini EXP Potion |
15 |
| Total | 226 |
Total Memory Shards
A breakdown of all the possible memory shards gained from missions, story, and the boxes are listed here:
| Location | Misaki | Io (Summer) |
|---|---|---|
| Story Reward | 4 | 4 |
| Normal Quests | 2 | 2 |
| Hard Quests | 6 | 9 |
| Treasure Box | 50 | 65 |
| Event Missions | N/A | 26 |
| Total | 62 | 106 |
Note: This does not include memory shards from hard mission drops. These only include the ones you are guaranteed to get assuming you complete the tasks.
That concludes our Suzuna's Rainbow Stage Story Event guide. This event is the start of the slew of the second year Summer banners. You'll want to make sure you roll for Saren (Summer) when she's released. She is basically a core unit that sees use in all situations. Good luck to everyone rolling for Suzuna (Summer)! We'll see you here next time.
Last Update: April 2, 2022