Welcome back to another edition of our Princess Connect! Re: Dive story event guides! We're back to our regular Princess Connect! Re:Dive events as our last one was a crossover event. Well, however normal an event featuring Weissflügel can get. All the information is from the JP server when they first ran the event, and if past events are anything to go by, we should be following the same reward chart. Let's head straight into it!
Kuka (Oedo) & Christina Princess Gala
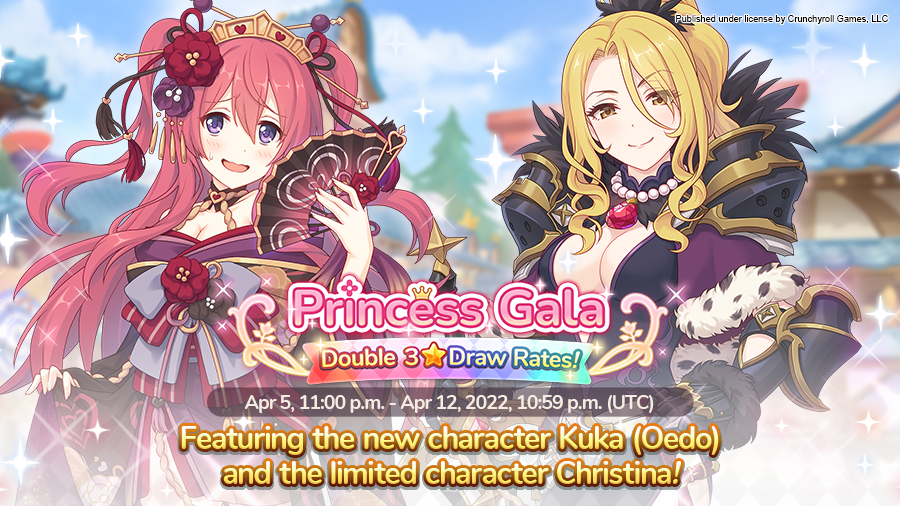
Kuka (Oedo) is featured along with Christina in this Princess Gala banner. Kuka (Oedo) will also be featured in her own separate banner after this one is done. She is a great magic tank and will see use later on for event bosses and even CB. However, she is not a limited unit and the need to roll for her is lessened by that fact. If you do not have Christina or Muimi, this is your best opportunity to roll for them. That is on top of the doubled 3* rates. If you have the limited Princess Gala characters already, you can easily skip this banner. If you plan to roll for Kuka (Oedo), this is probably the better banner since generally, you'll be rolling more 3* which means more new characters or at least more divine amulets.
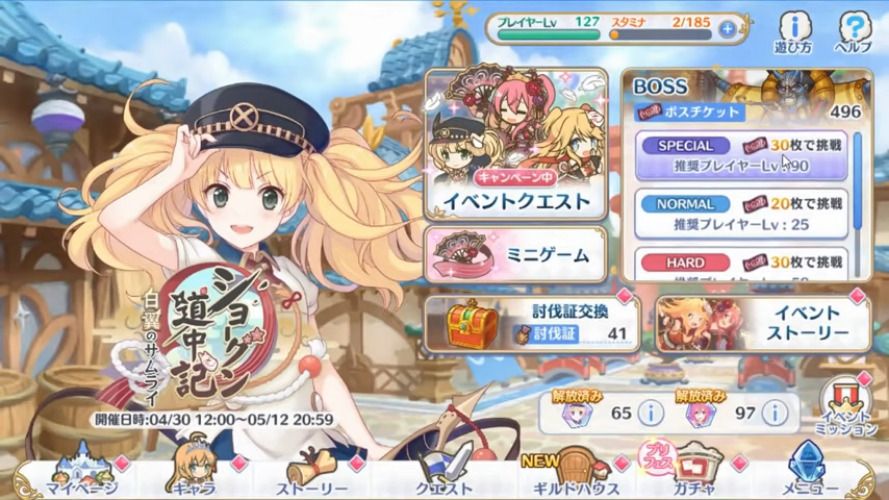
Shogun Chronicles: The Whitewing Samurai Story Event
This is the fourteenth story event in the EN/WW server. Events generally give a generous amount of items, mana, jewels, and character memory shards. The memory shards featured in this event are for Kuka and Monika. On top of the rewards, it also adds event story chapters which can be viewed as you complete the event stages.
Boss Battle
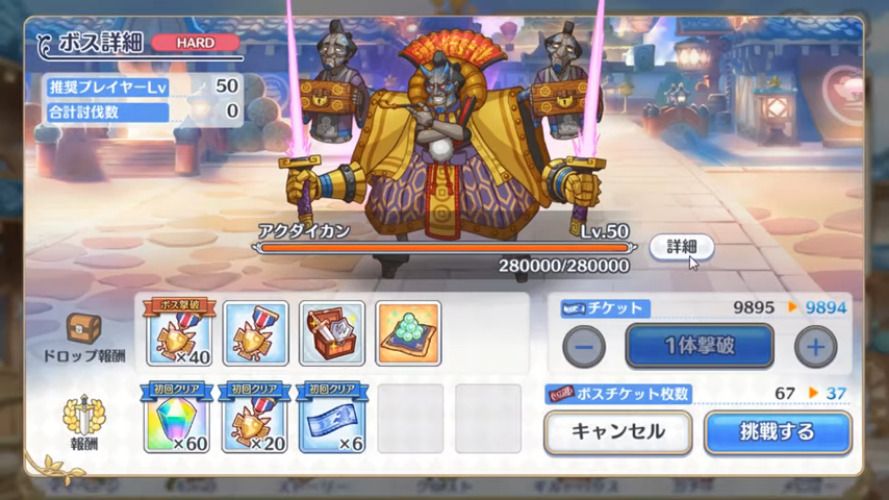
As with the previous Very Hard boss, this one is much easier just due to our wider variety of characters and increased levels and rank. Completing it in one hit is entirely possible. You get quite a bit more rewards from it and you can only complete it once a day. Don't worry, we've got you covered and will post some sample teams below.
To fight the boss you'll need to obtain enough boss tickets. Each of the stages you clear from the event will provide boss tickets. The boss will come in normal, hard, and very hard. The normal boss should be easily cleared with any team while hard may pose a bit more of a challenge. Very Hard, as previously stated will be a tougher one. Clearing bosses will also provide tokens to be used on the event treasure box. This is the real reason you'll be farming the event. We'll touch on this later on in the article.
The Hard boss can be done using skip tickets after clearing the boss 3 times. This will help speed up the process once you've done your daily Very Hard stage.
There is also another stage known as Special once you have unlocked the third gacha box in the event. This stage is where the majority of the difficulty for the event is. Clearing out missions related to this special stage will give a plethora of rewards. It'll just take a lot of boss tickets. We'll go more into it later on in the article.
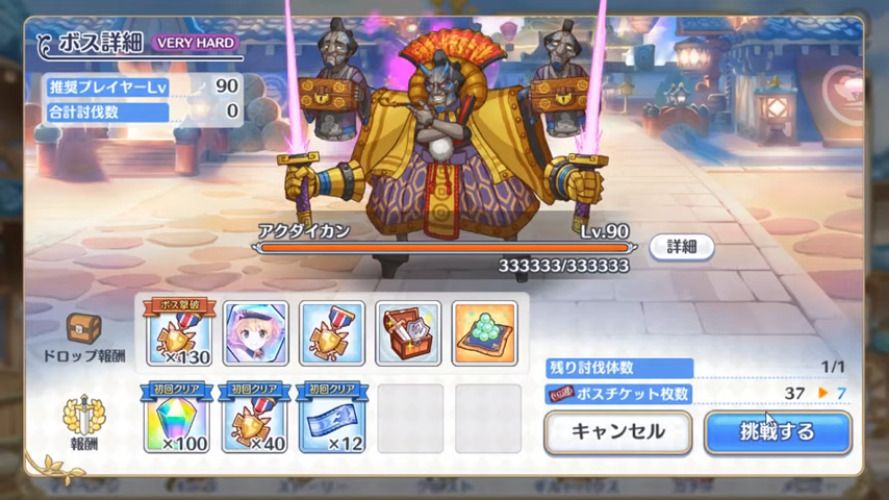
The hard, very hard, and special boss will have a larger pool of HP and also additional skills. Of course, with the more difficult boss, the rewards will also be greater. This version of the boss also does more damage and has a more difficult attack pattern once below 50% HP. (Think of it as them hitting their limit break.) We will recommend some potential parties below for those struggling to clear the hard and very hard versions of the boss.
| Difficulty | HP | Union Burst | Skill 1 |
|---|---|---|---|
|
Lvl. 25 |
60,000 | Deals large physical damage to all enemies equal to their maximum HP and increases self physical attack. | |
|
Lvl. 50 |
280,000 | Deals large physical damage to all enemies equal to their maximum HP and increases self physical attack. | |
|
Lvl. 90 |
333,333 | Deals large physical damage to all enemies equal to their maximum HP and increases self physical attack. Sets all dolls summoned HP to 0. | Summons a doll that deals physical damage. When the summon HP reaches 0, the doll explodes dealing physical damage to all enemies in range. |
|
Lvl. 90 |
1,500,000 | Deals large physical damage to all enemies equal to their maximum HP and increases self physical attack. Sets all dolls summoned HP to 0. | Summons a doll that deals physical damage. When the summon HP reaches 0, the doll explodes dealing physical damage to all enemies in range. |
As seen above, the boss doesn't really have many skills. The Normal and Hard versions are very easy to fight as it only does physical damage through normal attacks and the UB. Things get tricky with the Very Hard and Special version of the boss as it constantly summons dolls that explode if the boss gets to UB with them out. This explosion will wipe your team if enough of them stack up.
Suggested Teams

Honestly, you can throw just about any of your units at this and beat the Hard version of this boss. Let's just use about the easiest to farm units for this. This worked in JP assuming your characters are rank 9 and above and around level 90 or so. You may need to level up your characters or try different combinations to get a decent clear. The boss move set for Hard is the same as the normal boss with a higher health bar and more damage.
This is about as F2P as you can get. Miyako can easily tank any of the damage with Kaori and Shiori dealing all the necessary damage to clear out the boss.
Very Hard Boss

Very Hard is where it starts to get interesting. The boss will constantly summon dolls that deal physical damage. However, when the boss UBs, all the summons will explode and deal damage to all your characters. You really do not want them to stack up. Your team will melt.
This is probably the best physical team you can build here. The mix of AOE damage between Muimi and Tomo should help you clear out the summoned dolls before the boss gets off a UB to explode your team. Muimi will also gain TP from defeating them, so her uptime for her UB form will be much longer.
For players without Muimi, this battle gets a bit tougher when you use a physical team. You can replace Muimi with Shiori (w/ UE) and slot in Shinobu or Shinobu (Halloween). You'll need to do a few tests but this team composition should work given our ranks and max level.
Magic teams is probably the safest bet as the boss has less magic defense than physical defense. However, the units you need are pretty specialized and require quite a bit of investment. This team basically rushes down the boss and Illya easily takes care of the summons.
(Summer) |
|---|
If you're feeling risky, you can even replace Misato and go fully on the offensive. Grea makes a great magic front-liner and brings together the duo of Anne and Grea. Illya will be relatively safe as she won't be tanking the brunt of the front damage.
Special Mode
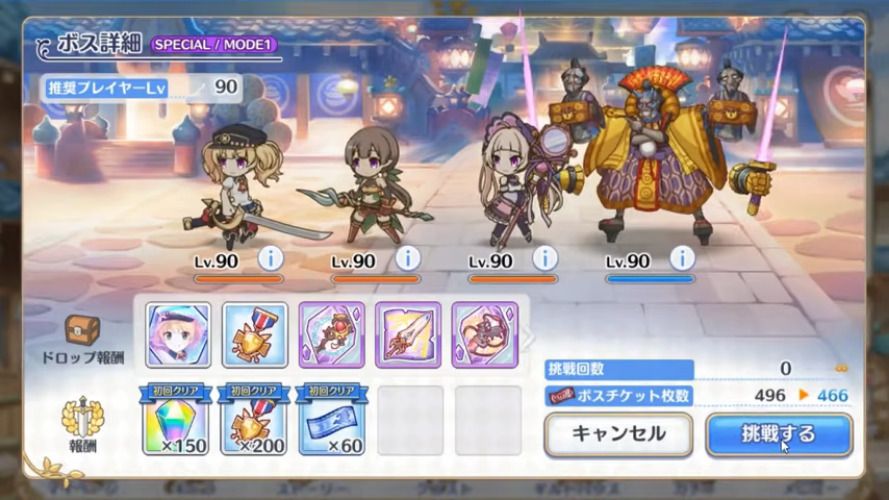
Once you have gotten the key rewards from the third gacha box, you will unlock the Special difficulty. This difficulty is geared toward end-game players and is very difficult. It will likely take 3+ teams to properly clear. It is broken into 3 sections/modes.
Mode 1
450,000 HP |
330,000 HP |
210,000 HP |
1,500,000 HP |
|---|
The first Mode is fighting three shadow units in Monika, Ayumi, and Yuki. This is probably the easiest mode of the fight as you'll only need to make it through the shadow units. Ayumi and Yuki can get annoying but with a taunt, you should be able to mitigate a lot of the debuff effects.
Mode 2
| Difficulty | HP | Union Burst | Skill 1 | Skill 2 |
|---|---|---|---|---|
|
Lvl. 90 |
1,500,000 to 750,001 | N/A | Deals physical damage to one character in front. | Deals small physical damage to all enemies and charms them. (Charm cannnot be blocked by shields.) |
This is where it starts to get tough. The boss doesn't have a UB in this mode but the second skill is annoying. It is a charm that goes through your shields so it can't be prevented. You don't want too many of your units doing too much damage or they may kill one another.
Mode 3
| Difficulty | HP | Union Burst | Skill 1 |
|---|---|---|---|
|
Lvl. 90 |
750,000 | Deals large physical damage to all enemies equal to their maximum HP and increases self physical attack. Sets all dolls summoned HP to 0. | Summons a doll that deals physical damage. When the summon HP reaches 0, the doll explodes dealing physical damage to all enemies in range. |
We're back to the Very Hard boss here. We can essentially use the same strategy as before to clear out this boss. Just be aware of the mechanics and clear out the dolls ASAP and you'll be fine.
Suggested Teams
Mode 1:
This is probably the easiest team to build with units you most likely have. You want to have 2 tanks to help alleviate the pressure from the back while Makoto, Tomo, and Eriko clear out the Shadow units.
Similar to the above team but replacing Tomo with Muimi. It works essentially the same way but gives you more offensive pressure.
Mode 2:
This team is probably the most efficient team you can use on Mode 2 as your team will consistently be charmed and attacking one another. The three back units will do most of the damage with Makoto defense down and Eriko + Djeeta UBs. Ruka is the most effective tank due to the defense down and the ability to deal damage with the UB as well.
This second team makes use of Shizuru (Valentine) instead of Nozomi and focuses more on damage. The heal will come in helpful as will the rest of her kit including her field. The idea for both the teams is to use as many characters that can UB as soon as possible as your units will spend a lot of time just auto-attacking one another.
After some testing, we've also found the following teams (Note: They take more than 1 try usually.):
This team will probably take you at least 2 tries. You'll need to spam UBs when they are available and your units aren't charmed. You can try replacing Yukari with Kokkoro (Summer) as well for the additional def down.
Again, same plan as above. You'll need to spam UBs when they are up and your units are not charmed. This one will take about 2-3 tries. Good luck!
Mode 3:
We can just recycle our Very Hard teams from above here to clear out this boss. The skills are the exact same as that version of the boss. You should have a pretty good hang of this by now from doing the VH version daily.
Here's the same magic team as before for reference. You can easily change out units as necessary.
Rewards
We're finally onto the main point of each of these events: the rewards that come along with it. In addition to the first clear bonuses, there are also a set number of event treasure boxes. Think of it as a mini gacha machine but each one has a set number of items. To roll this treasure gacha box, you get pulls from defeating the event boss and completing daily missions. You do not need to clear out every single item in each box to move on to the next one. However, you will need to obtain the main items in the box. In this case, the main items are the memory shards for the characters. (You would want to collect these anyway.) The contents of each of the boxes are listed below.
| Box One | |
|---|---|
| Item | Quantity |
|
|
1 |
|
|
5 |
|
|
20 |
|
|
15 |
|
|
20 |
|
|
10 |
|
|
300 |
|
|
5 |
|
|
10 |
|
|
15 |
|
|
5 |
|
|
10 |
|
|
15 |
| Total | 431 |
| Box Two | |
|---|---|
| Item | Quantity |
|
|
1 |
|
|
10 |
|
|
25 |
|
|
20 |
|
|
30 |
|
|
15 |
|
|
380 |
|
|
7 |
|
|
12 |
|
|
17 |
|
|
7 |
|
|
12 |
|
|
17 |
| Total | 553 |
| Box Three | |
|---|---|
| Item | Quantity |
|
|
1 |
|
|
15 |
|
|
30 |
|
|
20 |
|
|
40 |
|
|
20 |
|
|
480 |
|
|
9 |
|
|
14 |
|
|
19 |
|
|
9 |
|
|
14 |
|
|
19 |
| Total | 690 |
| Box Four | |
|---|---|
| Item | Quantity |
|
|
1 |
|
|
20 |
|
|
35 |
|
|
25 |
|
|
50 |
|
|
30 |
|
|
550 |
|
|
11 |
|
|
16 |
|
|
21 |
|
|
11 |
|
|
16 |
|
|
21 |
| Total | 807 |
| Box Five+ | |
|---|---|
| Item | Quantity |
|
|
5 |
|
|
35 |
|
|
25 |
|
|
50 |
|
|
30 |
|
|
550 |
|
|
11 |
|
|
16 |
|
|
21 |
|
|
11 |
|
|
16 |
|
|
21 |
| Total | 791 |
Total Memory Shards
A breakdown of all the possible memory shards gained from missions, story, and the boxes are listed here:
| Location | Kuka | Monika |
|---|---|---|
| Story Reward | 4 | 4 |
| Normal Quests | 2 | 2 |
| Hard Quests | 6 | 9 |
| Treasure Box | 50 | 65 |
| Event Missions | N/A | 26 |
| Total | 62 | 106 |
Note: This does not include memory shards from hard mission drops. These only include the ones you are guaranteed to get assuming you complete the tasks.
With that, we're at the end of our guide for the Shogun Chronicles: The Whitewing Samurai event. We hope this helps you out! Good luck if you're planning to roll for Kuka (Oedo).
Last Update: April 9, 2022
