Welcome back to another edition of our Princess Connect! Re: Dive story event guides! We're in for another delightful crossover event, this time with Re:ZERO -Starting Life in Another World-. This basically confirms we should be getting all the JP crossover events as this one was the big question mark for a while. Whether you're all in on Rem or Ram or full-on EMT, we've got a guide to help you through this entire event. All the information is from the JP server when they first ran the event, and if past events are anything to go by, we should be following the same reward chart. Let's start!
Rem Limited Focus Gacha
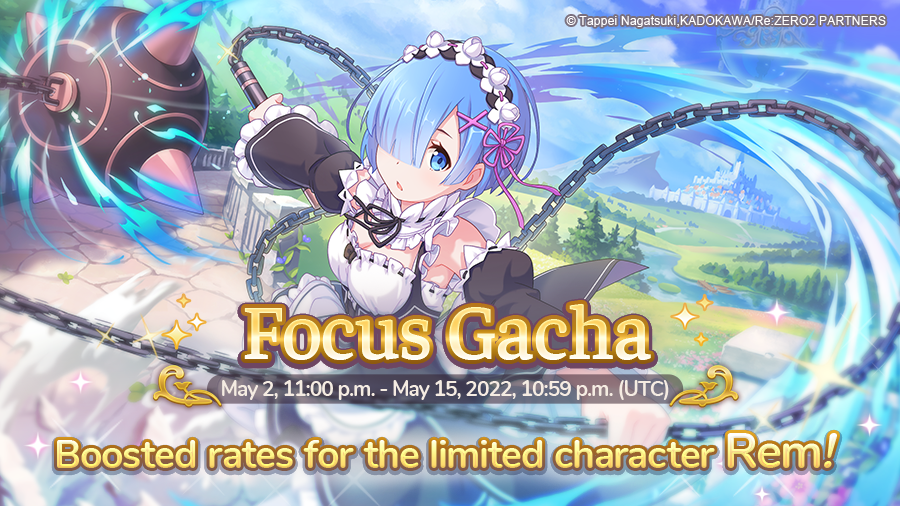
Let's get the more controversial stuff out of the way first, shall we? Should you be pulling on the Limited Re:ZERO banners? We'll start off by discussing a bit about Rem. She's actually a decent support physical damage character. You'll see her used in Arena in defense teams. Her kit makes her interesting but she really shines in Arena and sees less use in other things. It basically comes down to how much you want to collect limited characters. Realistically, you won't get another chance to roll for any of the Re:ZERO characters until they are re-run next year. So if you're collecting limited characters, collecting Re:ZERO characters, or just have Rem as waifu, you should be pulling for her. Just remember, following the Re:ZERO banners are the second-year summer banners. Of those, Summer Saren is a MUST PULL! Trust me, I know how much pain it is not to have her. (Get ready to borrow her every CB.)
Emilia Limited Focus Gacha
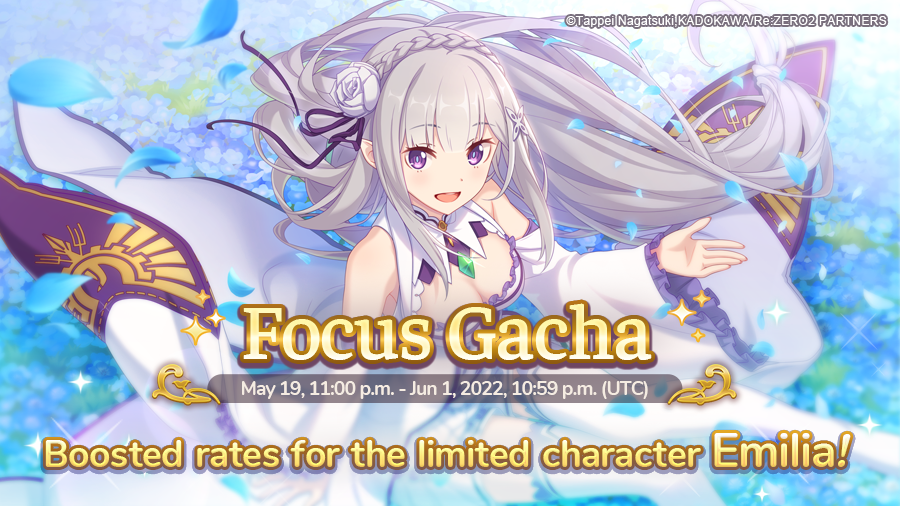
When it comes to Emilia, she fills an even more supportive role. Her UB is used for her healing and unfortunately, her kit just isn't super great. You'll likely see her in some videos or in some guides but she just doesn't see too much use. She'll still be great if you're collecting characters or just EMT. :) Otherwise, you're better off saving for the second-year summer characters. Did I mention Summer Saren is this year? Heck, you might actually want to roll for all 3 new summer characters this year. Summer Suzuna, Summer Makoto, and Summer Saren are all very strong characters that will see lots of CB use.
Re:ZERO -Sharing Lunch in Another World- Story Event
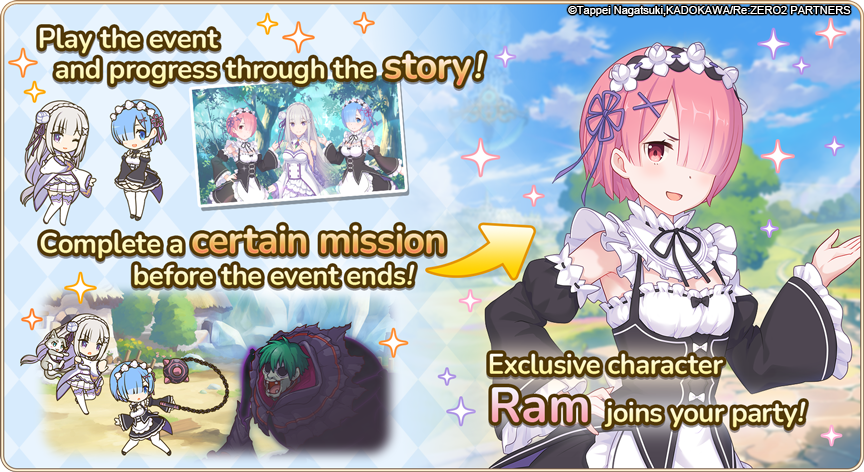
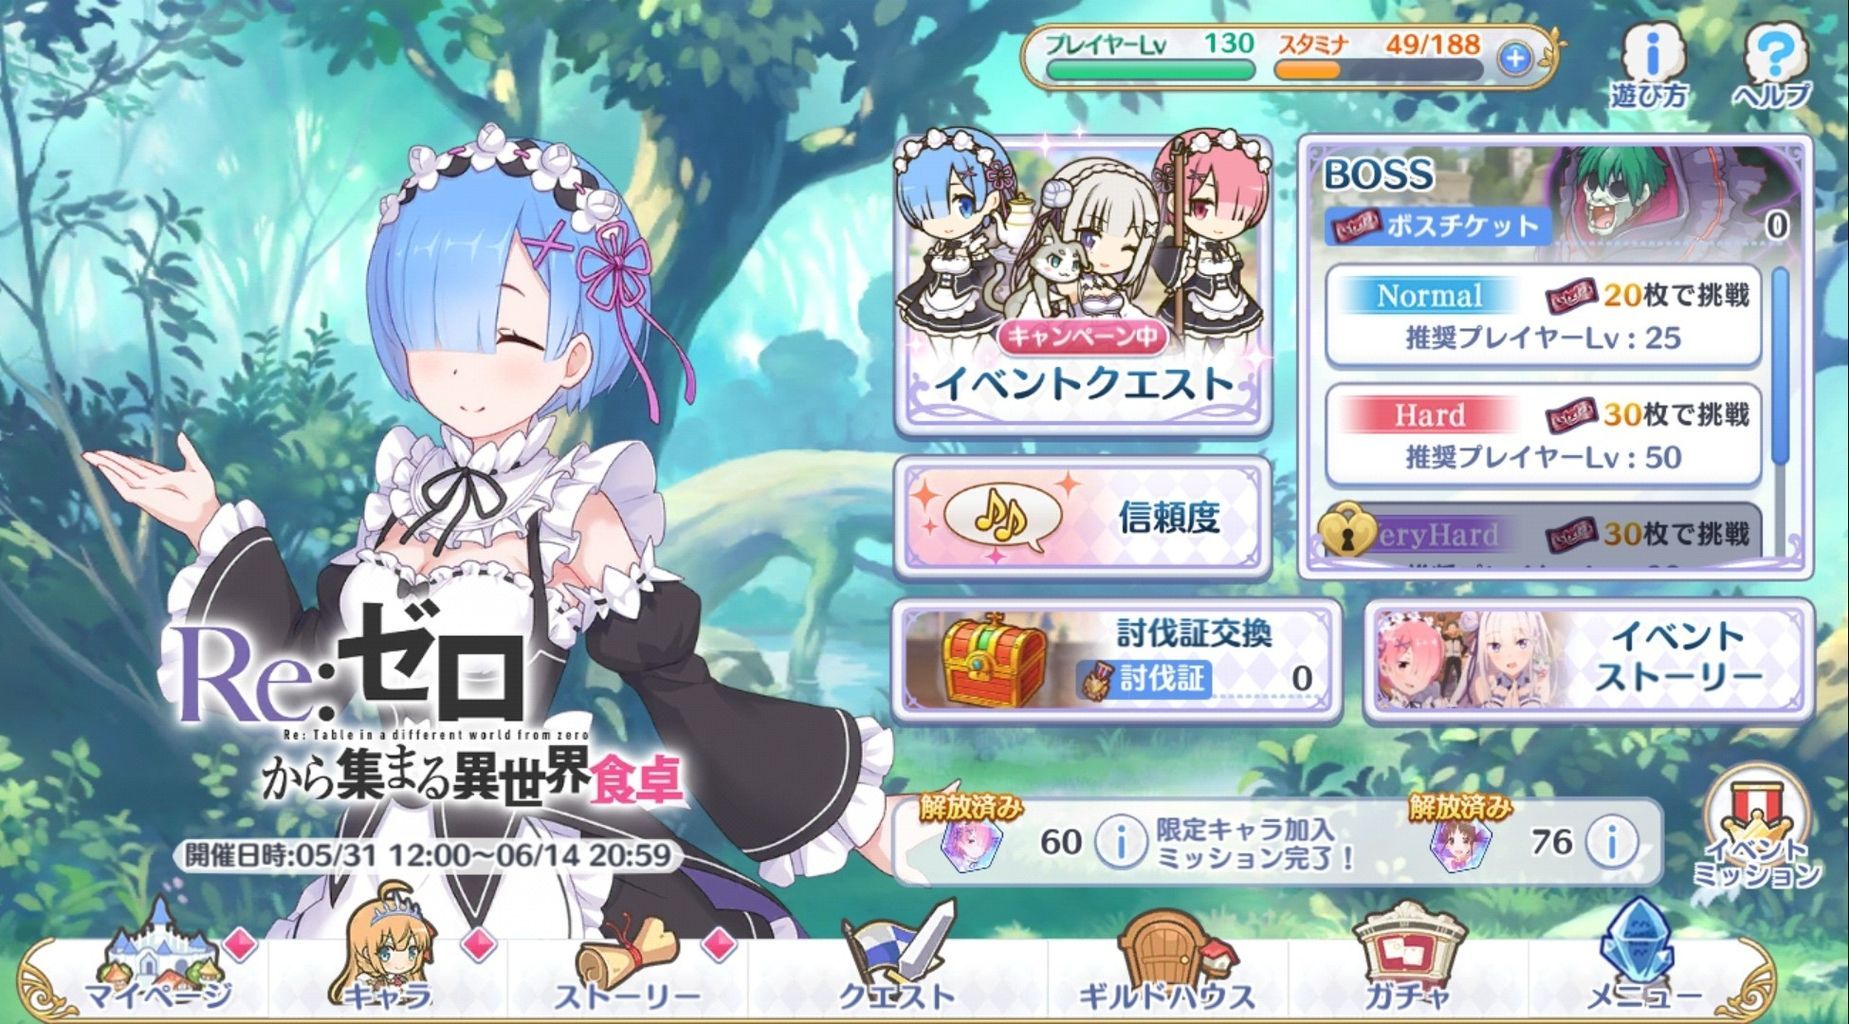
This is the fifteenth story event in the EN/WW server. Events generally give a generous amount of items, mana, jewels, and character memory shards. The memory shards featured in this event are for Suzume and Ram. You will also get a free character in 1* Ram. (Not Rum) On top of the rewards, it also adds event story chapters which can be viewed as you complete the event stages.
Boss Battle
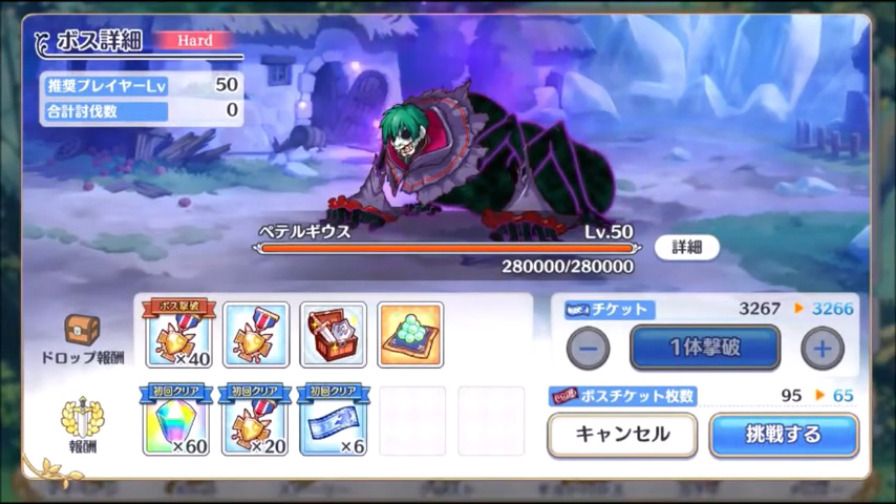
As with the previous Very Hard boss, this one is much easier just due to our wider variety of characters and increased levels and rank. Completing it in one hit is entirely possible. You get quite a bit more rewards from it and you can only complete it once a day. Don't worry, we've got you covered and will post some sample teams below.
To fight the boss you'll need to obtain enough boss tickets. Each of the stages you clear from the event will provide boss tickets. The boss will come in normal, hard, and very hard. The normal boss should be easily cleared with any team while hard may pose a bit more of a challenge. Very Hard, as previously stated will be a tougher one. Clearing bosses will also provide tokens to be used on the event treasure box. This is the real reason you'll be farming the event. We'll touch on this later on in the article.
The Hard boss can be done using skip tickets after clearing the boss 3 times. This will help speed up the process once you've done your daily Very Hard stage.
There is also another stage known as Special once you have unlocked the third gacha box in the event. This stage is where the majority of the difficulty for the event is. Clearing out missions related to this special stage will give a plethora of rewards. It'll just take a lot of boss tickets. We'll go more into it later on in the article.
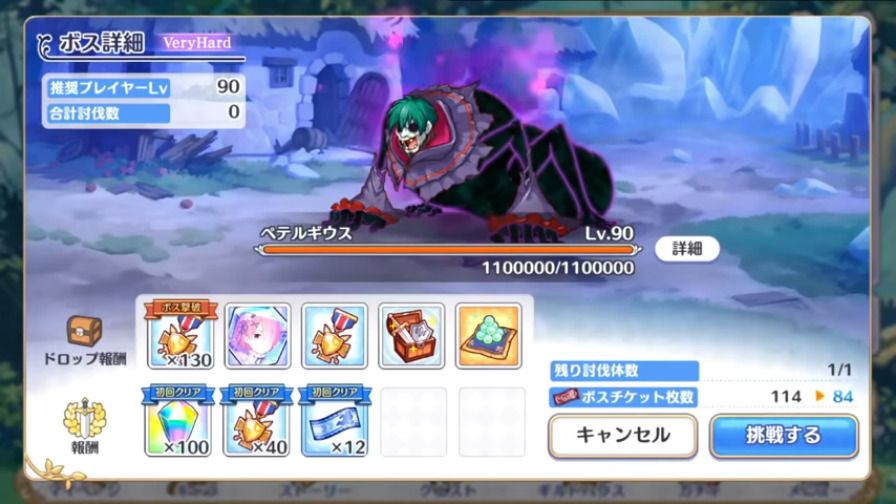
The hard, very hard, and special boss will have a larger pool of HP and also additional skills. Of course, with a more difficult boss, the rewards will also be greater. We will recommend some potential parties below for those struggling to clear the hard and very hard versions of the boss.
| Difficulty | HP | Union Burst | Skill 1 | Skill 2 | Special |
|---|---|---|---|---|---|
|
Lvl. 25 |
48,000 (3000, 1000, 3000) | Deals large magic damage to all enemies. | Deals small magic damage and reduces TP of all enemies in the front range. Deals small magic damage to all enemies. | Deals large physical damage to the back 2 units. | |
|
Lvl. 50 |
280,000 (12,000, 6,000, 12,000) | Deals large magic damage to all enemies. | Deals small magic damage and reduces TP of all enemies in the front range. Deals small magic damage to all enemies. | Deals large physical damage to the back 2 units. | After 50 seconds, the boss deals increased magic damage. |
|
Lvl. 90 |
1,100,000 (400,000, 70,000, 110,000) | Deals large magic damage to all enemies. | Deals small magic damage and reduces TP of all enemies in the front range. Deals small magic damage to all enemies. | Deals large physical damage to the back 2 units. | After 50 seconds, the boss deals increased magic damage. |
|
Lvl. 90 |
3,150,000 | Deals large magic damage to all enemies. | Deals small magic damage and reduces TP of all enemies in the front range. Deals small magic damage to all enemies. | Deals large physical damage to the back 2 units. | After 50 seconds, the boss deals increased magic damage. |
As seen above, the boss is actually a multi-target boss with three targets. Once you break each target, the boss will take more damage. The health bar may seem daunting at first but with the right teams and multi-target teams, you can easily clear the bosses.
Suggested Teams
Hard Boss

Honestly, you can throw just about any of your units at this and beat the Hard version of this boss. Let's just use about the easiest to farm units for this. This worked in JP assuming your characters are rank 9 and above and around level 90 or so. You may need to level up your characters or try different combinations to get a decent clear. The boss move set for Hard is the same as the normal boss with a higher health bar and more damage.
This is about as F2P as you can get. Miyako can easily tank any of the damage with Kaori and Shiori dealing all the necessary damage to clear out the boss.
Very Hard Boss

Very Hard is where the boss can start to get trickier. The boss here will quickly deal magic damage to the majority of your team between the UB and their first skill. The skill also reduces the TP of your units in the front, so you'll want to avoid having units upfront that need to use their UBs often. Your back units are also not safe since the boss hits the back 2 units specifically with their second skill.
This team is probably the easiest to build offensive team. This team will probably let Makoto die but the damage will get you far enough to clear out the boss. The main thought here is just maximizing damage with Jun as the sole tank. You're not super worried about taking damage as your units will quickly break the multi-target boss and easily clear it.
The following team is basically the same as the above team but takes a slightly more defensive approach with Yukari providing some healing and mitigating a lot of the magic damage being dealt.
This team above is a more F2P team and should work fairly well against the boss due to the multi-target mechanic. Eriko (w/ UE) is the main damage source here and should quickly break the targets on the boss.
A mage team is also viable here but requires a few more gacha characters than usual. The idea is basically the same with killing the targets and dealing damage to multiple targets to amplify the damage done. You can replace Misato with Yui (New Year). In addition, you can use any other mage that hits multiple targets instead of Hatsune such as Grea, Karyl, or Misaki.
Special Mode
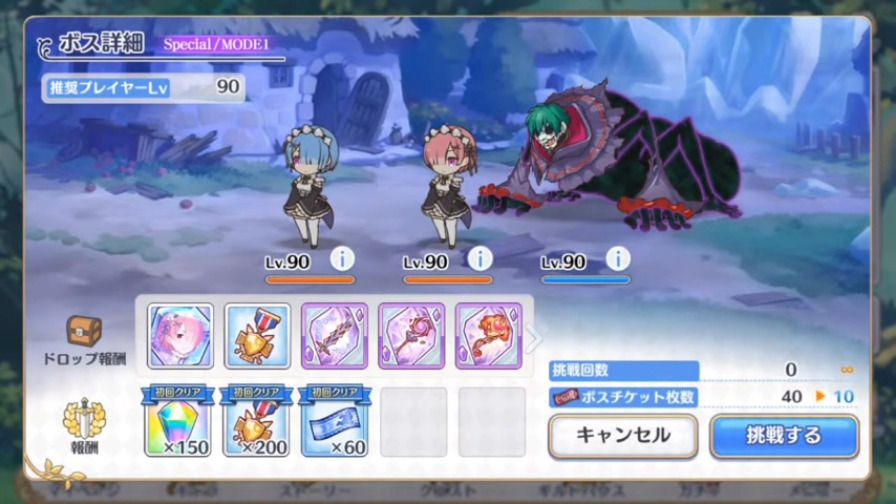
Once you have gotten the key rewards from the third gacha box, you will unlock the Special difficulty. This difficulty is geared toward end-game players and is very difficult. It will likely take 3+ teams to properly clear. It is broken into 3 sections/modes.
Mode 1
720,000 HP |
480,000 HP |
3,150,000 HP |
|---|
Mode 1 is pretty straightforward, you're only fighting the Shadow versions of Rem and Ram. You can essentially brute force this as you see fit. Just be aware of the large amount of damage your front units will take from the CC coming from Rem and Ram.
Mode 2
| Difficulty | HP | Union Burst | Skill 1 | Skill 2 |
|---|---|---|---|---|
|
Lvl. 90 |
3,150,000 to 1,575,001 | Deals large magic damage to all enemies. | Deals large physical damage to the back 2 units. | Sets a 20-second countdown on your lowest % HP character. Once the countdown runs to 0, the boss does a massive amount of magic damage to that character. |
The second skill here sounds really confusing, I know. Essentially what it does is set a 20-second timer before the boss does a large amount of magic damage to that one character. The # is something like 95% of the character's maximum HP. Needless to say, you'll need to plan ahead to deal with this mode.
Mode 3
| Difficulty | HP | Union Burst | Skill 1 | Skill 2 | Skill 3 |
|---|---|---|---|---|---|
|
Lvl. 90 |
1,575,000 | Deals large magic damage to all enemies. | Deals small magic damage and reduces TP of all enemies in the front range. Deals small magic damage to all enemies. | Deals large physical damage to the back 2 units. | Sets a 20-second countdown on your lowest % HP character. Once the countdown runs to 0, the boss does a massive amount of magic damage to that character. |
Remember the mechanic from the Very Hard boss where the boss also drains TP of your front units? Well, it's back combined with the Mode 2 attack that essentially kills one of your characters. Sounds fun, doesn't it?
Suggested Teams
Mode 1:
This team is probably one of the safer teams to help you through Mode 1. Even though Shadow Rem and Shadow Ram are pretty easy to deal with, their skills are still annoying and stall out your team. Having two tanks will help you deal more damage as they'll take the brunt of the damage and CC skills.
Did you manage to roll Rem? Well, great news, you can use her in Mode 1. It is suggested she be 4* but you can probably get away with her being 3*. If you don't have Rem, you can use Nozomi as before or you can try to use Shizuru here.
A magic team can also be viable here and actually works just as well as physical teams. You might have to be a bit careful with Anna and not let her UB at the wrong times. You can also replace her with Anne if you want an easy auto composition.
Mode 2:
This is where the real pain starts. The boss does a lot of damage and essentially has an instant kill mechanic for one of your units. We'll be making use of Rin here as our healer while being able to provide some offense. You can replace Rin with Shizuru (Valentine) if you have her in your box. Kuka will be the primary tank due to all the magic damage the boss does. Makoto and Tomo will provide the damage your team is looking for.
For those of you with bigger boxes full of gacha characters, putting in Muimi will speed up the process as her abilities after her UB help you clear the boss much faster and deals AOE in the process. We'll bring in Shizuru (Valentine) for the healing and the higher uptime on Muimi UB.
So, you can technically do a magic team here. However, it is sketchy, to say the least, and will require at least semi-auto or manual. This team basically assures that Illya will be taking the countdown that can one-shot her. The counter to this is Yui (New Year) and making sure Illya gets off a UB just before the timer hits 0. Between the shield and her own healing from her UB, she should live. I really don't recommend this team unless you're a master of timelines. :)
Mode 3:
For our first team, we'll be taking a similar approach to the VH boss but also dealing with the countdown mechanic. We've removed Makoto from this team because she essentially does not get her UB off and is not tanky enough to survive for the most part. The damage from Tomo, Shinobu, and Mitsuki should be enough to deal with the boss. If not, you can replace Mitsuki or Shinobu with Christina. Another alternative is to use Ninon in place of Mitsuki.
If your units are geared, leveled, and starred up enough, you can actually do a mostly damage team. The important part is that Kuka must live and take the countdown mechanic. As long as she does so, you should have no problem dealing the required damage between Muimi, Makoto, and Tomo. Yui (New Year) is a must-have here as her shield and heal will help prevent the countdown mechanic from killing Kuka right away.
Rewards
We're finally onto the main point of each of these events: the rewards that come along with it. In addition to the first clear bonuses, there are also a set number of event treasure boxes. Think of it as a mini gacha machine but each one has a set number of items. To roll this treasure gacha box, you get pulls from defeating the event boss and completing daily missions. You do not need to clear out every single item in each box to move on to the next one. However, you will need to obtain the main items in the box. In this case, the main items are the memory shards for the characters. (You would want to collect these anyway.) The contents of each of the boxes are listed below. The endless box also contains shards for Ram so if you want to farm her, there is no better way to do so.
| Box One | |
|---|---|
| Item | Quantity |
|
|
1 |
|
|
5 |
|
|
20 |
|
|
15 |
|
|
20 |
|
|
10 |
|
|
300 |
|
|
5 |
|
|
10 |
|
|
15 |
|
|
5 |
|
|
10 |
|
|
15 |
| Total | 431 |
| Box Two | |
|---|---|
| Item | Quantity |
|
|
1 |
|
|
10 |
|
|
25 |
|
|
20 |
|
|
30 |
|
|
15 |
|
|
380 |
|
|
7 |
|
|
12 |
|
|
17 |
|
|
7 |
|
|
12 |
|
|
17 |
| Total | 553 |
| Box Three | |
|---|---|
| Item | Quantity |
|
|
1 |
|
|
15 |
|
|
30 |
|
|
20 |
|
|
40 |
|
|
20 |
|
|
480 |
|
|
9 |
|
|
14 |
|
|
19 |
|
|
9 |
|
|
14 |
|
|
19 |
| Total | 690 |
| Box Four | |
|---|---|
| Item | Quantity |
|
|
1 |
|
|
20 |
|
|
35 |
|
|
25 |
|
|
50 |
|
|
30 |
|
|
550 |
|
|
11 |
|
|
16 |
|
|
21 |
|
|
11 |
|
|
16 |
|
|
21 |
| Total | 807 |
| Box Five+ | |
|---|---|
| Item | Quantity |
|
|
1 |
|
|
10 |
|
|
30 |
|
|
20 |
|
|
100 |
|
|
5 |
|
|
10 |
|
|
15 |
|
|
5 |
|
|
10 |
|
|
15 |
| Total | 226 |
Total Memory Shards
A breakdown of all the possible memory shards gained from missions, story, and the boxes are listed here:
| Location | Suzume | Ram |
|---|---|---|
| Story Reward | 4 | 4 |
| Normal Quests | 2 | 2 |
| Hard Quests | 6 | 9 |
| Treasure Box | 50 | 65 |
| Event Missions | N/A | 26 |
| Total | 62 | 106 |
Note: This does not include memory shards from hard mission drops. These only include the ones you are guaranteed to get assuming you complete the tasks.
With that, we've reached the end of our guide for the Re:ZERO -Sharing Lunch in Another World- story event. This was a much-hyped event and it is great to see that we get this crossover in the EN/WW version of the game. Once again, we wish you the best of luck with rolling for Rem and Emilia. Whether you're looking to waifu collect Rem, Ram, or EMT, we hope you get the best of luck! Anyway, until next time.
Last Update: May 2, 2022
