Welcome back to another one of our Princess Connect! Re: Dive story event guides! This time, we're getting a story event featuring the characters from the Twinkle Wish which coincides with the release of Yui (New Year) and the return of Christina and Princess Fes/Gala. You will be able to obtain memory shards for Yui and Rei (New Year) during the event from hard stages and the event treasure box. Today, we'll break down the event and other pertinent information. All the information is from the JP server when they first ran the event, and if past events are anything to go by, we should be following the same reward chart. So let's get our wishing game on!
Yui (New Year) & Christina Princess Gala Banner
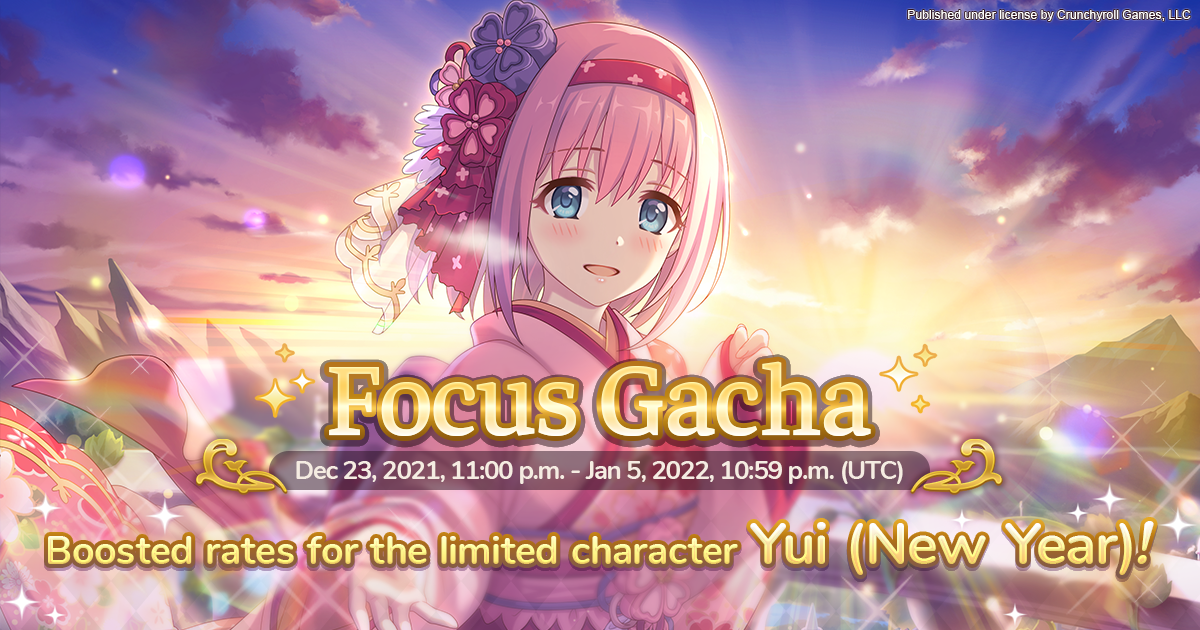
The start of the event will also bring back the Princess Gala for 3 days. This banner will include Christina and will also feature Yui (New Year). If you want to pull for Yui (New Year), this would be your best bet with increased rates for all 3 star characters. If you missed out on Christina the first time around, this is the best banner for you to roll on. The fact that you can also roll Yui (New Year) is a big bonus. Yui (New Year) easily becomes the best healer in the game and will see use for a long time to come. Her shield makes a lot of regular content easy mode and enables you to focus on damage compositions.
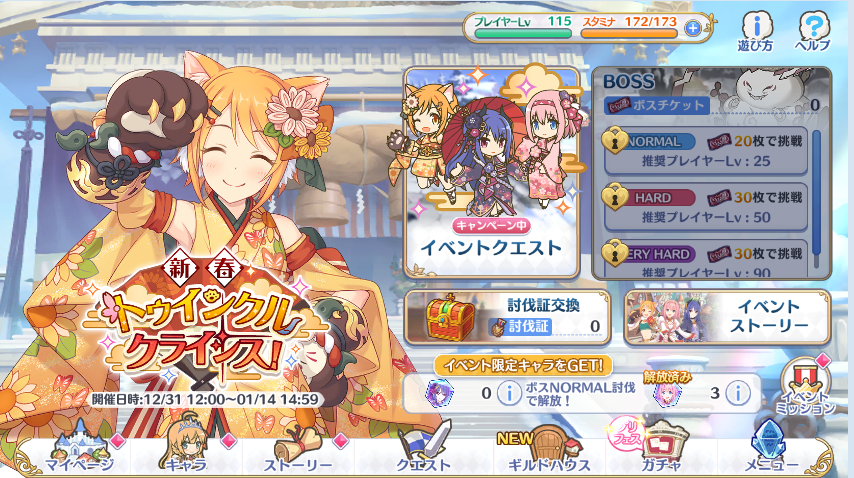
New Year’s Day Twinkle Crisis! Story Event

This is the tenth story event in the EN/WW server. Events generally give a generous amount of items, mana, jewels, and character memory shards. The memory shards featured in this event are for Yui and Rei (New Year). You will also obtain a free 1* unit in Rei (New Year) after defeating the boss on Normal difficulty. On top of the rewards, it also adds event story chapters which can be viewed as you complete the event stages.
Stages
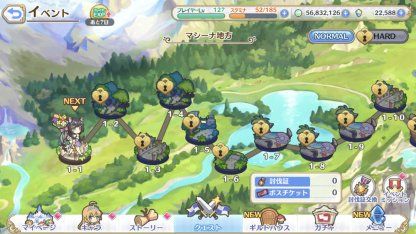
Events are broken down into two phases of stages similar to the main quest. However, you must clear all the normal stages and the normal boss before unlocking the hard stages. Normal stages start at 1-1 and go all the way up to 1-15. Clearing each stage for the first time also provides 30 jewels, an assortment of items, and boss tickets. After the first clear, they will still provide some items and more importantly boss tickets. These boss tickets are used to fight the boss of the event. We'll go over this more in-depth later.
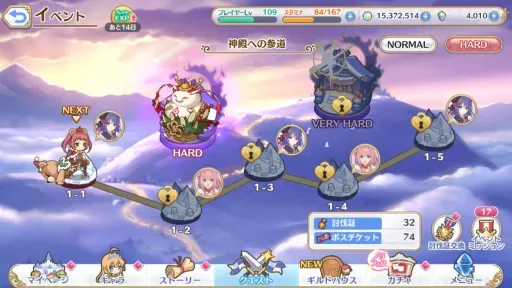
After clearing stages 1-1 through to 1-15 and the boss on normal, you'll unlock the hard missions. These missions are similar to the main quest hard missions and have a chance to drop memory shards. Each first clear will also provide 3 of the memory shards of the character indicated, boss tickets, items, and will also give the 30 jewel bonus. Each subsequent clear will then give a chance of dropping the memory shards. You can only clear each hard stage 3 times a day.
For the most part, you will want to clear each of these hard stages every day of the event to maximize your memory shard and boss tickets gain. This event features memory shards for Yui and Rei (New Year). There is a large amount of luck involved with the hard missions but the memory shards and the boss tickets are generally worth it.
Boss Battle
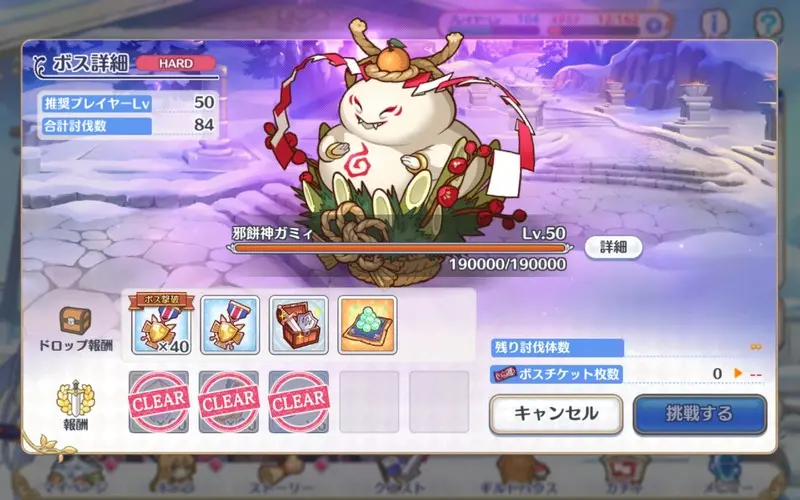
Luckily, the Very Hard boss is even easier than before as our characters are much stronger than before. Completing it in one hit is entirely possible. You get quite a bit more rewards from it and you can only complete it once a day. Don't worry, we've got you covered and will post some sample teams below.
To fight the boss you'll need to obtain enough boss tickets. Each of the stages you clear from the event will provide boss tickets. The boss will come in normal, hard, and very hard. The normal boss should be easily cleared with any team while hard may pose a bit more of a challenge. Very Hard, as previously stated will be a tough one. Clearing bosses will also provide tokens to be used on the event treasure box. This is the real reason you'll be farming the event. We'll touch on this later on in the article.
There is also another stage known as Special once you have cleared out the third gacha box in the event. This stages is where the majority of the difficulty for the event is. Clearing out missions related to this special stage will give a plethora or rewards. It'll just take a lot of boss tickets. We'll go more into it later on in the article.
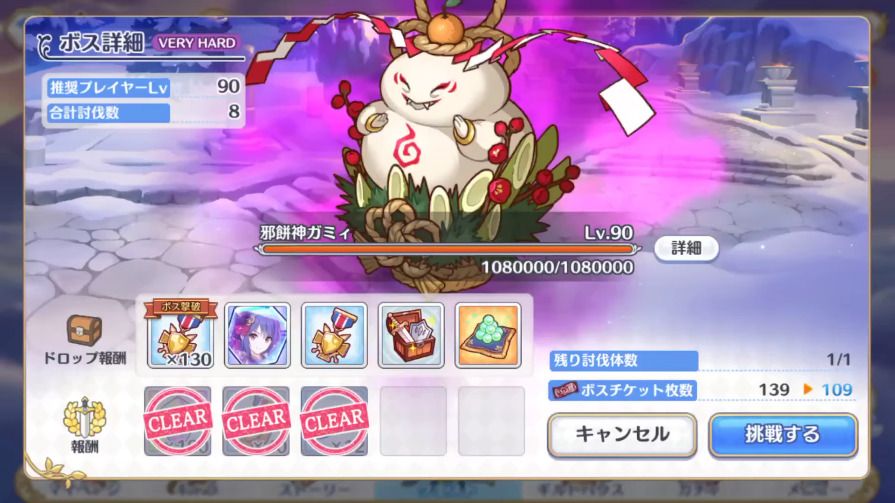
The hard, very hard, and special boss will have a larger pool of HP and also additional skills. Of course, with the more difficult boss, the rewards will also be greater. This version of the boss also does more damage and has a more difficult attack pattern once below 40% HP. (Think of it as them hitting their limit break.) We will recommend some potential parties below for those struggling to clear the hard and very hard versions of the boss.
| Difficulty | HP | Union Burst | Skill 1 | Skill 2 |
|---|---|---|---|---|
|
Lvl. 25 |
35,000 | Large physical damage to all enemies. | Deals medium magical damage to the front 3 enemies and reduce their physical attack. | Summons a mochi bomb a medium distance away that explodes to deal physical damage to all enemies after 8 seconds.
If the mochi bomb is brought below 50% HP, it disappears and heals all enemies for a small amount of HP. |
|
Lvl. 50 |
190,000 | Large physical damage to all enemies. | Deals medium magical damage to the front 3 enemies and reduce their physical attack. | Summons a mochi bomb a medium distance away that explodes to deal physical damage to all enemies after 8 seconds.
If the mochi bomb is brought below 50% HP, it disappears and heals all enemies for a small amount of HP. |
|
Lvl. 90 |
1,080,000 | Large physical damage to all enemies. | Deals medium magical damage to the front 3 enemies and reduce their physical attack. | Summons a mochi bomb a medium distance away that explodes to deal physical damage to all enemies after 8 seconds.
If the mochi bomb is brought below 50% HP, it disappears and heals all enemies for a small amount of HP. |
|
Lvl. 90 |
1,580,000 | Large physical damage to all enemies. | Deals medium magical damage to the front 3 enemies and reduce their physical attack. | Summons a mochi bomb a medium distance away that explodes to deal physical damage to all enemies after 8 seconds.
If the mochi bomb is brought below 50% HP, it disappears and heals all enemies for a small amount of HP. |
Based on the above, you can see this boss can still be quite annoying. At this point, the Normal and Hard versions of the boss should be straightforward. However, the Very Hard boss can still lead to some problems. The biggest problem is the second skill where the boss once again summons stuff. This time if you don't bring the summon below 50% HP, it explodes and probably takes your chances of clearing it away with the explosion. Also, don't forget about the 40% enrage mechanic for the Hard and Very Hard boss. Defeating the Very Hard boss will also drop a large number of rewards and a Rei (New Year) memory shard. Remember, you can only defeat the Very Hard boss once daily.
Suggested Teams

At this point, hard bosses should be pretty straightforward. The boss is only level 50 and doesn't hit too hard. The enemies haven't been upgraded too much compared to our level cap and rank increases. This worked in JP assuming your characters are rank 9 and above and around level 90 or so. You may need to level up your characters or try different combinations to get a decent clear. The boss move set for Hard is the same as the normal boss with a higher health bar and more damage. Just watch out for the mochi bomb exploding. You don't want to see that.
The above team is a fairly standard team composition for players that are mostly F2P or newer to the game. Feel free to replace Maho with another damage dealer. You can basically slot in any unit you like and clear this Hard stage with enough levels and ranks.
Very Hard Boss

The Very Hard boss is where the challenge is. You can still clear it using a single team. Just beware of the boss doing more damage. The mochi bomb is actually quite annoying as it takes up time to kill and if you don't do enough damage to it, it explodes. Once again, watch your HP bars and the curse status. You don't want to take too much damage against this boss or let the bomb explode.
Did I mention that Yui (New Year) makes most story content easy mode? If not, let me reiterate that it makes story content easy. We start off our first team with exactly that. Jun provides the front tanking and the combination of Kaori, Makoto, and Hiyori will make short work of the boss. Yui (New Year) will keep your team healthy and provide a nice shield on top of heal over time.
If for whatever reason, you can't use Yui (New Year), you can replace her with regular Yui. You'll just need to be a bit more careful with your heals. Here, we can also replace Hiyori with Christina to provide more for a damage burst. You can also use Tomo in that slot. Mostly speaking, you'll want a physical team to deal with this boss.
Lastly, this team here focuses entirely on the damage. You can replace Rei with any flex attacker and have Arisa in the back. Running this team means you can deal with the mochi bomb as soon as possible due to all the burst on the team.
Special Mode
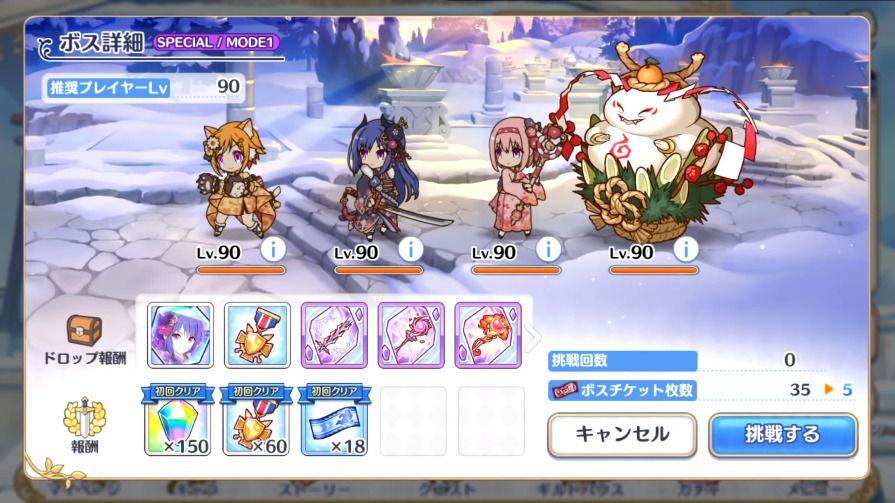
Once you have cleared out the third gacha box, you will unlock the Special difficulty. This difficult is geared toward end game players and is very difficult. It will likely take 4+ teams to properly clear. It consists of 3 modes. The first mode will be a battle against three shadow units. The shadow units are Shadow versions of Twinkle Wish and is a pain to fight against.
Mode 1
450,000 HP |
380,000 HP |
320,000 HP |
1,580,000 HP |
|---|
The first mode consists of clearing out the Shadow versions of the Twinkle Wish characters. They have a lot of HP and it'll take some effort to clear all of them out. Although they are all in their NY chibi form, Hiyori isn't in her NY form for her attacks and pattern as she isn't introduced in the game yet. Physical teams that deal as much damage as possible will be the way to go here.
Mode 2
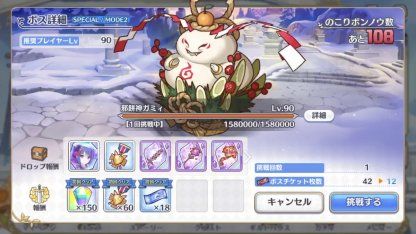
Mode 2 is even more annoying than the first as the boss summons 108 units in total that you must clear before you can face off against the boss.
| Summon | HP | Summon Count |
|---|---|---|
| Red Summon | 68,000 | 6 |
| Purple Summon | 33,000 | 3 |
| Blue Summon | 12,000 | 1 |
The summon count indicates how many each one of them count as toward the 108 kill count. You'll need to defeat some combination of them to get the count to 0.
Mode 3
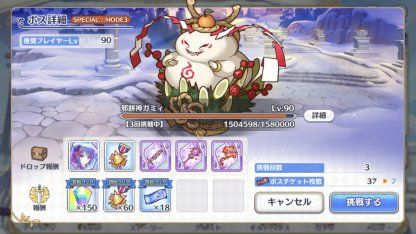
Lastly, you'll finally get to face off against the boss again. This boss has the same skillset as the previous versions of the boss and follows the same attack patterns. You'll just need to be able to bring their HP to 0.
Suggested Teams
Mode 1:
We can essentially use the same team like the one we used against the Very Hard boss. We just want to make sure we have enough damage to clear out the three shadow units. You can easily replace Rei with another damage dealer such as Christina or Tomo.
Mode 2:
AOE is the name of the game in the second mode. Since we have to clear out so many enemies in large quantities, we want to use as much AOE as you can. This team basically takes advantage of all the AOE available. It may not be the fastest but this will be effective.
Another option is an AOE team that has more mages. Having Shinobu (Halloween) can help make short work of the enemies due to her ability to deal AOE damage. Karyl is also good for reducing defense and does a healthy amount of AOE damage as well. If you don't have all the characters listed above, you can easily slot in Tomo as well.
Mode 3:
For mode 3, we're just facing off against the boss once again. This time you can use the same Very Hard team to kill the boss. Feel free to use any of the Very Hard teams above. This one is just a good sample team but you can also use any other flex DPS to replace Hiyori and use regular Yui instead of the New Year version.
With that, gratz on getting the Special clear. You'll have tons of rewards from it including around 1000 medals for the gacha box between the clear and the missions. The breakeven is somewhere between 8 and 9 tries to complete it. Since you only need to do it once, if you can do it within 8 or 9 tries, this is worth it. Otherwise, you might just want to level up your units and hopefully be able to do it for the next event.
Rewards
We're finally onto the main point of each of these events: the rewards that come along with it. In addition to the first clear bonuses, there are also a set number of event treasure boxes. Think of it as a mini gacha machine but each one has a set number of items. To roll this treasure gacha box, you get pulls from defeating the event boss and completing daily missions. You do not need to clear out every single item in each box to move on to the next one. However, you will need to obtain the main items in the box. In this case, the main items are the memory shards for the characters. (You would want to collect these anyway.) The contents of each of the boxes are listed below. You may want to consider farming the event for the endless box since you can obtain more memory shards for Rei (New Year) since she can't be farmed until the next re-run of the event.
| Box One | |
|---|---|
| Item | Quantity |
|
|
1 |
|
|
5 |
|
|
20 |
|
|
15 |
|
|
20 |
|
|
10 |
|
|
300 |
|
|
5 |
|
|
10 |
|
|
15 |
|
|
5 |
|
|
10 |
|
|
15 |
| Total | 431 |
| Box Two | |
|---|---|
| Item | Quantity |
|
|
1 |
|
|
10 |
|
|
25 |
|
|
20 |
|
|
30 |
|
|
15 |
|
|
380 |
|
|
7 |
|
|
12 |
|
|
17 |
|
|
7 |
|
|
12 |
|
|
17 |
| Total | 553 |
| Box Three | |
|---|---|
| Item | Quantity |
|
|
1 |
|
|
15 |
|
|
30 |
|
|
20 |
|
|
40 |
|
|
20 |
|
|
480 |
|
|
9 |
|
|
14 |
|
|
19 |
|
|
9 |
|
|
14 |
|
|
19 |
| Total | 690 |
| Box Four | |
|---|---|
| Item | Quantity |
|
|
1 |
|
|
20 |
|
|
35 |
|
|
25 |
|
|
50 |
|
|
30 |
|
|
550 |
|
|
11 |
|
|
16 |
|
|
21 |
|
|
11 |
|
|
16 |
|
|
21 |
| Total | 807 |
| Box Five+ | |
|---|---|
| Item | Quantity |
|
|
1 |
|
|
10 |
|
|
30 |
|
|
20 |
|
|
100 |
|
|
5 |
|
|
10 |
|
|
15 |
|
|
5 |
|
|
10 |
|
|
15 |
| Total | 226 |
Total Memory Shards
A breakdown of all the possible memory shards gained from missions, story, and the boxes are listed here:
| Location | Yui | Rei (New Year) |
|---|---|---|
| Story Reward | 4 | 4 |
| Normal Quests | 2 | 2 |
| Hard Quests | 6 | 9 |
| Treasure Box | 50 | 65 |
| Event Missions | N/A | 26 |
| Total | 62 | 106 |
Note: This does not include memory shards from hard mission drops. These only include the ones you are guaranteed to get assuming you complete the tasks.
You should be able to obtain quite a few shards for Yui and Rei (New Year) from this event. Good luck if you're rolling for Yui (New Year)! We'll see you in the New Year with our next article!
Last Update: December 25, 2021
