Welcome back to another edition of our Princess Connect! Re: Dive story event guides! Look forward to another exciting story that features The Gourmet Guild while experiencing a race like no other. Trust us. Not to mention, we finally see the release of Karyl (New Year) (Read: Nyaru). All the information is from the JP server when they first ran the event, and if past events are anything to go by, we should be following the same reward chart. Let's head toward the finish line!
Karyl (New Year) Princess Gala/Focus Gacha
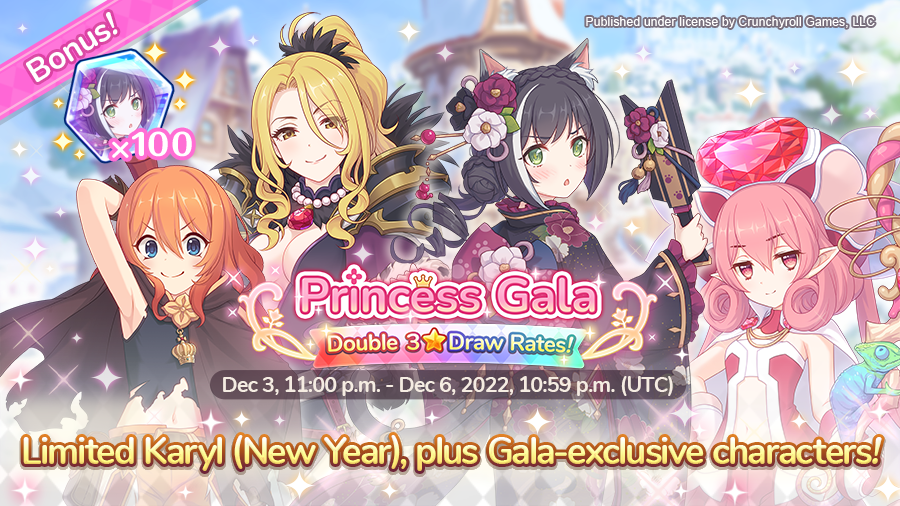
You know those times when content creators hype up an upcoming character that ends up being disappointing or when they just type clown emojis🤡? This isn't one of those times. Karyl (New Year) is arguably the most important magic character in the game. She will do the most magic damage for a very long time to come. Combined with Neneka and a support like Luna or the future 6★ Maho, you'll be hearing a lot of New Year's Burst. Trust us, you basically must roll for Karyl (New Year) if you want to remain competitive and be able to clear content. The Princess Gala is the best place to obtain her since the 3★ draw rates are also doubled. She'll have a regular focus gacha after but the EV is lower for 3★ characters. Just note: she's also known as Nyaru since her JP name is Kyaru. Combine that with NY for Nyaru. :)
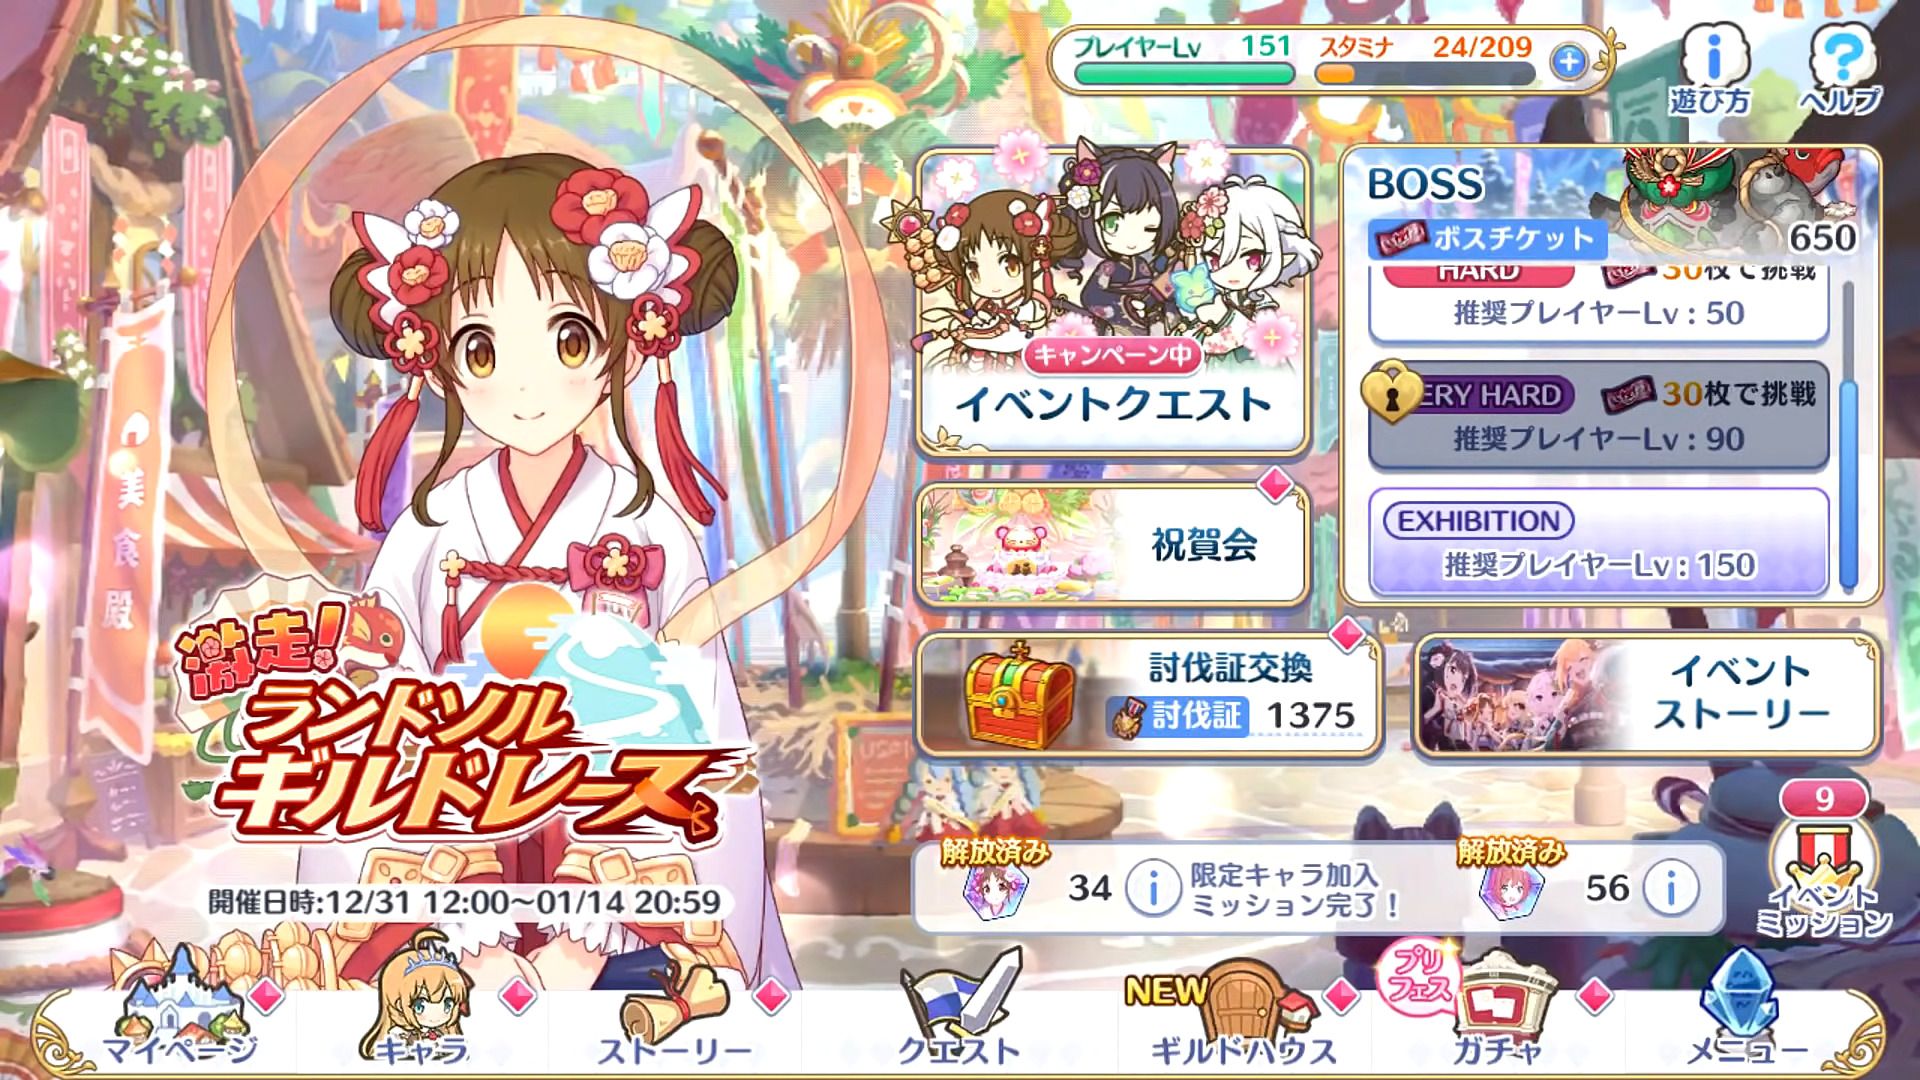
Ready, Set, Go! The Landosol Guild Race Story Event
This is the twenty-second story event in the EN/WW server. Events generally give a generous amount of items, mana, jewels, and character memory shards. The memory shards featured in this event are for Kurumi and Suzume (New Year). On top of the rewards, it also adds event story chapters which can be viewed as you complete the event stages.
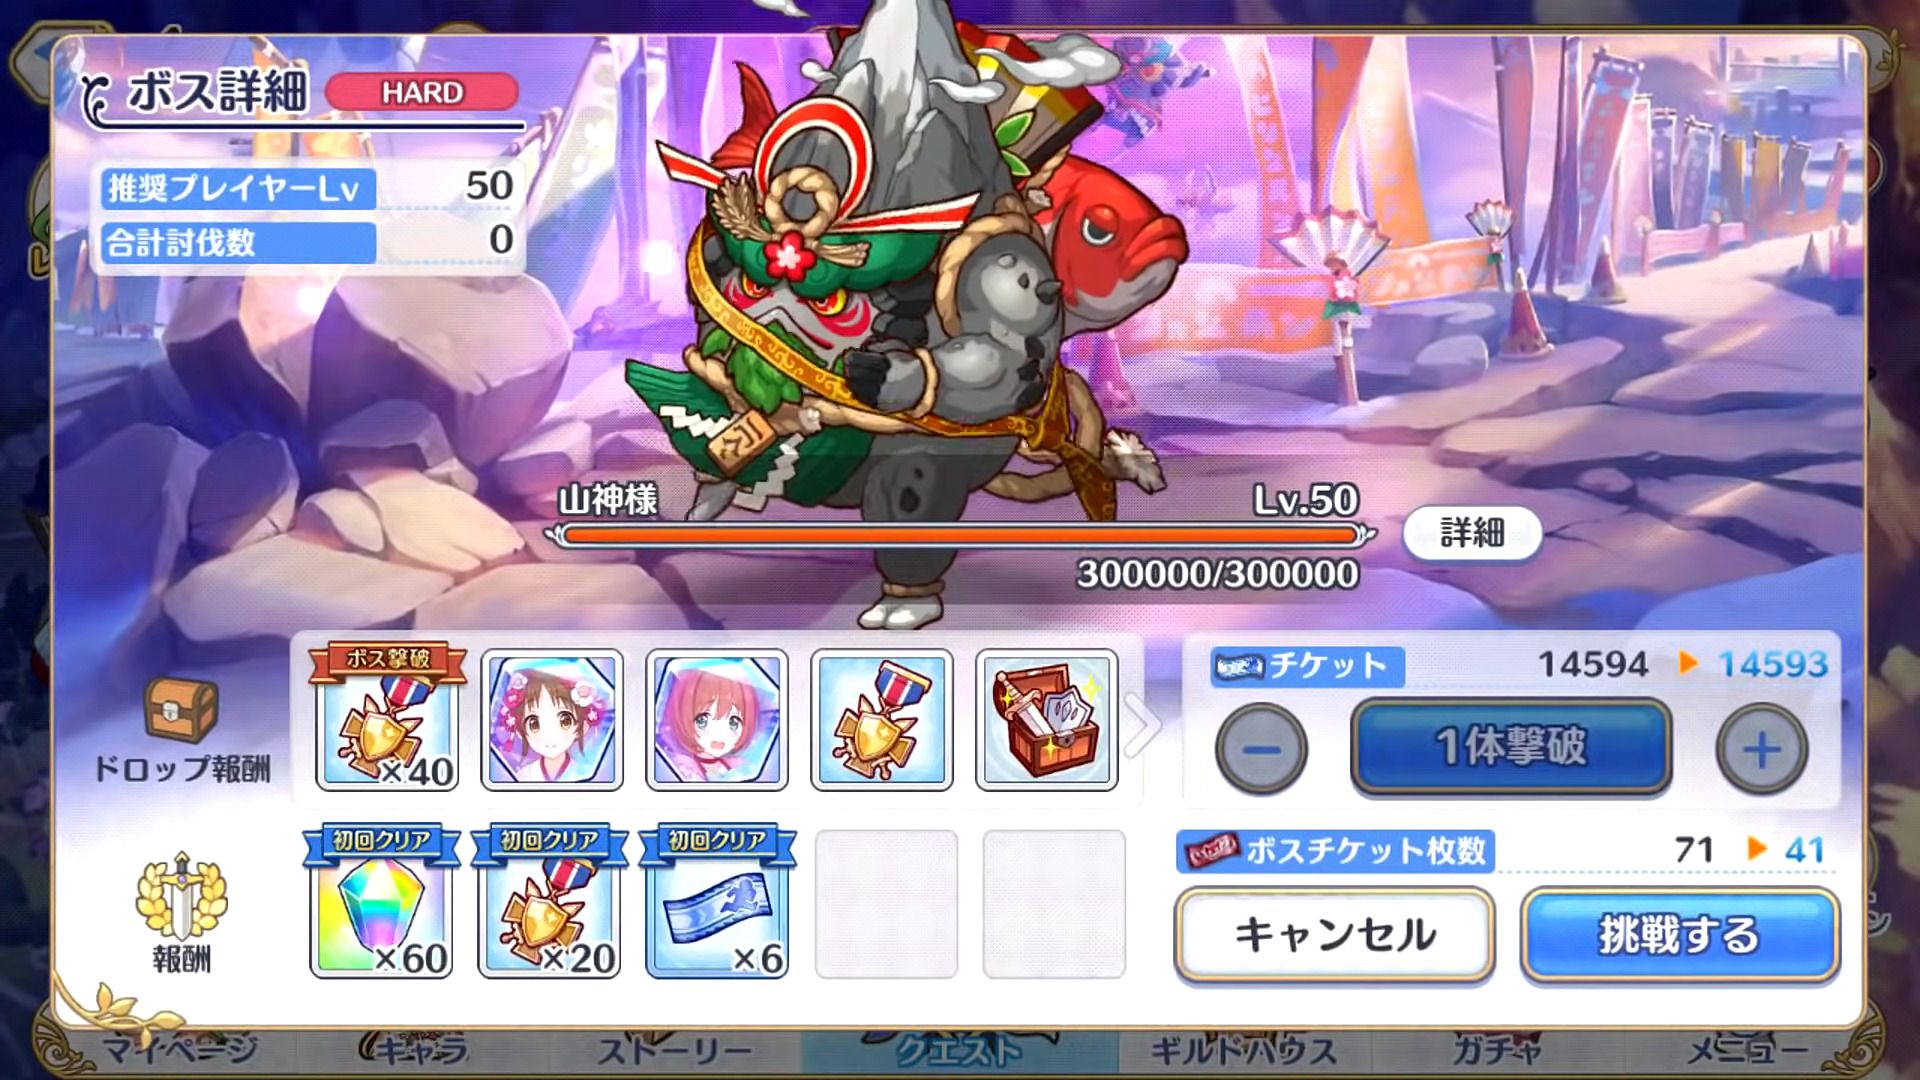
As with the previous Very Hard boss, this one is much easier just due to our wider variety of characters and increased levels and rank. Completing it in one hit is entirely possible. You get quite a bit more rewards from it and you can only complete it once a day. Don't worry, we've got you covered and will post some sample teams below.
To fight the boss you'll need to obtain enough boss tickets. Each of the stages you clear from the event will provide boss tickets. The boss will come in normal, hard, and very hard. The normal boss should be easily cleared with any team while hard may pose a bit more of a challenge. Very Hard, as previously stated will be a tougher one. Clearing bosses will also provide tokens to be used on the event treasure box. This is the real reason you'll be farming the event. We'll touch on this later on in the article.
The Hard boss can be done using skip tickets after clearing the boss 3 times. This will help speed up the process once you've done your daily Very Hard stage.
There is also another stage known as Special which you will unlock once you have beaten the Very Hard boss. This stage is where the majority of the difficulty for the event is. Clearing out missions related to this special stage will give a plethora of rewards. It'll just take a lot of boss tickets. We'll go more into it later on in the article.
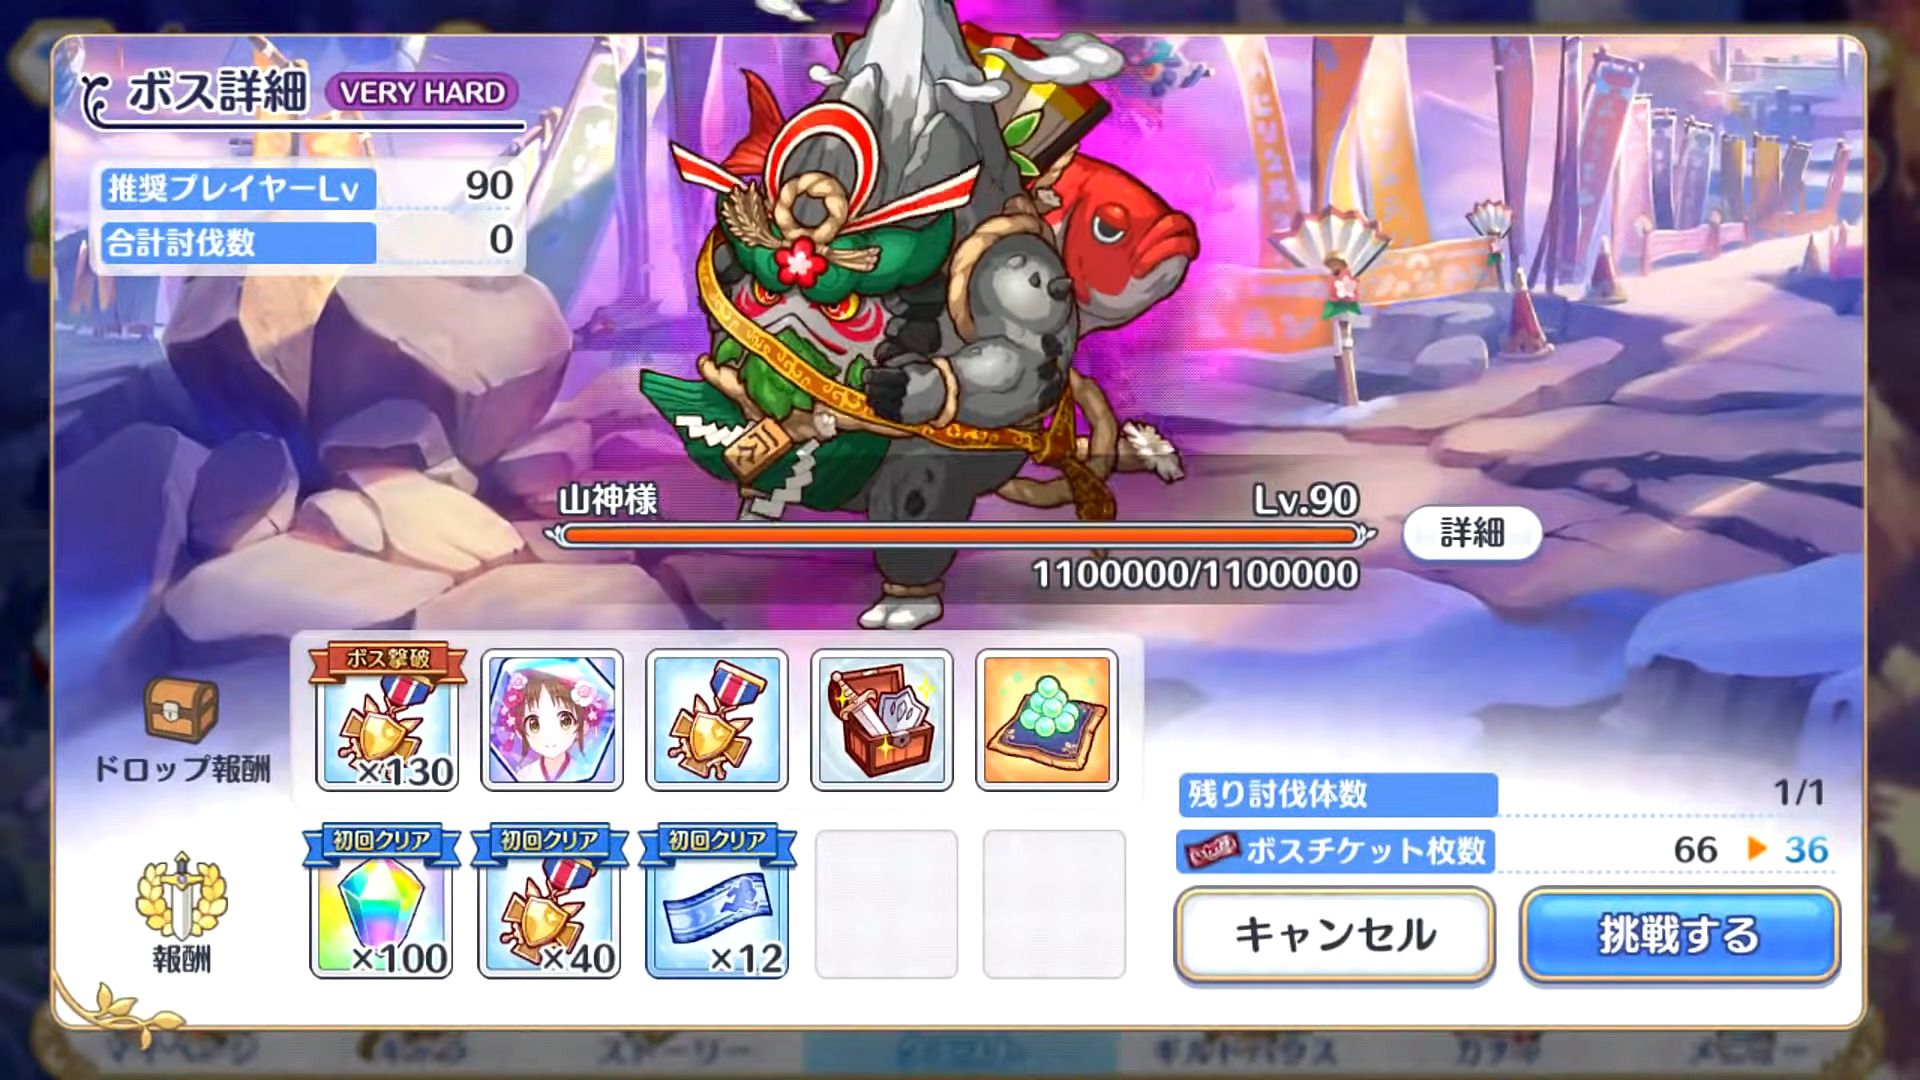
The hard, very hard, and special boss will have a larger pool of HP and also additional skills. Of course, with a more difficult boss, the rewards will also be greater. We will recommend some potential parties below for those struggling to clear the hard and very hard versions of the boss.
| Difficulty | HP | Union Burst | Skill 1 | Skill 2 |
|---|---|---|---|---|
|
Lvl. 25 |
42,000 | Deals medium physical damage to all enemies and knocks them back. Deals additional physical damage to the front character and knocks them back further and stuns them. Reduces own physical defense. (This effect can stack.) |
Deals large magical damage to the enemy with the highest magic attack and reduces TP. | Increases own TP and action speed. |
|
Lvl. 50 |
300,000 | Deals medium physical damage to all enemies and knocks them back. Deals additional physical damage to the front character and knocks them back further and stuns them. Reduces own physical defense. (This effect can stack.) |
Deals large magical damage to the enemy with the highest magic attack and reduces TP. | Increases own TP and action speed. |
|
Lvl. 90 |
1,100,000 | Deals medium physical damage to all enemies and knocks them back. Deals additional physical damage to the front character and knocks them back further and stuns them. Reduces own physical defense. (This effect can stack.) |
Deals large magical damage to the enemy with the highest magic attack and reduces TP. | Increases own TP and action speed. |
|
Lvl. 90 |
3,750,000 | Deals medium physical damage to all enemies and knocks them back. Deals additional physical damage to the front character and knocks them back further and stuns them. Reduces own physical defense. (This effect can stack.) |
Deals large magical damage to the enemy with the highest magic attack and reduces TP. | Increases own TP and action speed. |
What is with bosses that have knockback attacks and stuns? This seems to be the trend. The good news is that this boss is easier than some of the previous ones and with the right team, it should be a piece of cake.
Suggested Teams
Hard Boss

Honestly, you can throw just about any of your units at this and beat the Hard version of this boss. Let's just use about the easiest to farm units for this. This worked in JP assuming your characters are rank 9 and above and around level 90 or so. You may need to level up your characters or try different combinations to get a decent clear. The boss move set for Hard is the same as the normal boss with a higher health bar and more damage.
This is about a F2P composition that gets used a lot. Miyako will be able to tank the frontal damage while Kaori and Shiori should provide enough damage to kill the boss. Other options are more backline damage dealers but just be aware they might get turned into reindeer.
Very Hard Boss

The Very Hard boss is where things get more difficult. Just be wary of who you have up front as they will always be pushed even further back than your other units while being stunned. Also, you'll want to look at which unit has the most magic attack as the boss will target them with their skill.
The first team here is one that basically stacks all the physical damage to kill the boss as fast as possible. You don't have to worry about damage if it is dead. :) The stacking boss self-debuff helps a lot here combined with Makoto, Makoto (Summer), and Jun reducing the boss' physical defense.
If you want to go a little more defensive, you can do so with the same team by replacing Makoto (Summer) with Yukari. She provides the necessary healing and TP gain. Feel free to slot in any other flex damage character for Muimi if you don't have her.
If you want to still use a magic team, it is entirely possible to do so. Just using Kuka up front should be enough to make sure one of your mages doesn't get sniped in the process.
This may be the most meme team but it works. You just might need to time the Kokoro UBs here. Let's just say 3x Karyl does a lot of damage.
Special Mode
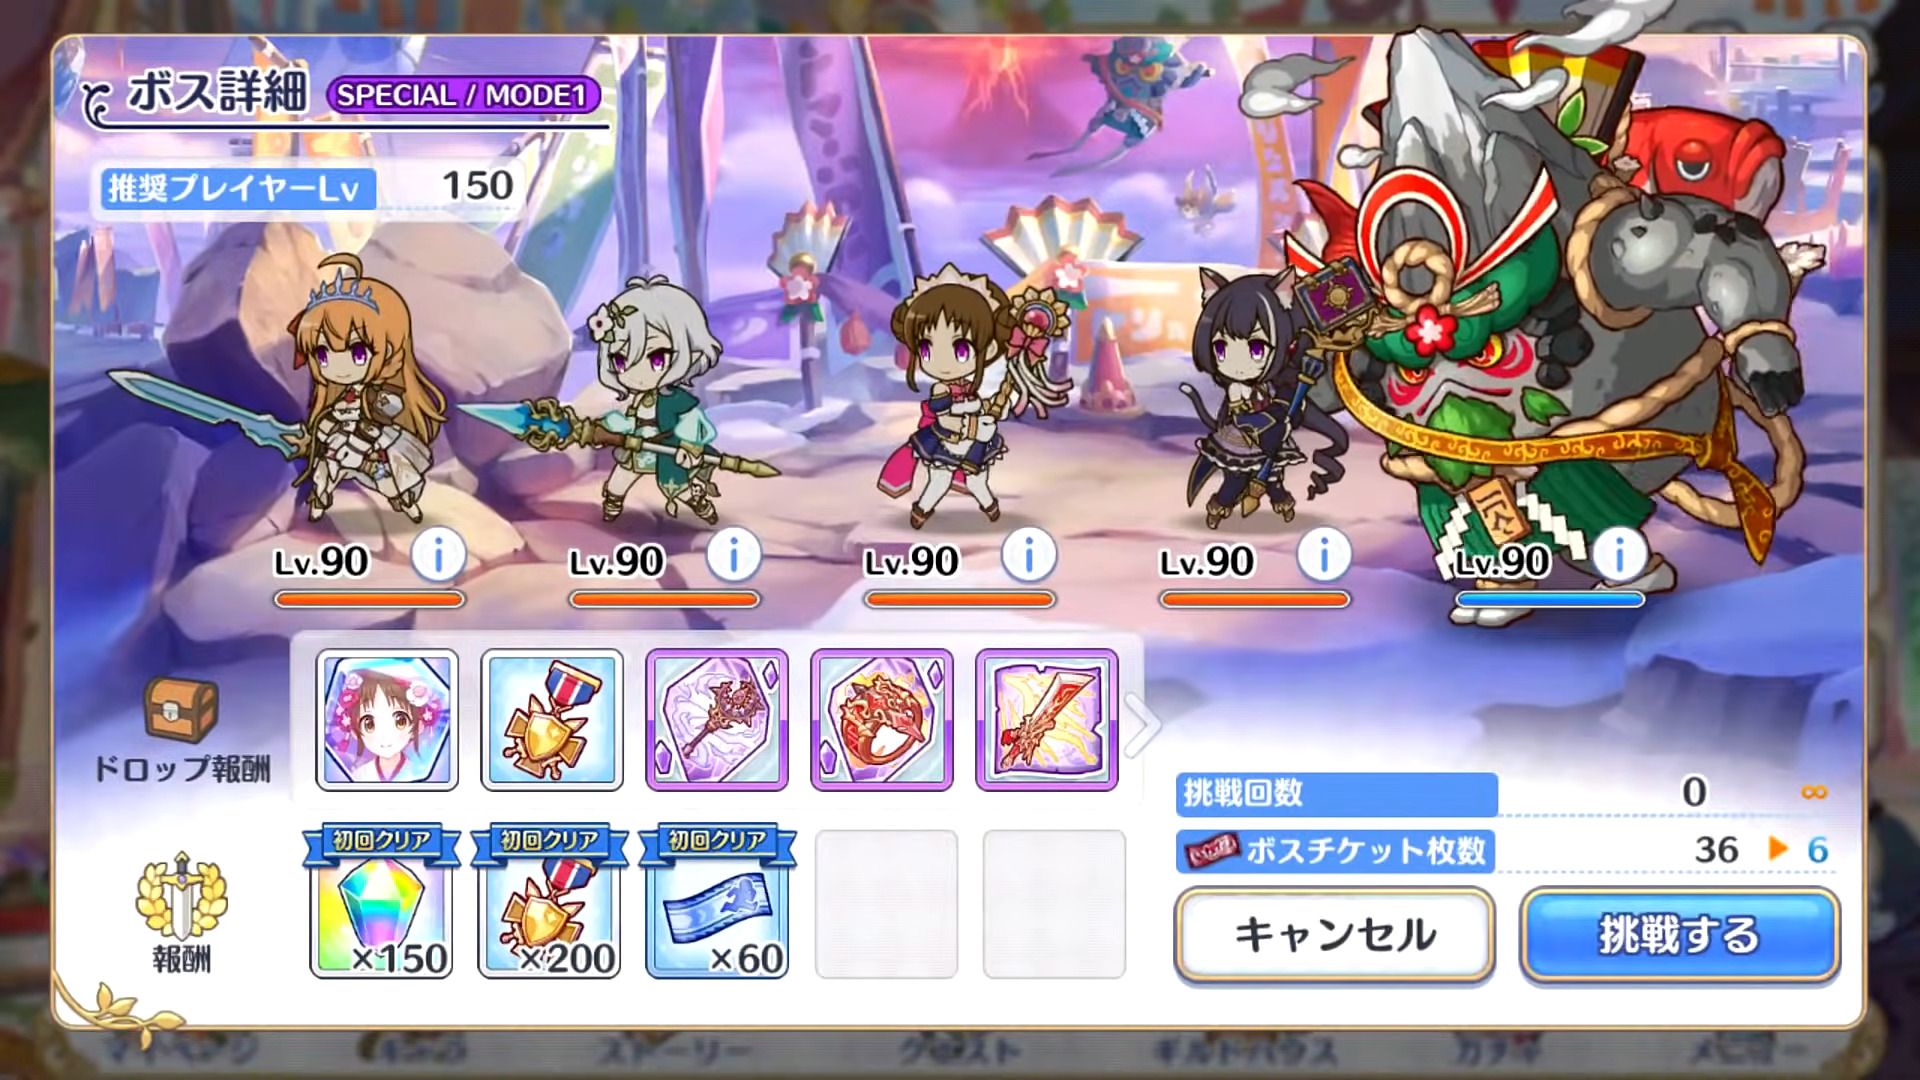
Once you clear the Very Hard boss, you will unlock the Special difficulty. This difficulty is geared toward end-game players and is very difficult. It will likely take 3+ teams to properly clear. It is broken into 3 sections/modes.
Mode 1
830,000 HP |
610,000 HP |
270,000 HP |
380,000 HP |
3,750,000 HP |
|---|
Mode 1 is the Shadow versions of The Gourmet Guild with Suzume included as it pertains to the story. You'll see what we mean when you complete/read through the story. It's weird. ngl.
Mode 2
| Difficulty | HP | Union Burst | Skill 1 | Skill 2 |
|---|---|---|---|---|
|
Lvl. 90 |
3,750,000 to 1,875,001 | Deals medium physical damage to all enemies and knocks them back. Deals additional physical damage to the front character and knocks them back further and stuns them. Reduces own physical defense. (This effect can stack.) |
Increases own TP and action speed. | Sends out their fish to create a physical defense down field in your back area and deals medium damage. When the fish is not on the boss' back, their magic defense is greatly reduced. |
Mode 2 is pretty annoying if you're not using the correct team. It sends the fish on its back to create a field in your back area that reduces physical defense and deals damage to you. The upside is that magic teams do more damage as this is when the boss is most vulnerable to magic damage.
Mode 3
| Difficulty | HP | Union Burst | Skill 1 | Skill 2 |
|---|---|---|---|---|
|
Lvl. 90 |
1,875,000 | Deals medium physical damage to all enemies and knocks them back. Deals additional physical damage to the front character and knocks them back further and stuns them. Reduces own physical defense. (This effect can stack.) |
Deals large magical damage to the 2 enemies with the highest magic attack and reduces TP. | Increases own TP and action speed. |
This is essentially the same as the Very Hard boss except it targets two units with the highest magic attack instead of a single one.
Suggested Teams
Mode 1:
At this point, you've probably seen this team more times than you can count. It's still one of the best mob-clearing teams especially since you're just dealing with Shadow Units here.
If you're missing Jun or Christina, you can also make some substitutions like the above team. Tomo is pretty strong here since there are multiple enemies. Pecorine is also just a generally good tank at this point.
Once again, if you have a magic team decked out, you can also use it here. Kokkoro and Io (Summer) should be able to keep all your magic units healthy while they take out the Shadow Units.
Mode 2:
Magic teams are most effective against the second phase of this boss since it reduces its own magic defense when the fish is sent out.
This team is for those that want to get used to watching Karyl (New Year) UB (and hear it too.)
Physical damage definitely isn't as strong against Mode 2 of this boss but it is still usable. Just rush it with as much physical damage as you have. This is probably one of the best compositions to do so.
Mode 3:
Your objective here is to just take down the boss as fast as possible. You can try any of the Very Hard boss team compositions here. Using Makoto and Makoto (Summer) is recommended as they help you clear out the boss much faster.
Using Lima is also a good strategy here since she runs more forward than most other tanks. She also recovers quite quickly even when running all the way from the back. You'll see the difference if you use this team.
Rewards
We're finally onto the main point of each of these events: the rewards that come along with it. In addition to the first clear bonuses, there are also a set number of event treasure boxes. Think of it as a mini gacha machine but each one has a set number of items. To roll this treasure gacha box, you get pulls from defeating the event boss and completing daily missions. You do not need to clear out every single item in each box to move on to the next one. However, you will need to obtain the main items in the box. In this case, the main items are the memory shards for the characters. (You would want to collect these anyway.) The contents of each of the boxes are listed below. The endless box also contains shards for Suzume (New Year) so if you're down to farm waifu, there is no better way to do so.
| Box One | |
|---|---|
| Item | Quantity |
|
|
1 |
|
|
5 |
|
|
20 |
|
|
15 |
|
|
20 |
|
|
10 |
|
|
300 |
|
|
5 |
|
|
10 |
|
|
15 |
|
|
5 |
|
|
10 |
|
|
15 |
| Total | 431 |
| Box Two | |
|---|---|
| Item | Quantity |
|
|
1 |
|
|
10 |
|
|
25 |
|
|
20 |
|
|
30 |
|
|
15 |
|
|
380 |
|
|
7 |
|
|
12 |
|
|
17 |
|
|
7 |
|
|
12 |
|
|
17 |
| Total | 553 |
| Box Three | |
|---|---|
| Item | Quantity |
|
|
1 |
|
|
15 |
|
|
30 |
|
|
20 |
|
|
40 |
|
|
20 |
|
|
480 |
|
|
9 |
|
|
14 |
|
|
19 |
|
|
9 |
|
|
14 |
|
|
19 |
| Total | 690 |
| Box Four | |
|---|---|
| Item | Quantity |
|
|
1 |
|
|
20 |
|
|
35 |
|
|
25 |
|
|
50 |
|
|
30 |
|
|
550 |
|
|
11 |
|
|
16 |
|
|
21 |
|
|
11 |
|
|
16 |
|
|
21 |
| Total | 807 |
| Box Five+ | |
|---|---|
| Item | Quantity |
|
|
1 |
|
|
10 |
|
|
30 |
|
|
20 |
|
|
100 |
|
|
5 |
|
|
10 |
|
|
15 |
|
|
5 |
|
|
10 |
|
|
15 |
| Total | 226 |
Total Memory Shards
A breakdown of all the possible memory shards gained from missions, story, and the boxes are listed here:
| Location | Kurumi | Suzume (New Year) |
|---|---|---|
| Story Reward | 4 | 4 |
| Normal Quests | 2 | 2 |
| Hard Quests | 6 | 9 |
| Treasure Box | 50 | 65 |
| Event Missions | N/A | 26 |
| Total | 62 | 106 |
Note: This does not include memory shards from hard mission drops. These only include the ones you are guaranteed to get assuming you complete the tasks.
That brings us to the end of the Ready, Set, Go! The Landosol Guild Race story event guide. Let's look forward to seeing who wins this magnificent race. Best of luck to everyone (literally everyone) rolling for Karyl (New Year). May you get her in your free pulls!
Last Update: December 1, 2022
