
Welcome to another installment of our Princess Connect! Re: Dive story event guides! This event will coincide with the much awaited launch of limited summer characters starting with Pecorine (Summer). You will also be able to obtain a free copy of Kokkoro (Summer) from playing the event. In addition, you can also obtain memory shards for both Kokkoro (Summer) and Saren. In today's article, we'll breakdown the event and other information obtained from the latest update. All the information was obtained from the JP server when it first launched. We should be following the JP reward chart as per the previous events. We will update this page if that changes. So let's dive right into the article!
Level Cap, Rank Cap, and New Missions
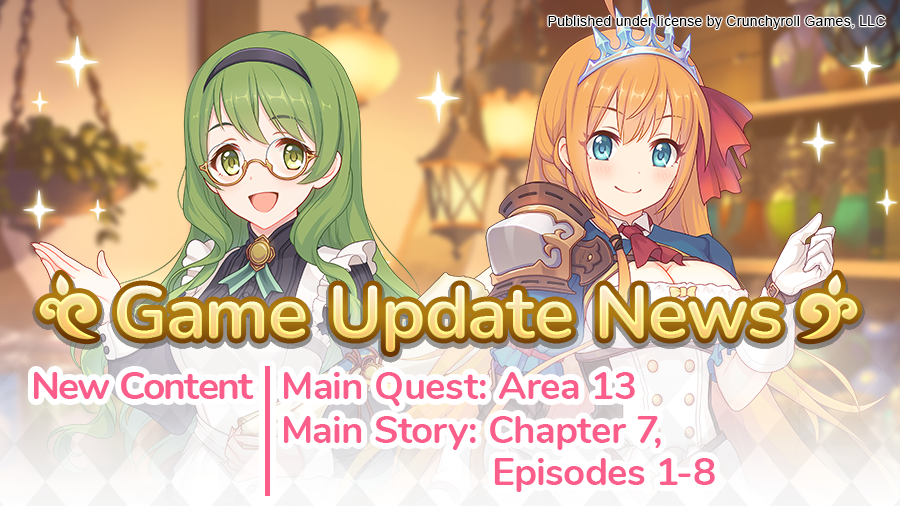
Before swimming our way into the event, let's also quickly highlight the release of Area 13 and the increased level cap. Starting on June 12, 2021, the level cap will increase to 102. With Area 13, your characters can also reach rank 10-3. Be sure to note which characters you may need to rank up and which ones to leave behind. The hard stages features memory shards for Kokkoro, Yuki, and Djeeta.
Pecorine (Summer) Banner
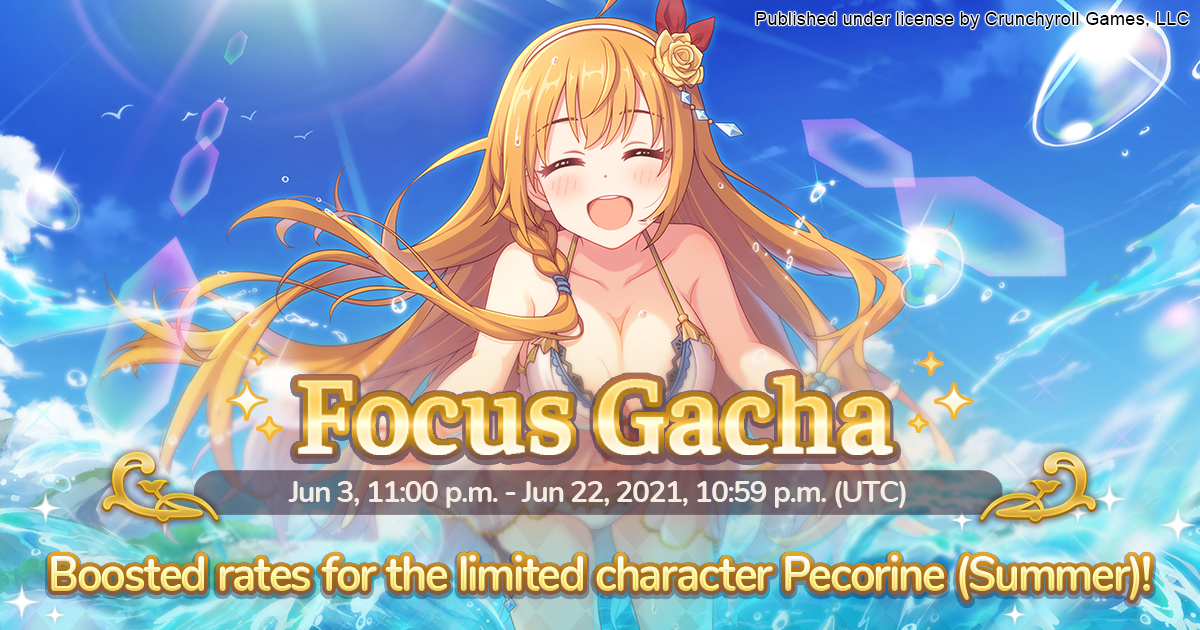
This update will also be the first one to feature a limited banner. These banners only last for a set duration and the featured character can only be obtained during this banner. Starting from June 3, 2021 to June 22, 2021, the Pecorine (Summer) banner will be available.
This version of Pecorine deals AOE physical damage with her UB and also has a slight knockback on her first skill. Her first skill also buffs her physical attack at the cost of giving herself a magic defense debuff. Her kit is pretty useful in arena and can also be used in other situations as well.
So the hardest part, do you roll for her? Well, what can we say? Her kit can be decent and she will see use in arena. The real question is whether you want to collect all the limited characters. Since Pecorine (Summer) will only be available until June 22, 2021, you'll want to make sure you don't regret not rolling for her. If we follow the JP timeline, you won't see her again for another year. The downside is that this is the first of many limited banners. Is she the strongest of the Summer characters being released this year? Definitely not, that belongs to Karyl (Summer) and that is one we would definitely recommend rolling for. However, if you're looking to collect the limited characters, Pecorine (Summer) is certainly not a bad choice.
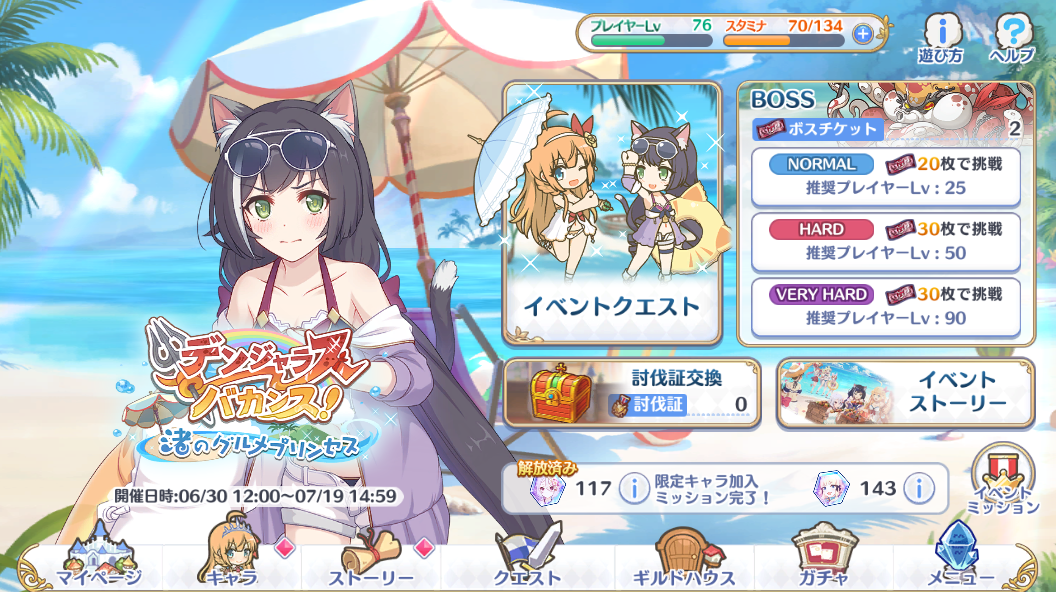
Dangerous Vacation! Gourmet Princess on the Beach Story Event

This is the fourth story event in the EN/WW server. Events generally give a generous amount of items, mana, jewels, and character memory shards. The great thing about this event is that it comes with a free 1* character in Kokkoro (Summer). The memory shards featured in this event are Kokkoro (Summer) and Saren. On top of the rewards, it also adds event story chapters which can be viewed as you complete the event stages.
Stages
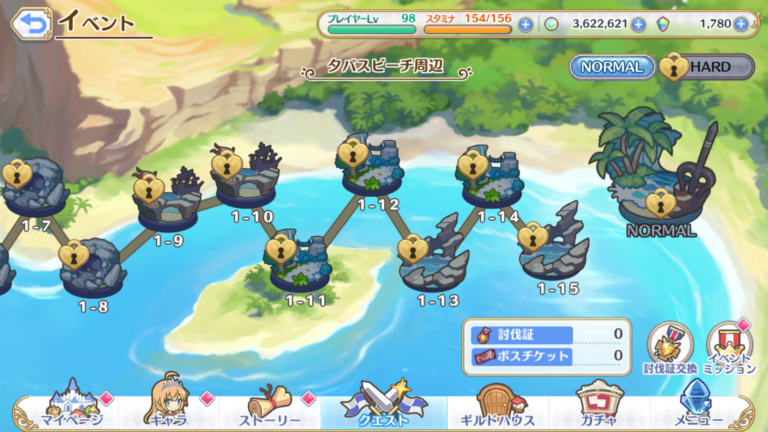
Events are broken down into two phases of stages similar to the main quest. However, you must clear all the normal stages and the normal boss before unlocking the hard stages. Normal stages start at 1-1 and go all the way up to 1-15. Clearing each stage for the first time also provides 30 jewels, an assortment of items, and boss tickets. After the first clear, they will still provide some items and more importantly boss tickets. These boss tickets are used to fight the boss of the event. We'll go over this more in-depth later.
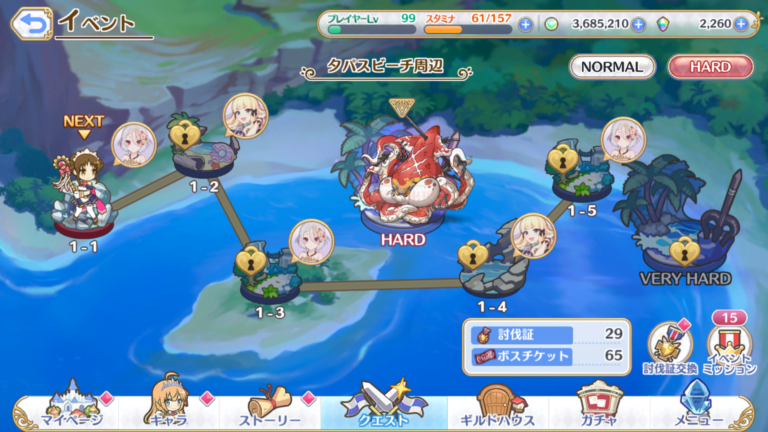
After clearing stages 1-1 through to 1-15 and the boss on normal, you'll unlock the hard missions. These missions are similar to the main quest hard missions and have a chance to drop memory shards. Each first clear will also provide 3 of the memory shards of the character indicated, boss tickets, items, and will also give the 30 jewel bonus. Each subsequent clear will then give a chance of dropping the memory shards. You can only clear each hard stage 3 times a day.
For the most part, you will want to clear each of these hard stages every day of the event to maximize your memory shards gain. This is especially true with this event as it features memory shards for Kokkoro (Summer) and Saren which are both very useful characters. Not to mention, there will be no other way to obtain the memory shards for Kokkoro (Summer) outside of a rerun or the divine amulet store. There is a large amount of luck involved from the hard missions but the memory shards and the boss tickets are generally worth it.
Boss Battle
You'll notice something a little different starting from this event. The Very Hard difficulty has been added for boss battles and it is actually fairly tough. You get quite a bit more rewards from it and you can only complete it once a day. Worry not, we'll have some more details on how to deal with this boss below.
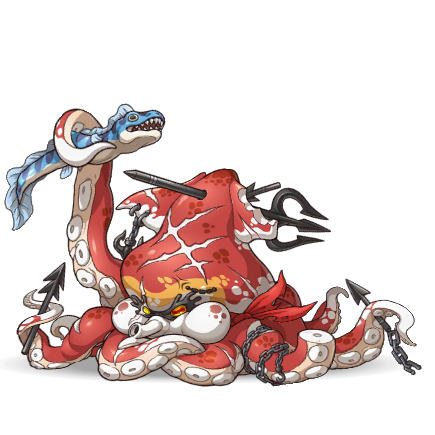
To fight the boss you'll need to obtain enough boss tickets to fight the boss. Each of the stages you clear from the event will provide boss tickets. The boss will come in both normal, hard, and very hard. The normal boss should be easily cleared with any team while hard may pose a bit more of a challenge. Very Hard, as previous stated will be a tough one. Clearing bosses will also provide tokens to be used on the event treasure box. This is the real reason you'll be farming the event. We'll touch on this later on in the article.
The hard and very hard boss will have a larger pool of HP and also additional skills. Of course, with the more difficult boss, the rewards will also be greater. This version of the boss also does more damage and has a more difficult attack pattern once below 40% HP. (Think of it as them hitting their limit break.) We will recommend some potential parties below for those struggling to clear the hard and very hard versions of the boss.
| Difficulty | HP | Union Burst | Skill 1 | Skill 2 |
|---|---|---|---|---|
 Normal NormalLvl. 25 |
35,000 | Large physical damage to all enemies based on the character's max HP. | Medium magic damage to rearguard + paralysis + physical/magic attack power down. | N/A |
|
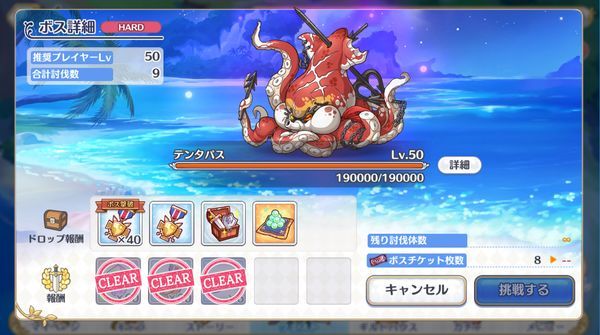
Hard Lvl. 50 |
190,000 | Large physical damage to all enemies based on the character's max HP. | Medium magic damage to rearguard + paralysis + physical/magic attack power down. | N/A |
|
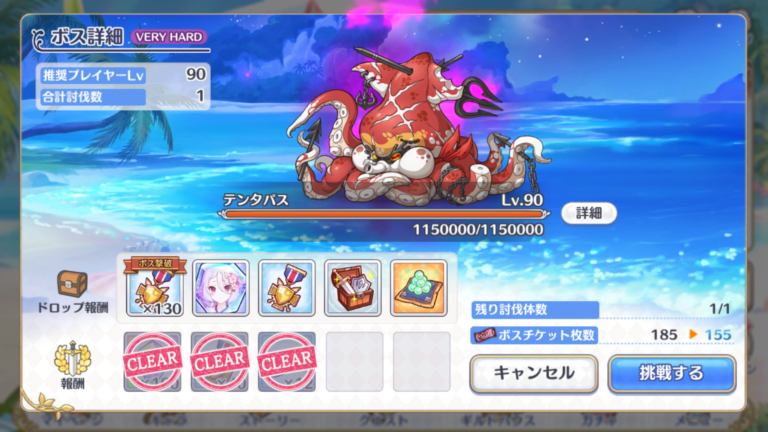
Very Hard Lvl. 90 |
1,150,000 | Large physical damage to all enemies based on the character's max HP. | Medium magic damage to rearguard + paralysis + physical/magic attack power down. | After a set amount of time deal an extraordinary amount of physical damage to a single enemy. (50 seconds) |
So as you can see above, Very Hard is going to pose quite a challenge. With over 1 million HP, this will be the hardest content in the game at the time of release. One thing to note about the boss is that it's regular attack will hit your front two units instead of just your front unit. Keep that in mind when you create your teams. Also don't forget about the 40% enrage mechanic for the Hard and Very Hard boss. Defeating the Very Hard boss will also drop a large amount of rewards and a valued Kokkoro (Summer) memory piece. Remember, you can only do Very Hard once daily.
Suggested Teams
Hard Boss
For the hard boss, there are a few approaches to it. This worked in JP assuming your characters are rank 9 and above and around level 90 or so. You may need to level up your characters or try different combinations to get a decent clear. The boss has a normal attack that hits the front two units so you'll need someone that can take hits in the second position. This is on top of the UB that does % damage to all your units. To make it even worse, the boss also has a skill that does medium damage to your rearguard while not only paralyzing them but also reducing their physical and magical damage. We'll suggest a few parties below: the approaches can vary but all of these should work.
 Yui Yui |
 Karyl Karyl |
 Shiori Shiori |
 Kokkoro Kokkoro |
 Miyako Miyako |
|---|
Our first party consists of a tank and Kokkoro up front and then two DPS behind them and finally a healer in Yui. Most of the characters here are interchangeable and your results may vary. This is probably the easiest team to build just because the characters are easily obtainable. You can easily replace Miyako with another tank such as Jun or Nozomi. The DPS slots can also vary between using a different archer such as Arisa or Suzuna. Finally, Karyl can be replaced with another mage such as Kyoka.
| Kokkoro |
 Shizuru Shizuru |
 Makoto Makoto |
 Kaori Kaori |
Miyako |
|---|
This second team is more of a traditional brute force team with one tank and two melee damage dealers. This is supported by Shizuru and Kokkoro. Tank swapping is not necessary as you'll be killing the boss way before Miyako dies. Feel free to swap out Miyako with another tank such as Jun.
Very Hard Boss
So where should we begin with the very hard boss? It has over a million HP and is level 90. Trust me, this will be the hardest boss you have fought to date. The boss is an amped up version of the event boss and not only does it have more health but it does a significantly higher amount of damage. Beware of the timed attack that will essentially melt whoever is standing up front. The first one happens at 50 seconds left and then will happen about every 10 seconds after that. You'll note the attack when you see the boss pull out an eel. The only upside is this attack can be cancelled with a well timed interrupt such as with Ayane.
You must be thinking, it must be impossible to do the boss in one go. Well, you would mostly be correct but with some good timing and some good luck it is possible. Here is a team that can do it.
 Chika Chika |
 Tamaki Tamaki |
Makoto |
Kaori |
 Jun Jun |
|---|
VHテンタパス ワンパン動画撮れたので参考になれば。
— hanana@ウマ娘/スパクリ完凸 (@hana_yomi) July 7, 2018
ポチポチ音煩くてすみません!#プリコネ#プリコネR pic.twitter.com/G3VUIPs7Cl
VH テンタパス ワンパン第2編成です。
— hanana@ウマ娘/スパクリ完凸 (@hana_yomi) July 8, 2018
タマキoutコッコロin
即死モーション→発狂までの道のりが前回より難しいですが(ダメが足りない
コッコロ壁のおかげで発狂後のカオリの通常攻撃回避がなくなった分、前の編成より難易度は下がっています
コッコロは星5で水着絆獲得済みです
動画速度多少変更有 pic.twitter.com/CMKHs5FVIP
You can also replace Tamaki with Kokkoro. These clears are timing intensive as you can see in the videos above and require essentially max star, bond, rank, and leveled characters. So, yes it is possible to do but it really isn't practical. So we will introduce a two team clear below.
| Kokkoro |
Tamaki |
Makoto |
Kaori |
Jun |
|---|
Potential replacements for the team above. You can replace Tamaki with Shizuru in both of these teams for a bit more survivability. You can also replace Kokkoro with another archer such as Shiori or Arisa.
| Tamaki |
Makoto |
Kaori |
Jun |
Miyako |
|---|
Let's quickly discuss the two teams seen above. The first team with just Jun is used for the first part of the battle before enrage to attempt to do as much damage as possible. The second team is used for the second half of the battle after your first team gets wiped. We have two tanks here so we don't see the domino effect of having our tanks wipe and then the party shortly after especially with the enrage. We need to keep our damage units as that is the only way we can feasibly clear the boss.
Rewards

This is the first event to also feature a free character for completing an objective/mission during the event. After you defeat the boss 5 times on any difficulty, you will get a free 1* Kokkoro (Summer). She is a unit you will see used in clan battles so you want to make sure you get a copy of her and as many memory shards as possible.
We're finally onto the main point of each of these events. The rewards that come along with it. In addition to the first clear bonuses, there are also a set number of event treasure boxes. Think of it as a mini gacha machine but each one has a set number of items. To roll this treasure gacha box, you get pulls from defeating the event boss and completing daily missions. You do not need to clear out every single item in each box to move on to the next one. However, you will need to obtain the main items in the box. In this case, the main items are the memory shards for the characters. (You would want to collect these anyway.) The contents of each of the boxes are listed below. This will be the first box where you want to consider farming the event for the endless box since you can obtain more memory shards for Kokkoro (Summer).
| Box One | |
|---|---|
| Item | Quantity |
 Saren Memory Shards x 20 Saren Memory Shards x 20 |
1 |
 Jewels x 5 Jewels x 5 |
5 |
 Divine Amulets Divine Amulets |
20 |
 Skip Tickets Skip Tickets |
15 |
 Mana x 7,000 Mana x 7,000 |
20 |
 Rupies x 100 Rupies x 100 |
10 |
 Random Equipment Random Equipment |
300 |
 Superior Refinement Crystals Superior Refinement Crystals |
5 |
 Enhanced Refinement Crystals Enhanced Refinement Crystals |
10 |
 Refinement Crystals Refinement Crystals |
15 |
 Super EXP Potion Super EXP Potion |
5 |
 EXP Portion EXP Portion |
10 |
 Mini EXP Potion Mini EXP Potion |
15 |
| Total | 431 |
| Box Two | |
|---|---|
| Item | Quantity |
 Kokkoro (Summer) Memory Shards x 25 Kokkoro (Summer) Memory Shards x 25 |
1 |
|
Jewels x 10 |
10 |
|
Divine Amulets |
25 |
|
Skip Tickets |
20 |
|
Mana x 8,000 |
30 |
|
Rupies x 200 |
15 |
|
Random Equipment |
380 |
|
Superior Refinement Crystals |
7 |
|
Enhanced Refinement Crystals |
12 |
|
Refinement Crystals |
17 |
|
Super EXP Potion |
7 |
|
EXP Portion |
12 |
|
Mini EXP Potion |
17 |
| Total | 553 |
| Box Three | |
|---|---|
| Item | Quantity |
|
Saren Memory Shards x 30 |
1 |
|
Jewels x 15 |
15 |
|
Divine Amulets |
30 |
|
Skip Tickets |
20 |
|
Mana x 9,000 |
40 |
|
Rupies x 300 |
20 |
|
Random Equipment |
480 |
|
Superior Refinement Crystals |
9 |
|
Enhanced Refinement Crystals |
14 |
|
Refinement Crystals |
19 |
|
Super EXP Potion |
9 |
|
EXP Portion |
14 |
|
Mini EXP Potion |
19 |
| Total | 690 |
| Box Four | |
|---|---|
| Item | Quantity |
|
Kokkoro (Summer) Memory Shards x 40 |
1 |
|
Jewels x 25 |
20 |
|
Divine Amulets |
35 |
|
Skip Tickets |
25 |
|
Mana x 10,000 |
50 |
|
Rupies x 250 |
30 |
|
Random Equipment |
550 |
|
Superior Refinement Crystals |
11 |
|
Enhanced Refinement Crystals |
16 |
|
Refinement Crystals |
21 |
|
Super EXP Potion |
11 |
|
EXP Portion |
16 |
|
Mini EXP Potion |
21 |
| Total | 807 |
| Box Five+ | |
|---|---|
| Item | Quantity |
|
Kokkoro (Summer) Memory Shards x 3 |
1 |
|
Skip Tickets |
10 |
|
Mana x 10,000 |
30 |
|
Rupies x 250 |
20 |
|
Random Equipment |
100 |
|
Superior Refinement Crystals |
5 |
|
Enhanced Refinement Crystals |
10 |
|
Refinement Crystals |
15 |
|
Super EXP Potion |
5 |
|
EXP Portion |
10 |
|
Mini EXP Potion |
15 |
| Total | 226 |
Total Memory Shards
A breakdown of all the possible memory shards gained from missions, story, and the boxes are listed here:
| Location | Saren | Kokkoro (Summer) |
|---|---|---|
| Story Reward | 4 | 4 |
| Normal Quests | 2 | 2 |
| Hard Quests | 6 | 9 |
| Treasure Box | 50 | 65 |
| Event Missions | N/A | 20 |
| Total | 62 | 100 |
Note: This does not include memory shards from hard mission drops. These only include the ones you are guaranteed to get assuming you complete the tasks.
As you can see, you'll be getting a lot of memory shards from Kokkoro (Summer). The first clear of the Very Hard version of the boss has a mission that gives 10 Kokkoro (Summer) shards so be sure to at least clear it once if possible.
With all of that, this sums up the first event from Princess Connect! Re: Dive on the EN/WW version that gives a free character. I hope you all enjoy the event and the start of summer. May the gacha gods ever be in your favor!
Last Update: May 27, 2021